macOS
This tutorial shows how to install Buddy On-Premises on a macOS machine.
All commands listed in the article must be run as root.
Installing Docker for macOS
Download Docker for macOS from the official website.
Double-click
Docker.dmgto open the installer and drag the Docker icon to the Applications folder.
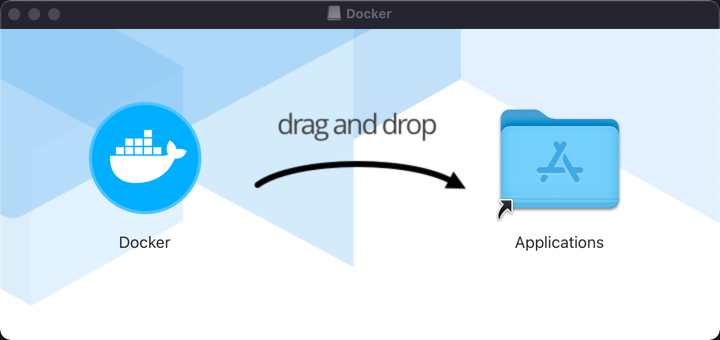 Installing Docker #1
Authorize Docker.app with your system password to proceed. Privileged access is required to install networking components and links to the Docker apps.
- Double-click the Docker icon in the Applications menu. A whale icon in the menu bar indicates that Docker is running.
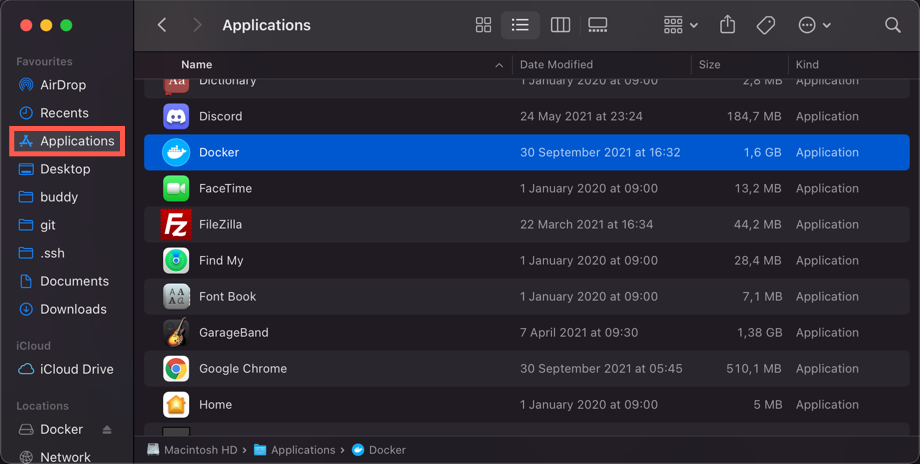 Installing Docker #2
- Click the whale icon and open Preferences.
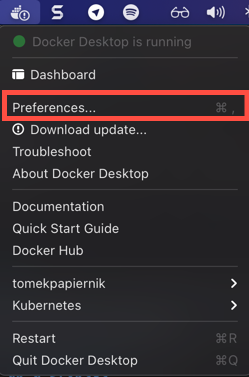 Docker Preferences
- Go to Resources and set the memory to 4 GB:
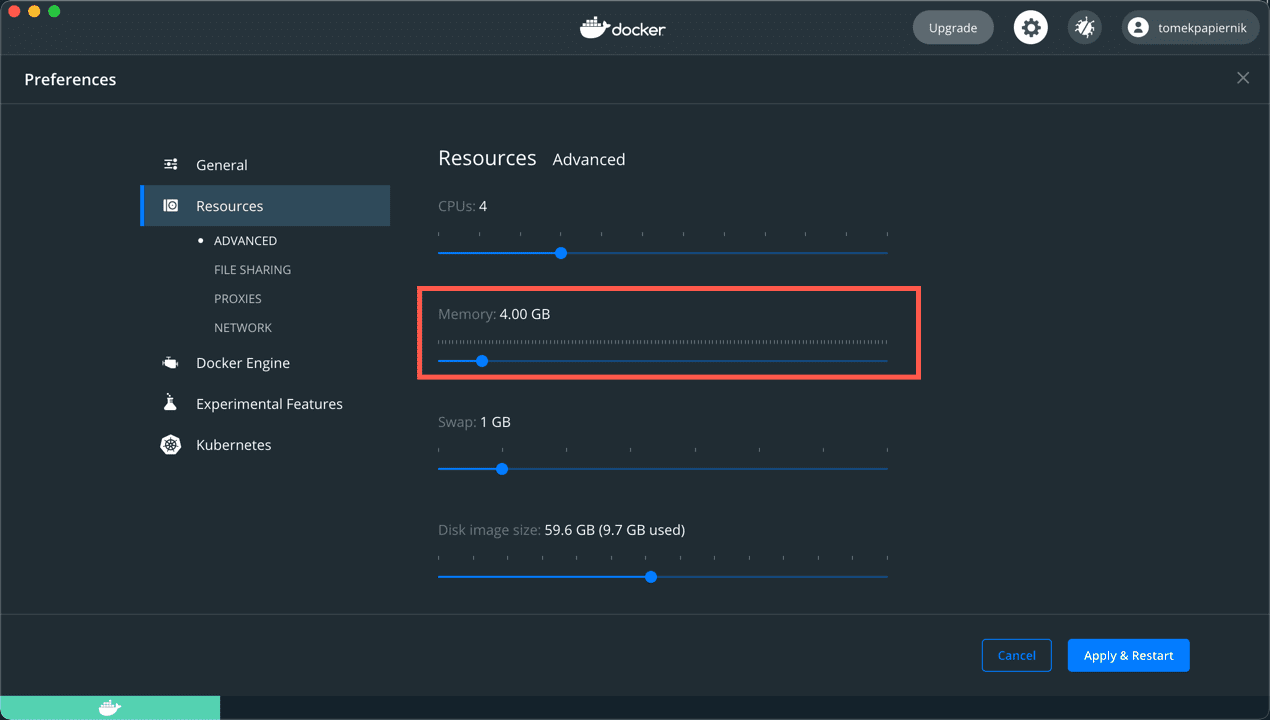 Adjusting Docker RAM
- Click Apply & Restart
If you’re planning to run heavy workloads on your instance, we recommend assigning at least 8GB of RAM.
Read more about system requirements of Buddy On-Premises.
Installing Buddy
With Docker running, run this command to download the Docker image and install Buddy:
curl -sSL https://get.buddy.works | sh && buddy install$
By default, Buddy uses ports
80, 443, and 22 for communication. If these ports are not available, the installer asks to provide alternative ports.
By default, Buddy installs in the
HOME directory. You can change the storage path for databases, repositories, and settings using the CLI.
If you're connecting to the server through a proxy, add the
HTTP_PROXY environment variable on the Linux server. Run this command:
bash
export HTTP_PROXY="http://proxyIp:proxyPort"
Setting up your workspace
- Use the URL provided in the summary to access Buddy On-Premises.
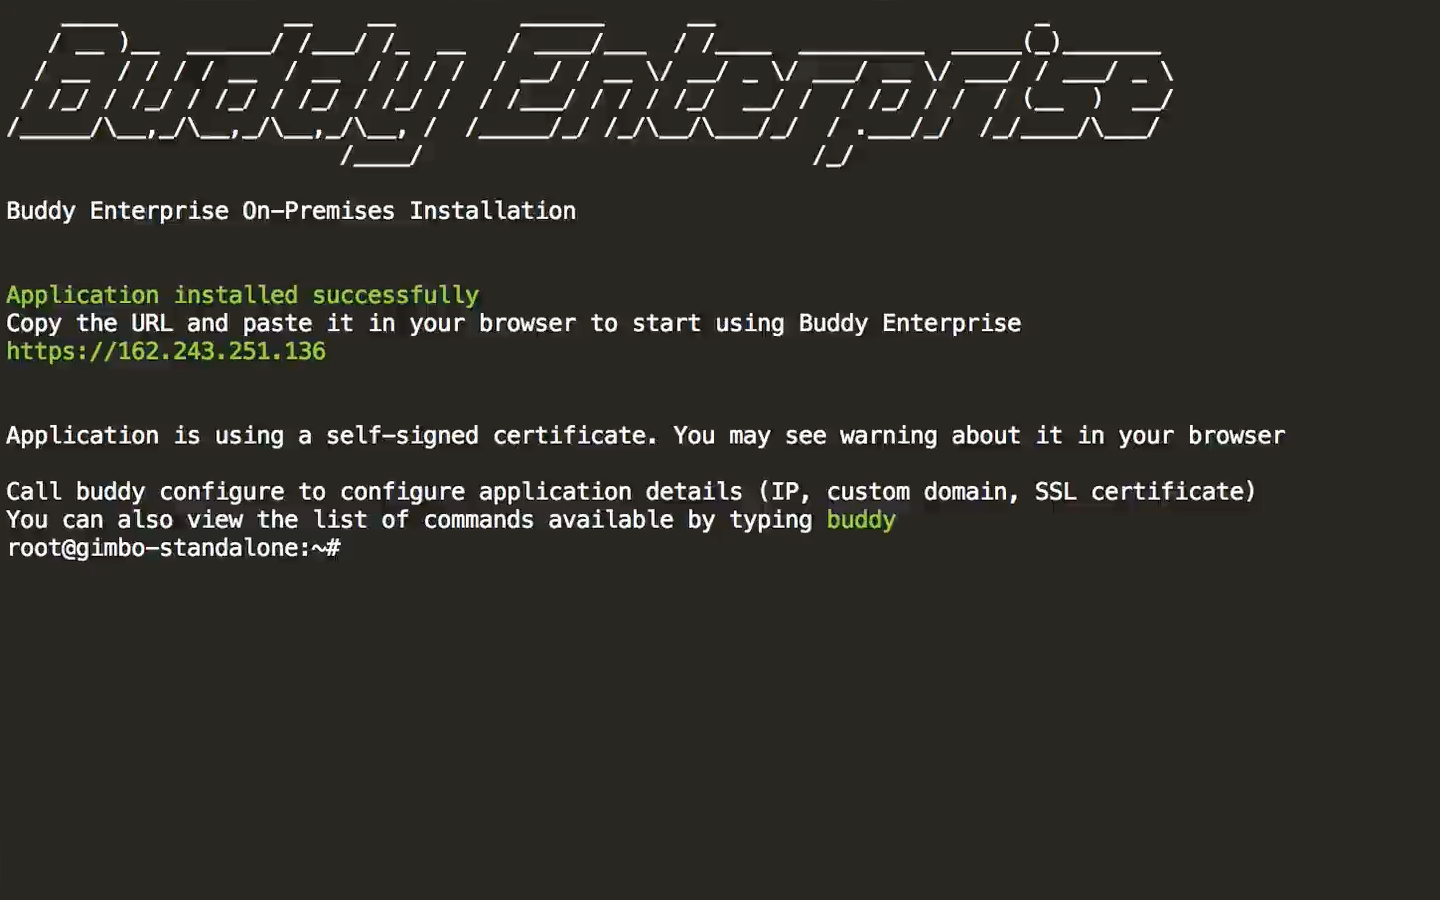 Installation summary with workspace IP
By default, Buddy On-Premises uses a self-signed SSL certificate. Because of that, you can get a security warning from your browser when you access the instance for the first time. There’s nothing to worry about! You can safely open the address.
- Provide the details of your first workspace.
Congratulations!
You have successfully installed and configured Buddy on your own server. Check out the Quickstart section for tips on getting started.
Last modified on September 8, 2022