Personal Access Token
A Personal Access Token is an alternative method of authentication. It is used when OAuth2 is impractical – mostly for scripts, integrations and small applications.
You can use Personal Access Token to authorize the API requests as well as to authorize Git through HTTP (when you use Buddy Git hosting).
How to Create a Personal Access Token in Buddy
- Log in to Buddy.
- Click on your avatar in the top-right corner and head to the
Securitytab.
Image loading...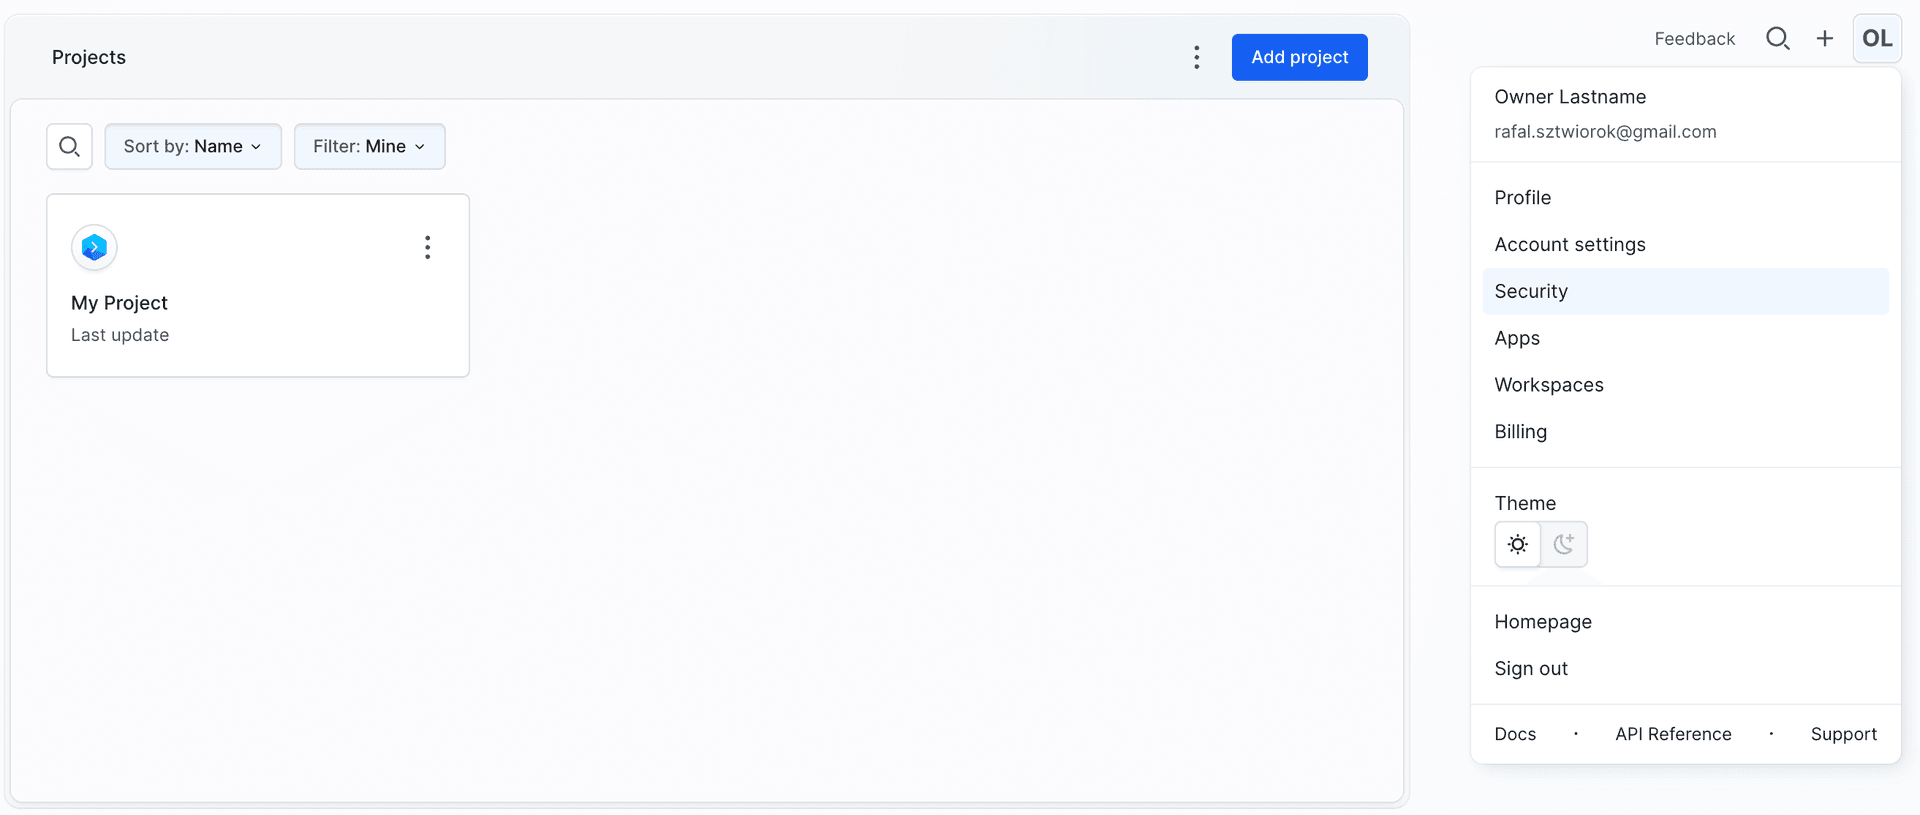
- In the Security view, scroll down to the Personal Access Tokens section and click the + icon.
Image loading...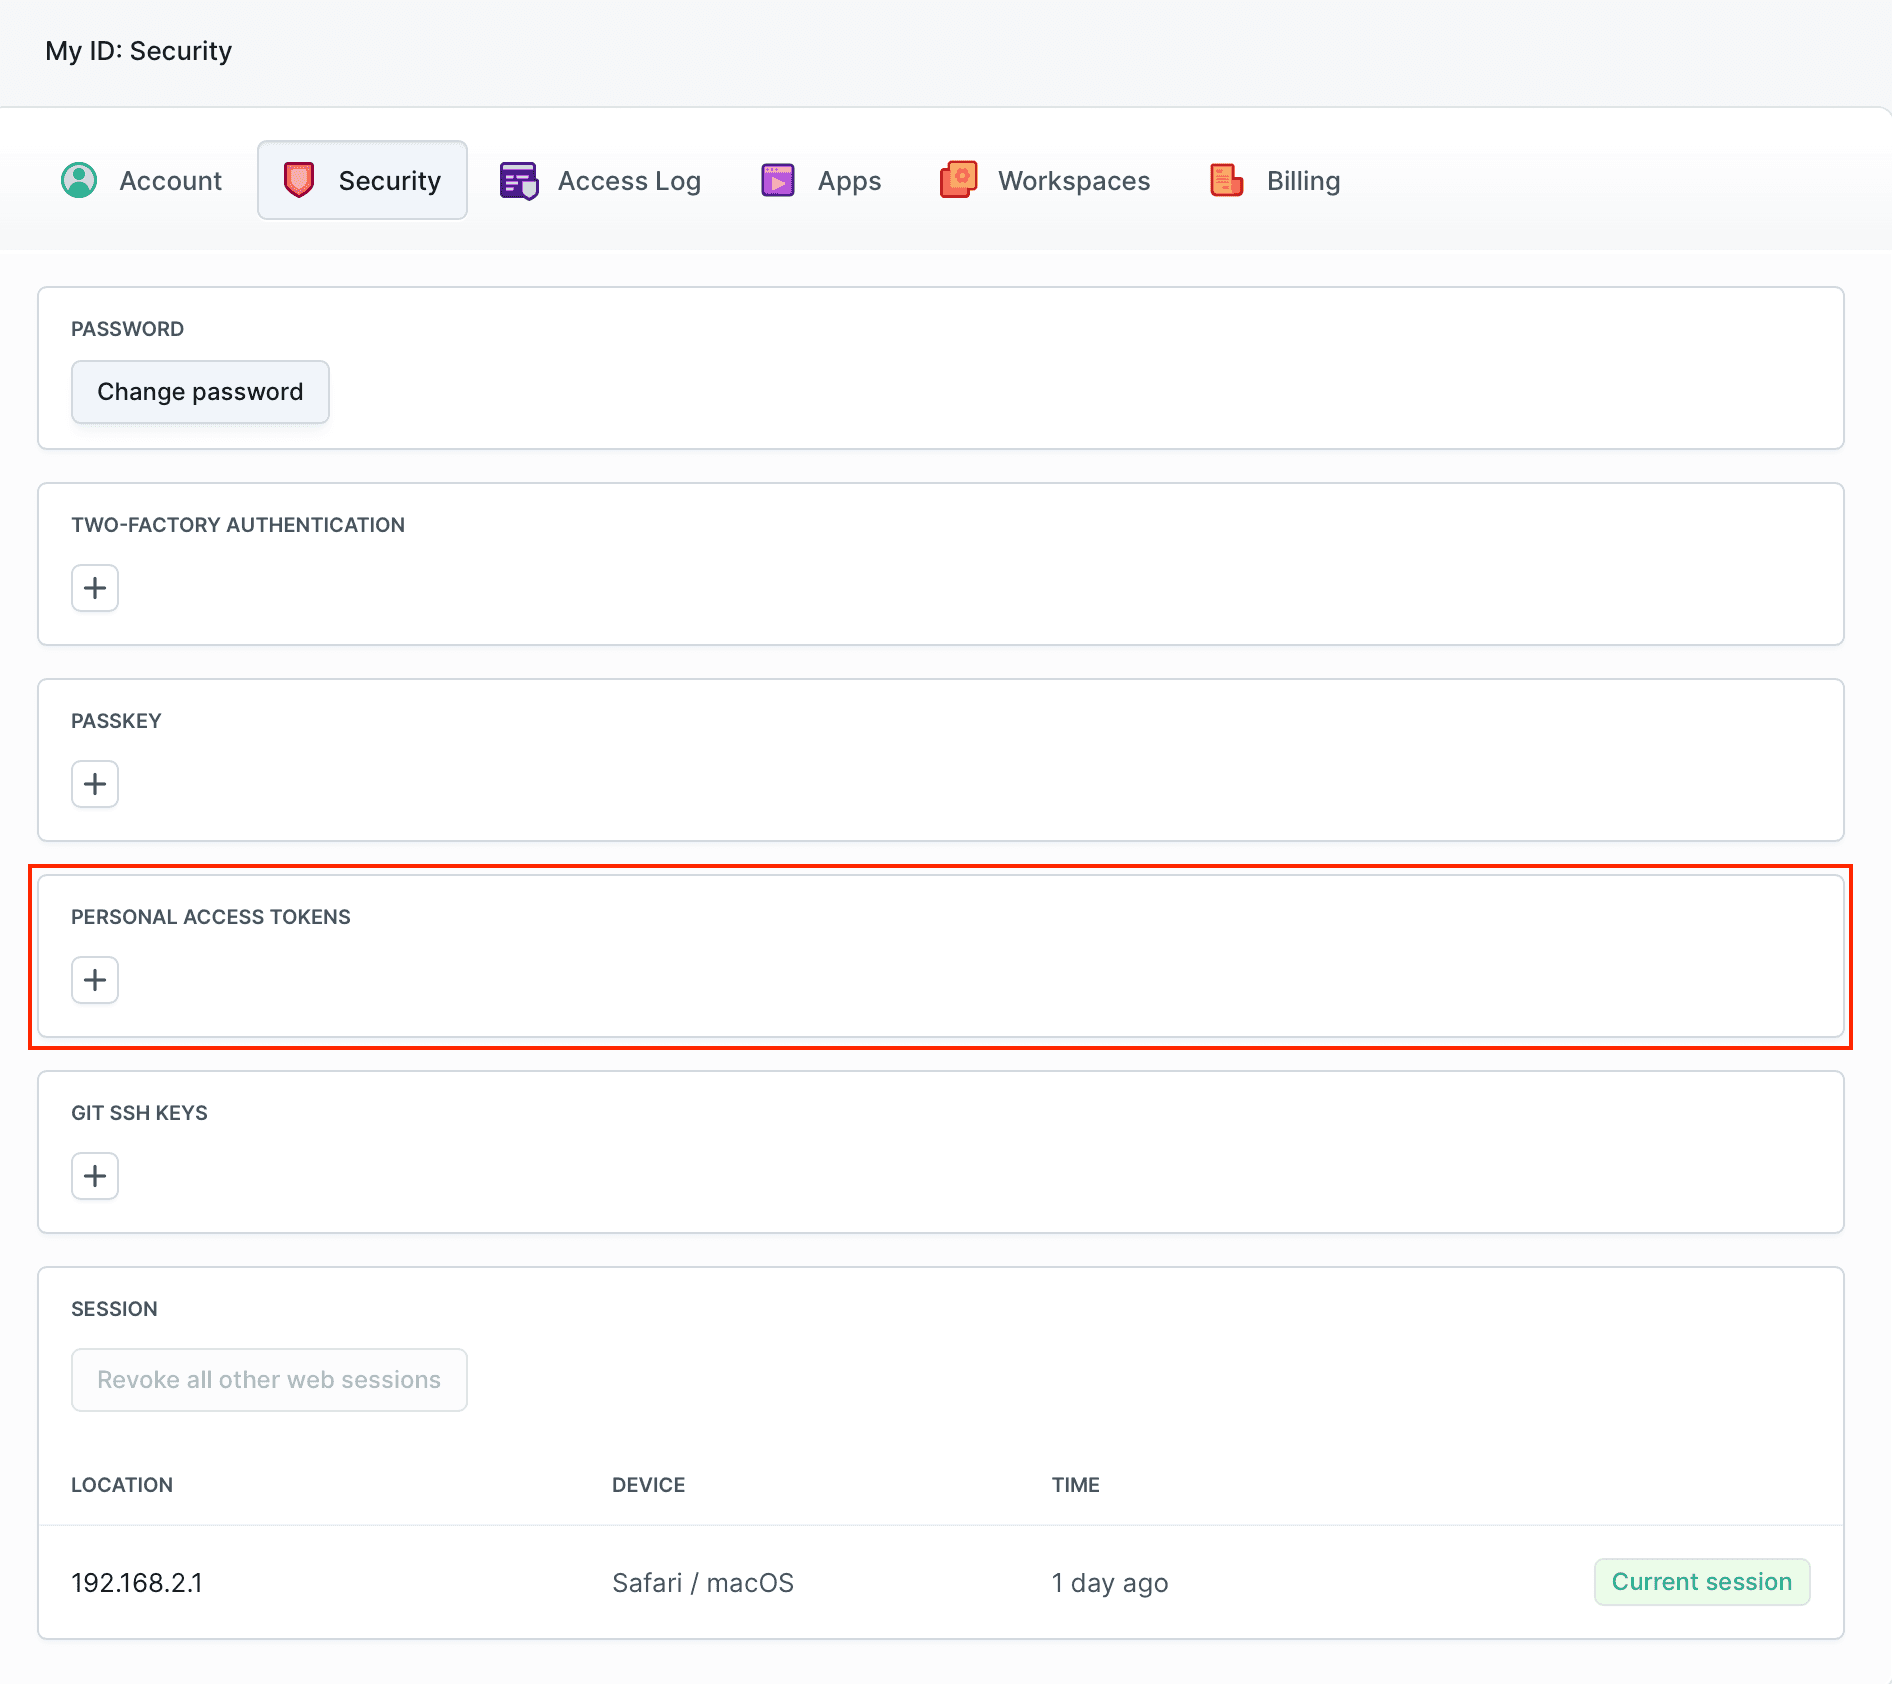
- Provide the token description and select proper scopes.
Image loading...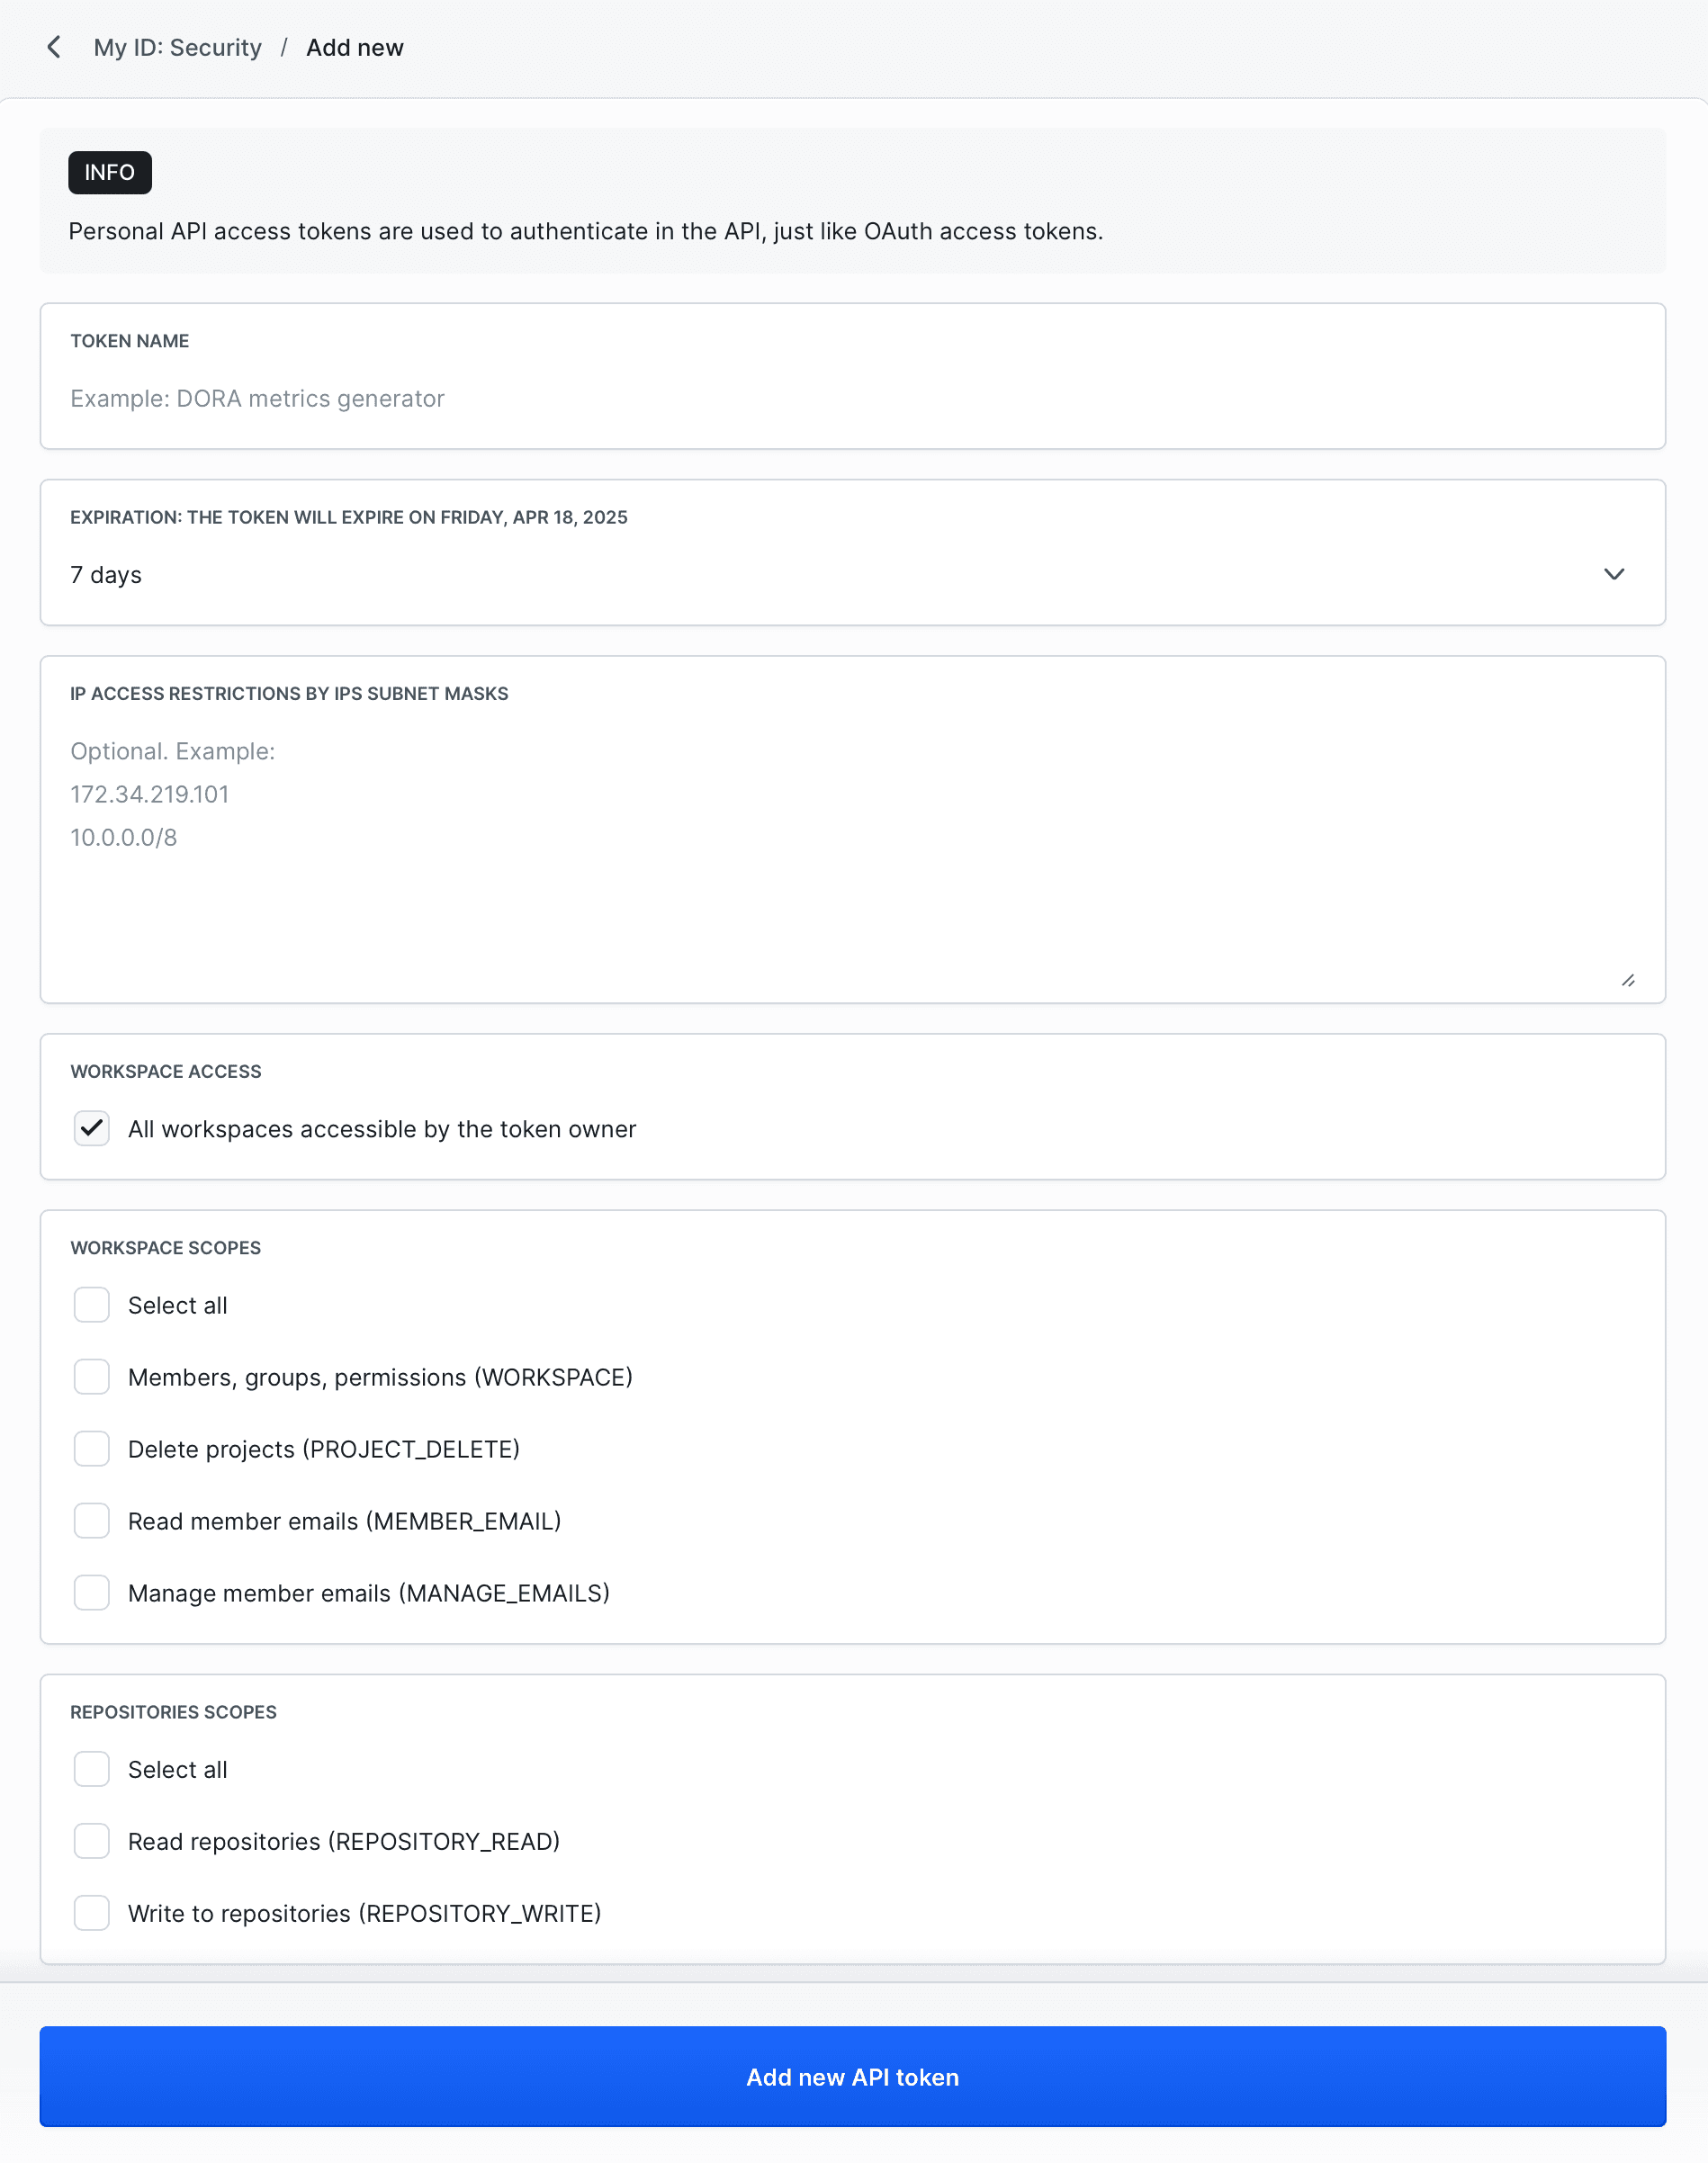
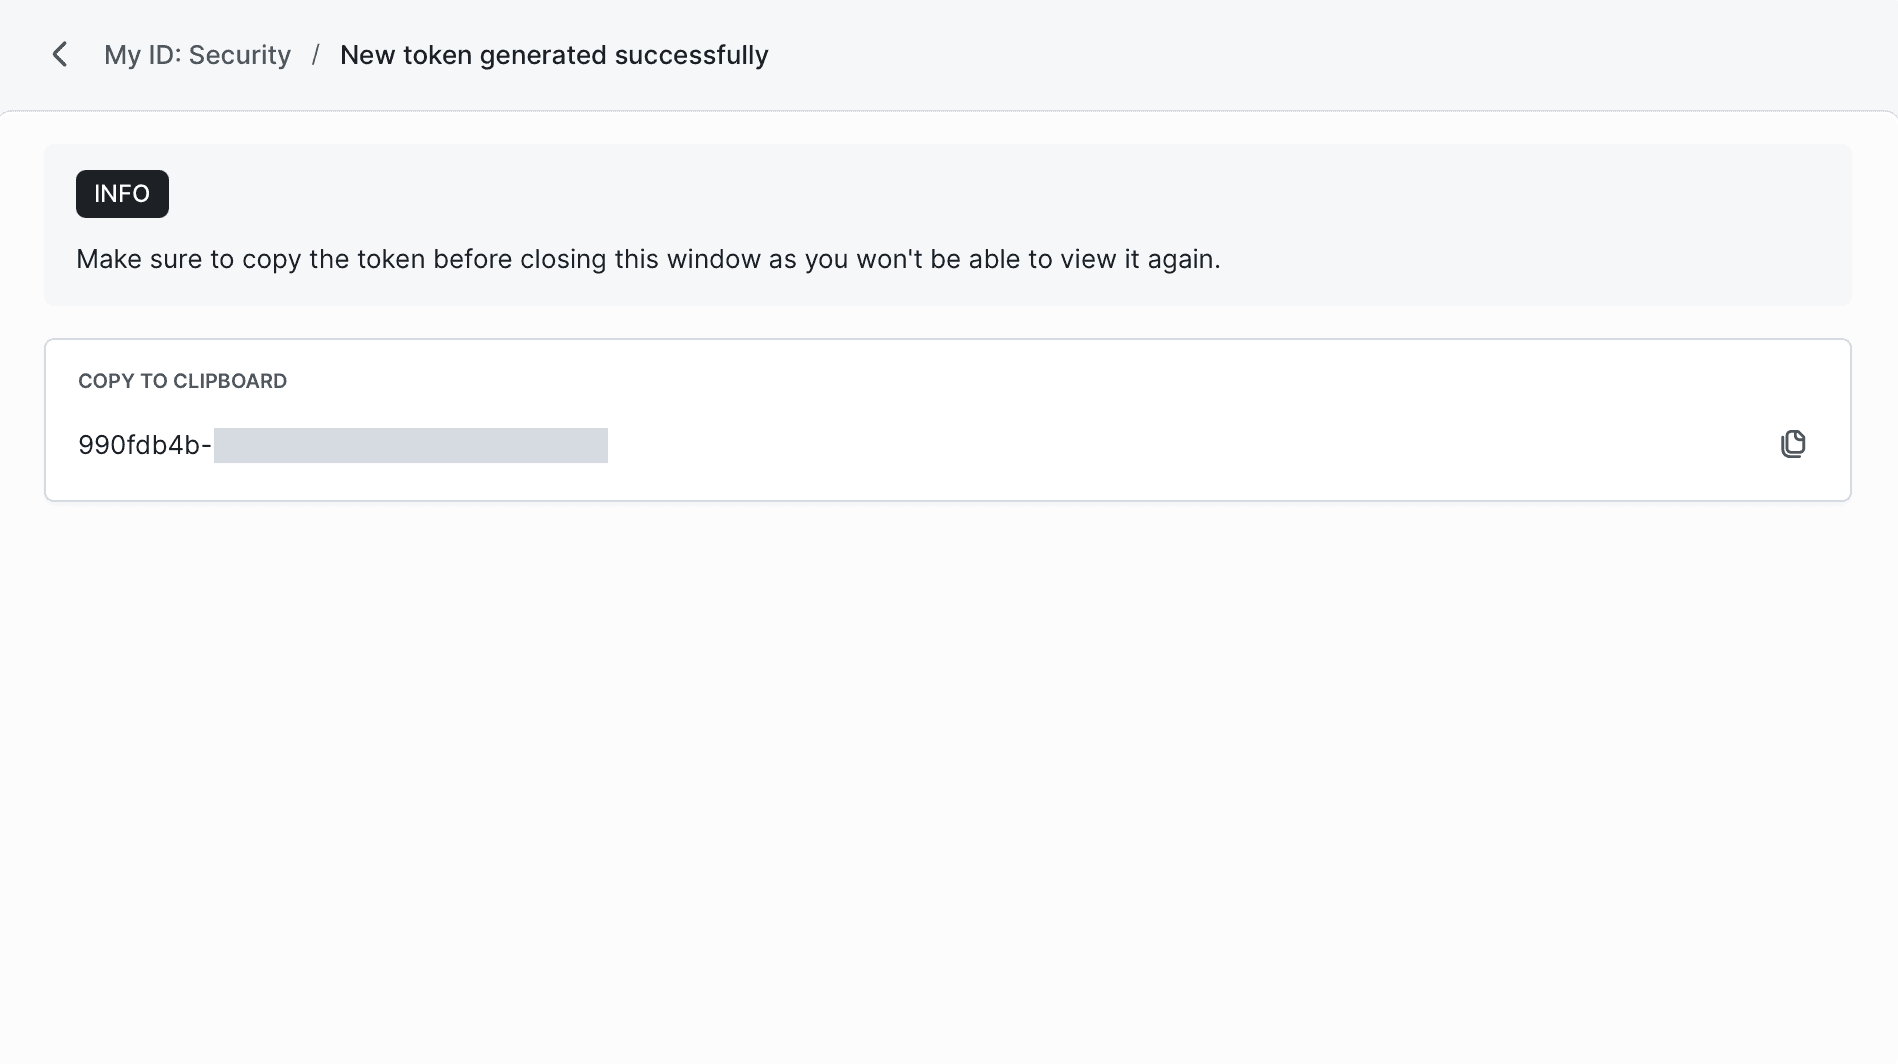
- A window with the token will appear. Copy the token and put it in a safe place.
Image loading...
Personal Access Token Settings in Buddy
When creating a personal access token, you can customize its name, expiration date, IP restrictions, and permission scopes. Below you'll find a brief explanation of each available field:
- Token name – Token name displayed on the list.
Expiration – Specifies token expiration time:
- No expiration – Token will not expire automatically.
- 7 days – Token expires after 7 days.
- 30 days – Token expires after 30 days.
- 60 days – Token expires after 60 days.
- 90 days – Token expires after 90 days.
- Custom – Custom expiration date. After expiration, the token stops working and can no longer be used.
- IP restrictions – Restrict the use of the token to specific IP addresses or subnets.
- Scopes – The permission scopes that the token will have:
- Workspace – Permissions related to projects, users, groups, and permissions.
- Repositories – Permissions related to repositories.
- Pipelines – Permissions related to pipelines.
- Environments – Permissions to manage environments.
- Domains – Permissions to configure domains.
- Webhooks – Permissions to manage webhooks.
- Variables – Permissions to work with environment variables.
- User info – Permissions related to users.
- Integrations – Permission to integrate with external services.
- Tokens – Permissions to manage tokens.
How to Use a Personal Access Token in Buddy API
To authenticate API requests, attach the token as a Bearer in the Authorization header:
bashcurl -H "Authorization: Bearer <YOUR_TOKEN>" https://api.buddy.works/workspaces$
Example response:
json{
  "url": "https://api.buddy.works/workspaces",
  "html_url": "https://app.buddy.works/my-id",
  "workspaces": [
    {
      "url": "https://api.buddy.works/workspaces/myproject",
      "html_url": "https://app.buddy.works/myproject",
      "id": 1,
      "name": "My Project",
      "domain": "myproject",
      "workspace": "myproject"
    }
  ]
}
It can also be used as a password when accessing Buddy Git repositories.
Revoke personal access token
You can revoke the personal access token at any moment:
- Open the list with tokens, choose the one you want to revoke and open it.
- Go to the dropdown menu at the top, you'll find the Delete API token button there - click it to remove the token entirely.
Alternatively, you can click the Regenerate button which will create a new authentication hash for the same description and list of scopes.
This will generate a new token with the same scopes and expiration settings, replacing the old one.
Image loading...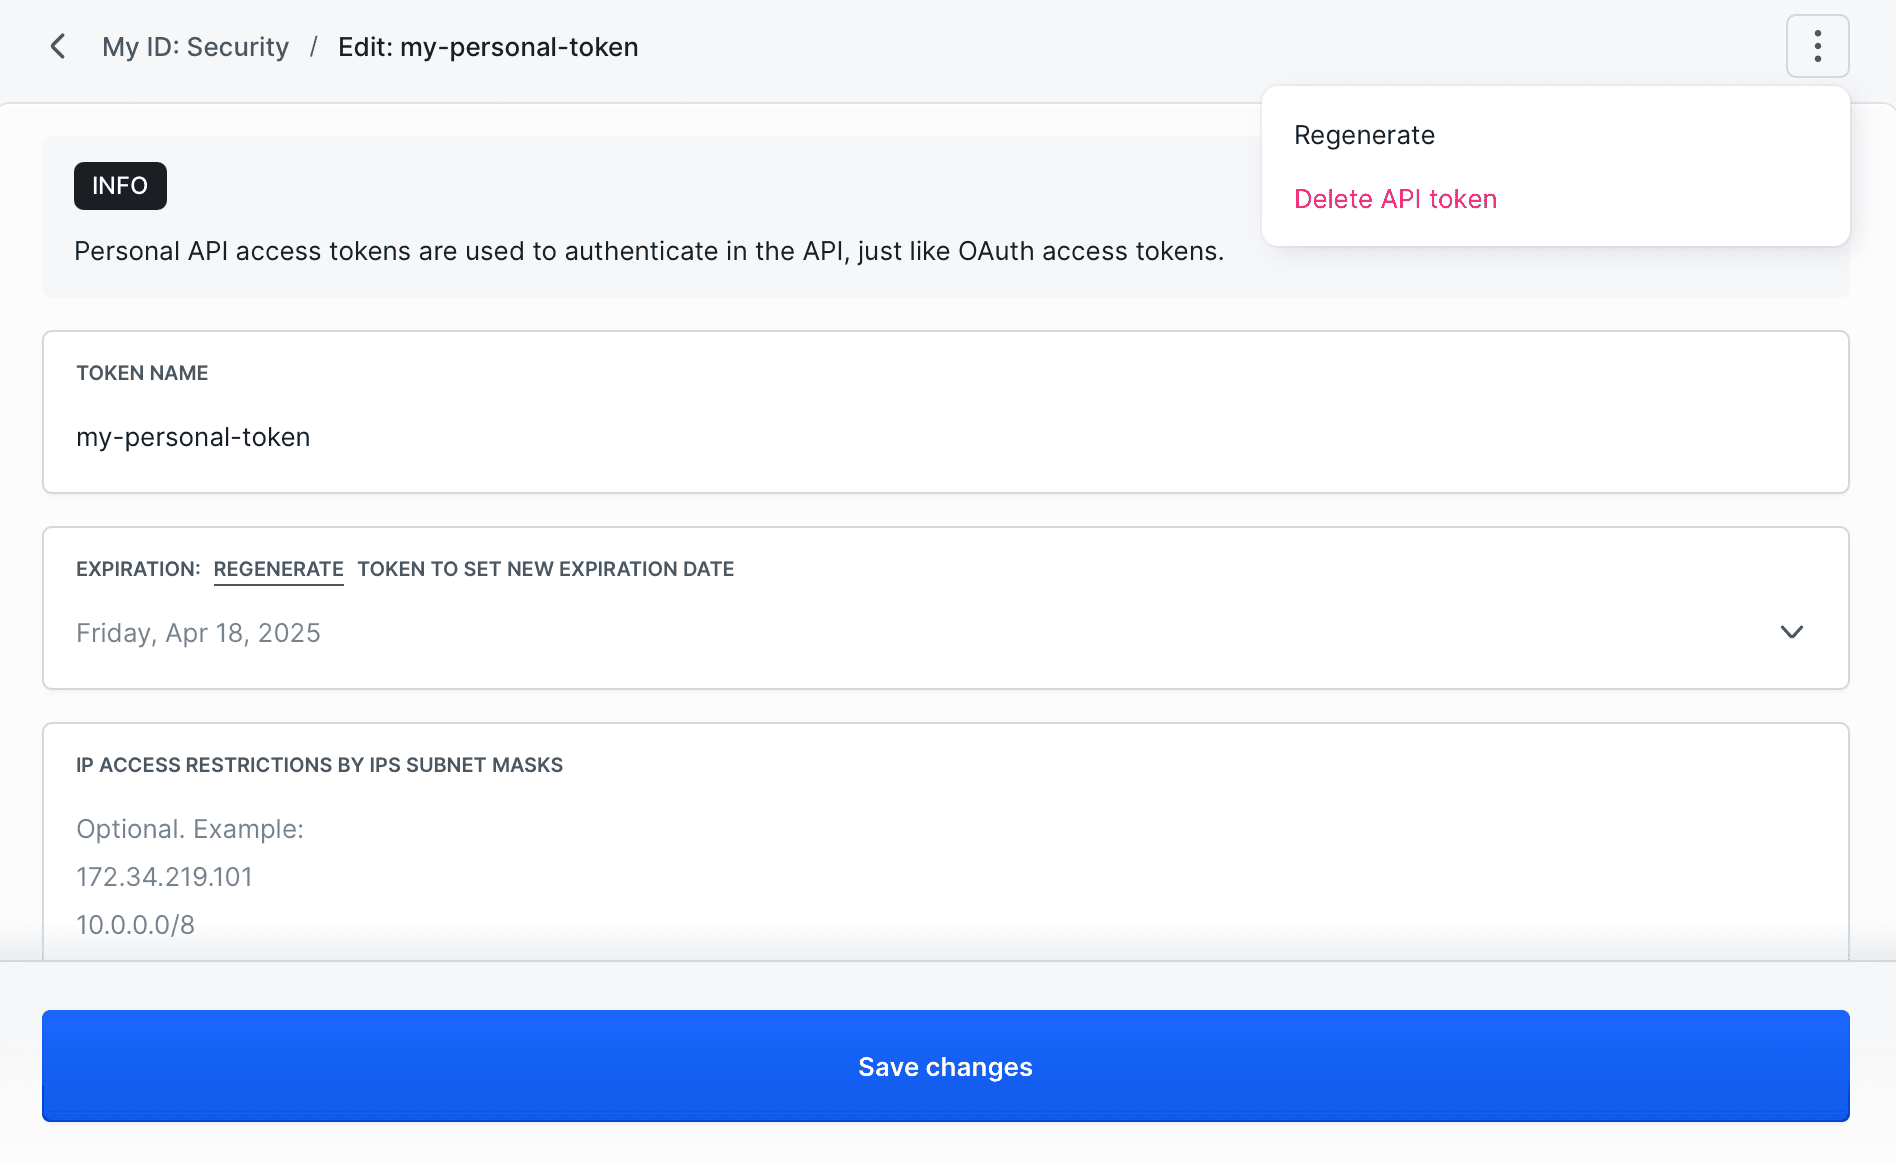
Last modified on Apr 22, 2026