Certificates & profiles
Sign Certificates
Generating Sign Certificate
- Open the Keychain Access app on macOS.
- From the top navigation bar, go to Keychain Access → Certificate Assistant and click 'Request a Certificate From a Certificate Authority...'
- Fill in your email address and name and select 'Saved to disk'.
- Click continue to save the request:
Image loading...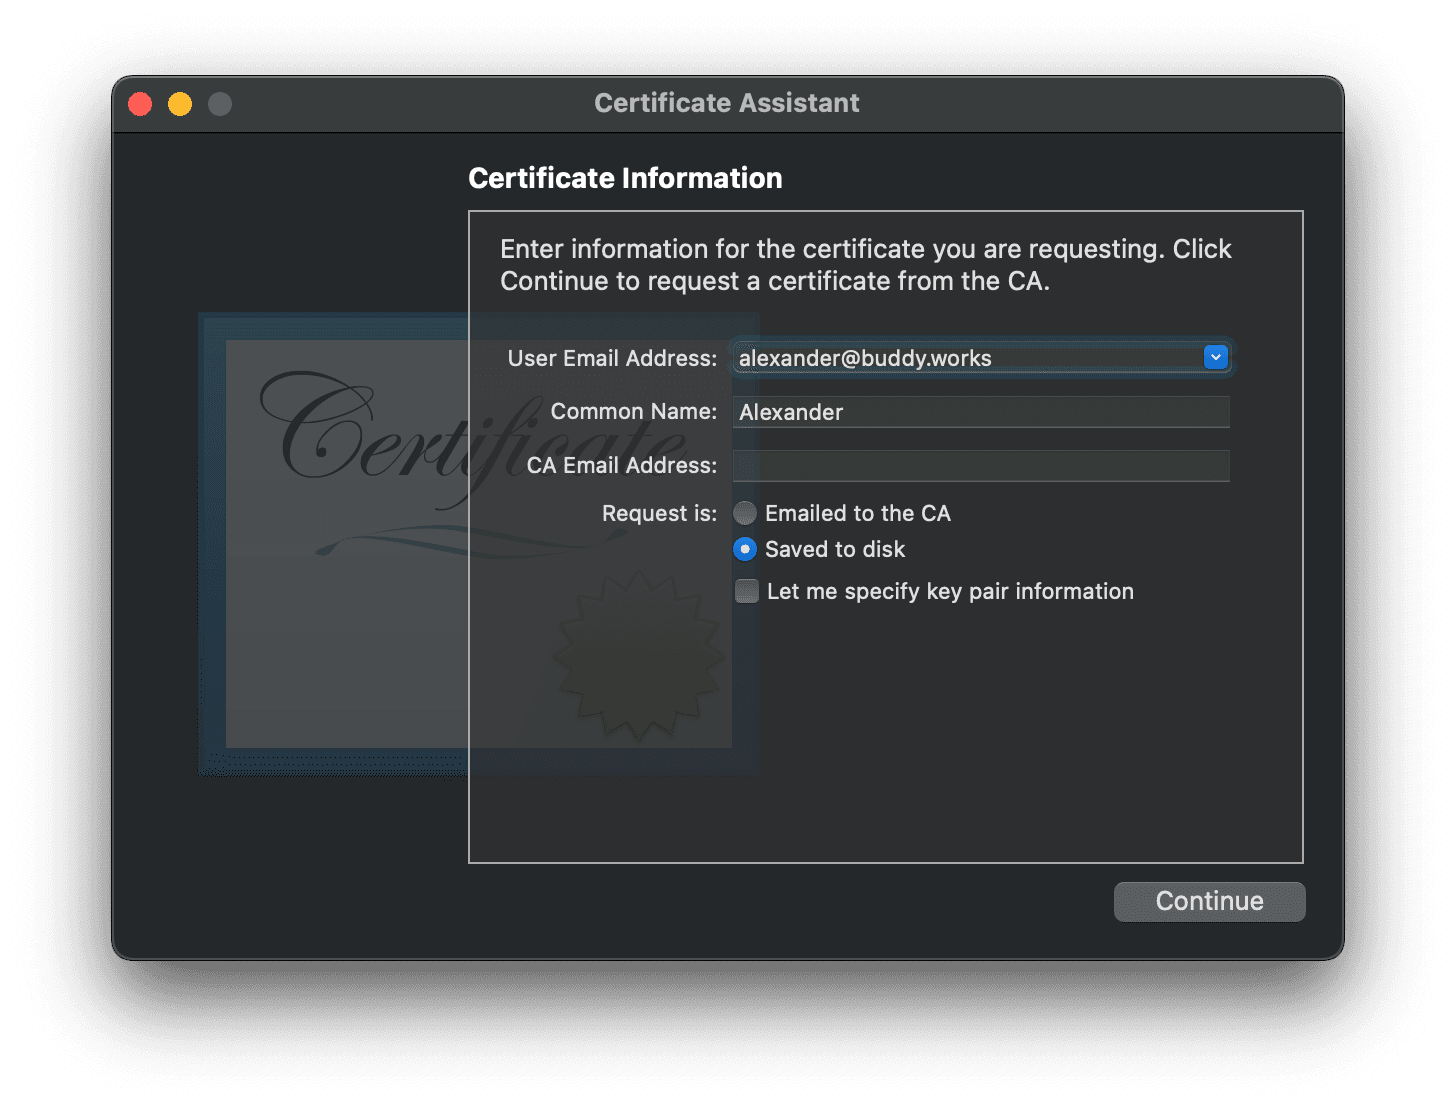
Adding Sign Certificate
- Launch Xcode on macOS.
- From the top navigation bar, go to Xcode → Settings.
- Switch to the Accounts tab and click 'Manage certificates'.
- Click the + button and select 'Apple distrubution'.
Image loading...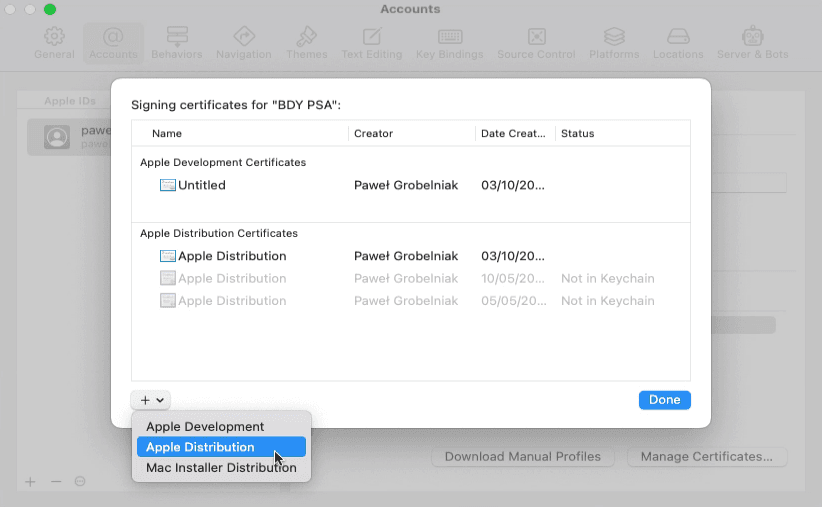
- Right-click on the newly-created certificate and select 'Export certificate'
Image loading...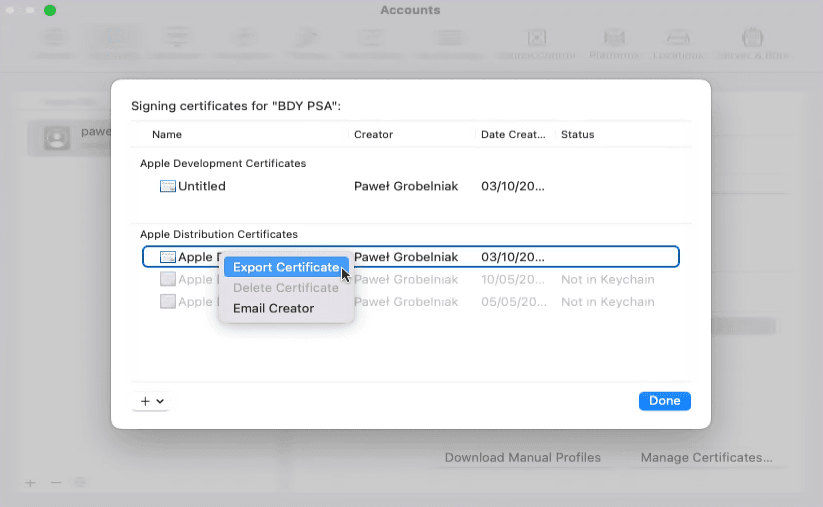
- Enter the name and password and save the certificate to disk.
Provisioning Profiles
Generating App ID
The App ID is required by your Provisioning Profile for application development.
- Log in to https://developer.apple.com/account
- Go to Identifiers under Certificates, Identifiers & Profiles.
- Click the + button to add a new identifier:
Image loading...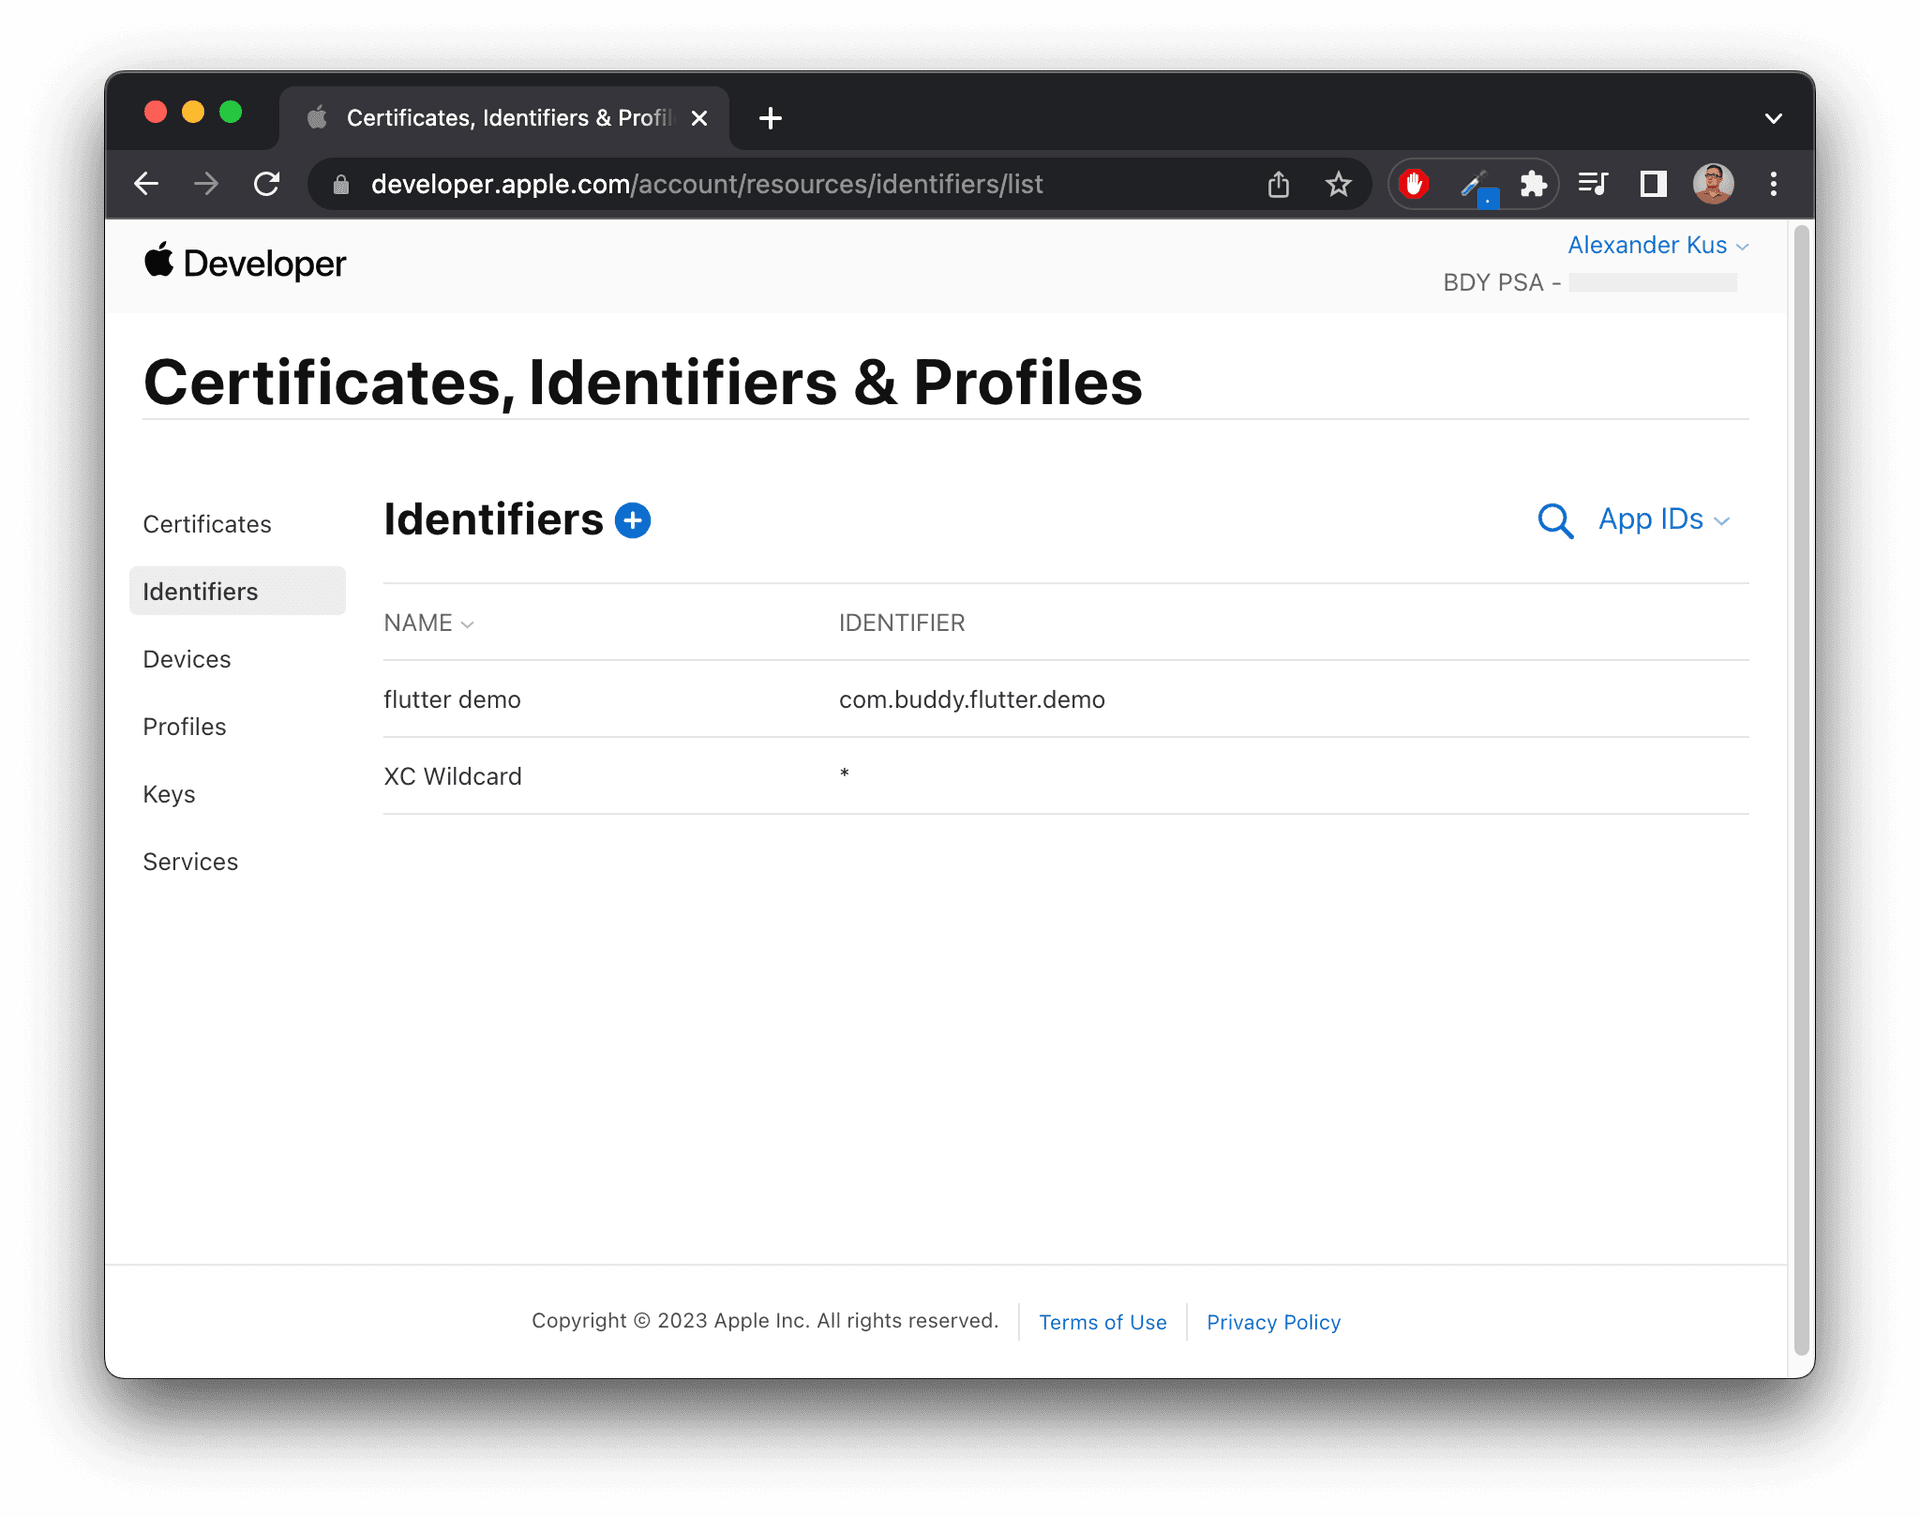
- Set the type to 'App ID' and click continue.
- On the registration page, add a description and select the App Services required by your application. Next, set the Bundle ID to 'Explicit' and enter the bundle identifier. When ready, click continue:
Image loading...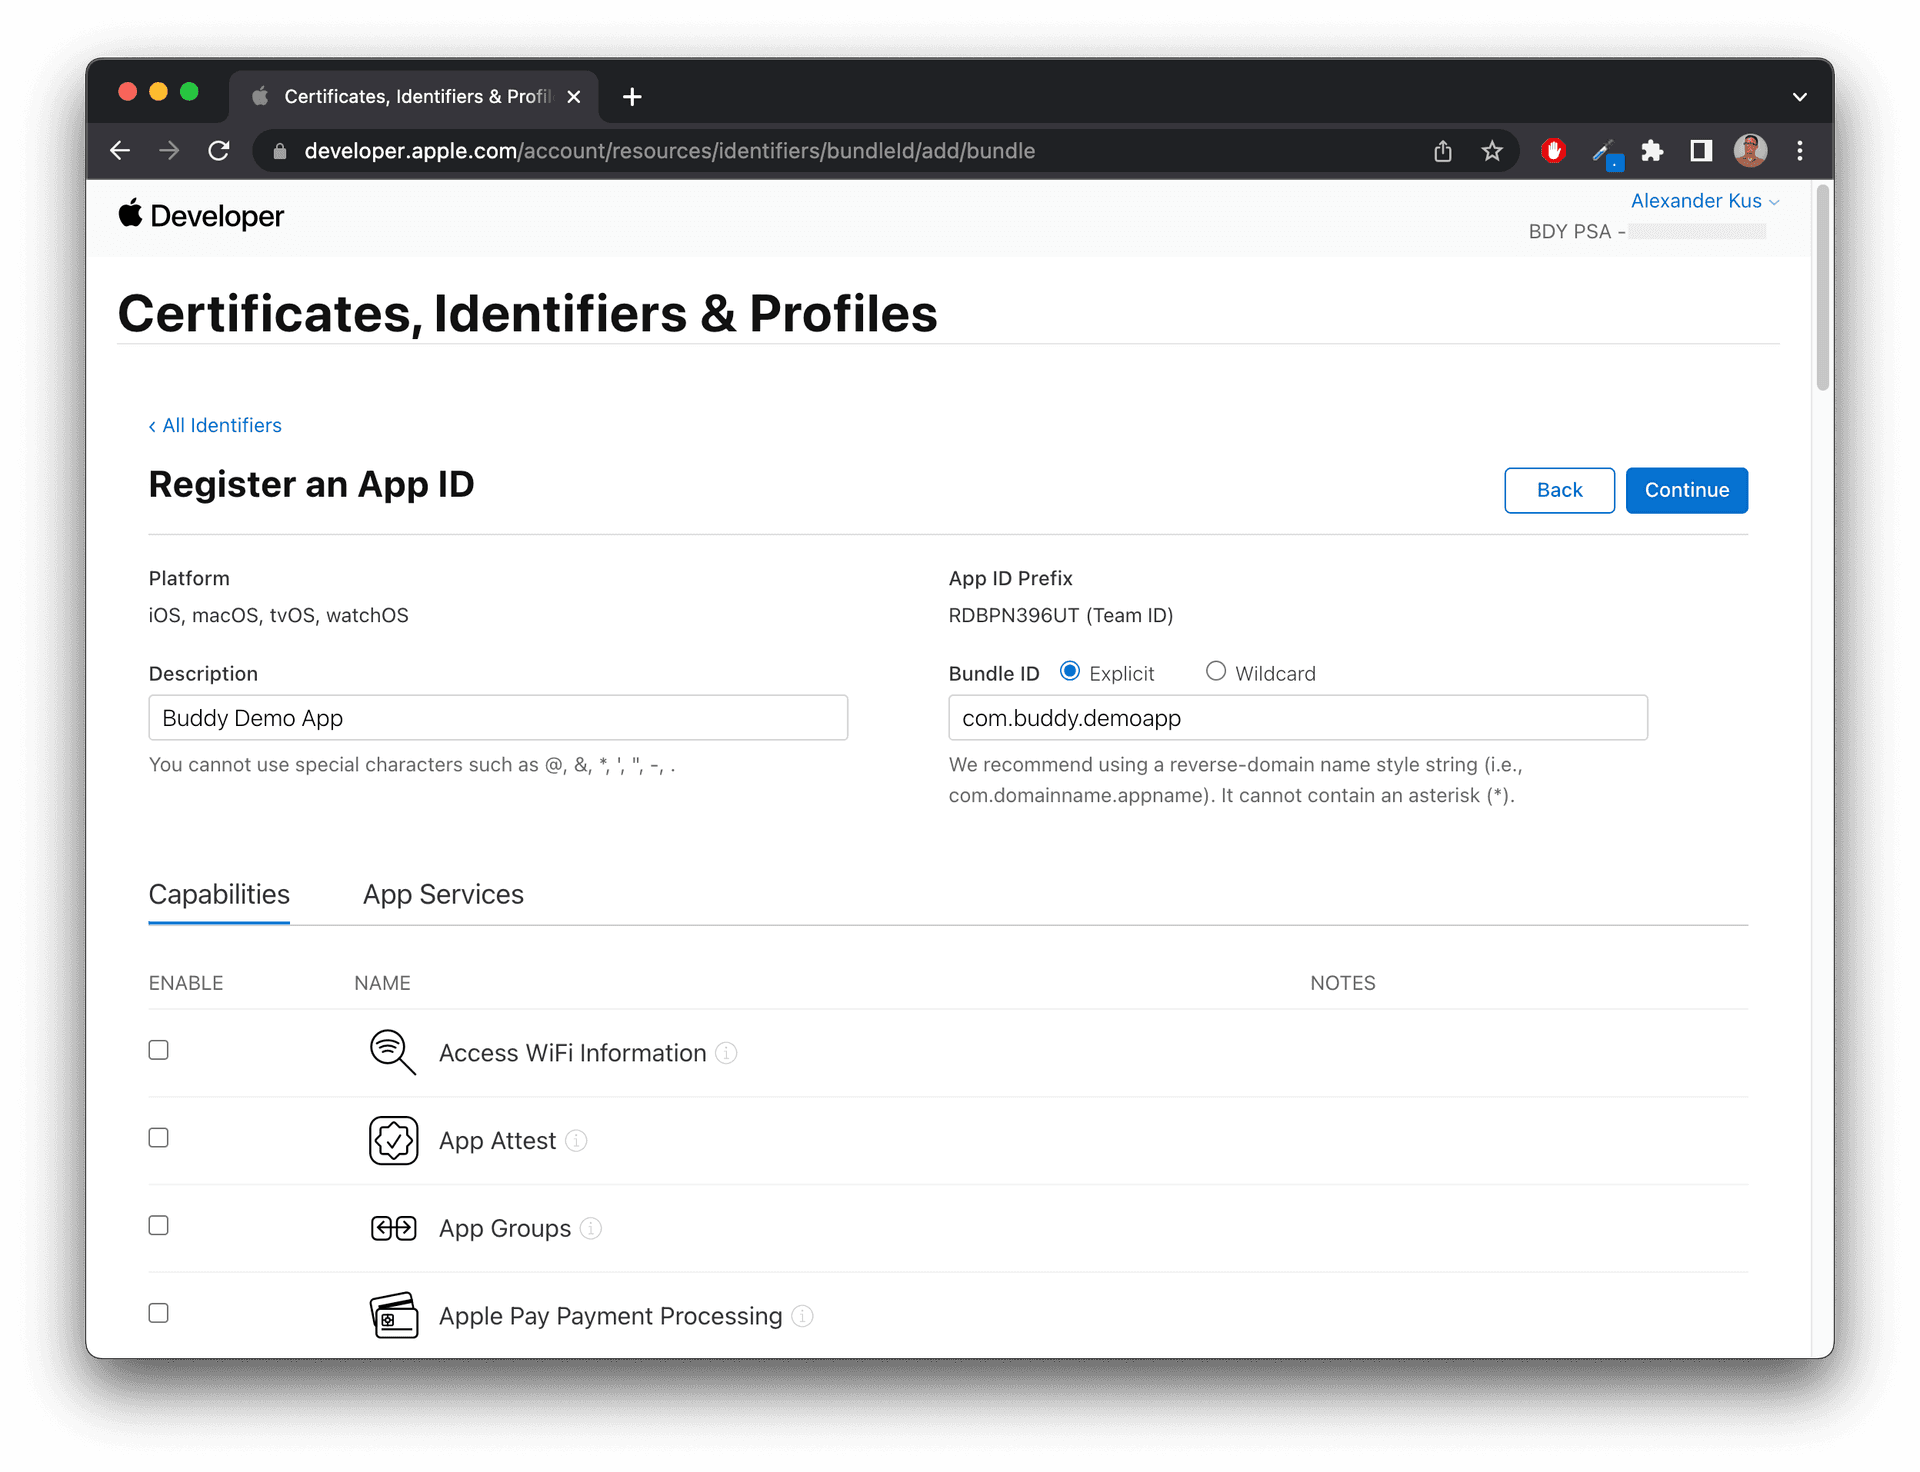
- Review changes and click Register to finish configuration.
Generating Provisioning Profile
- Log in to https://developer.apple.com/account
- Go to Profiles under Certificates, Identifiers & Profiles.
- Click the + button to add a new profile:
Image loading...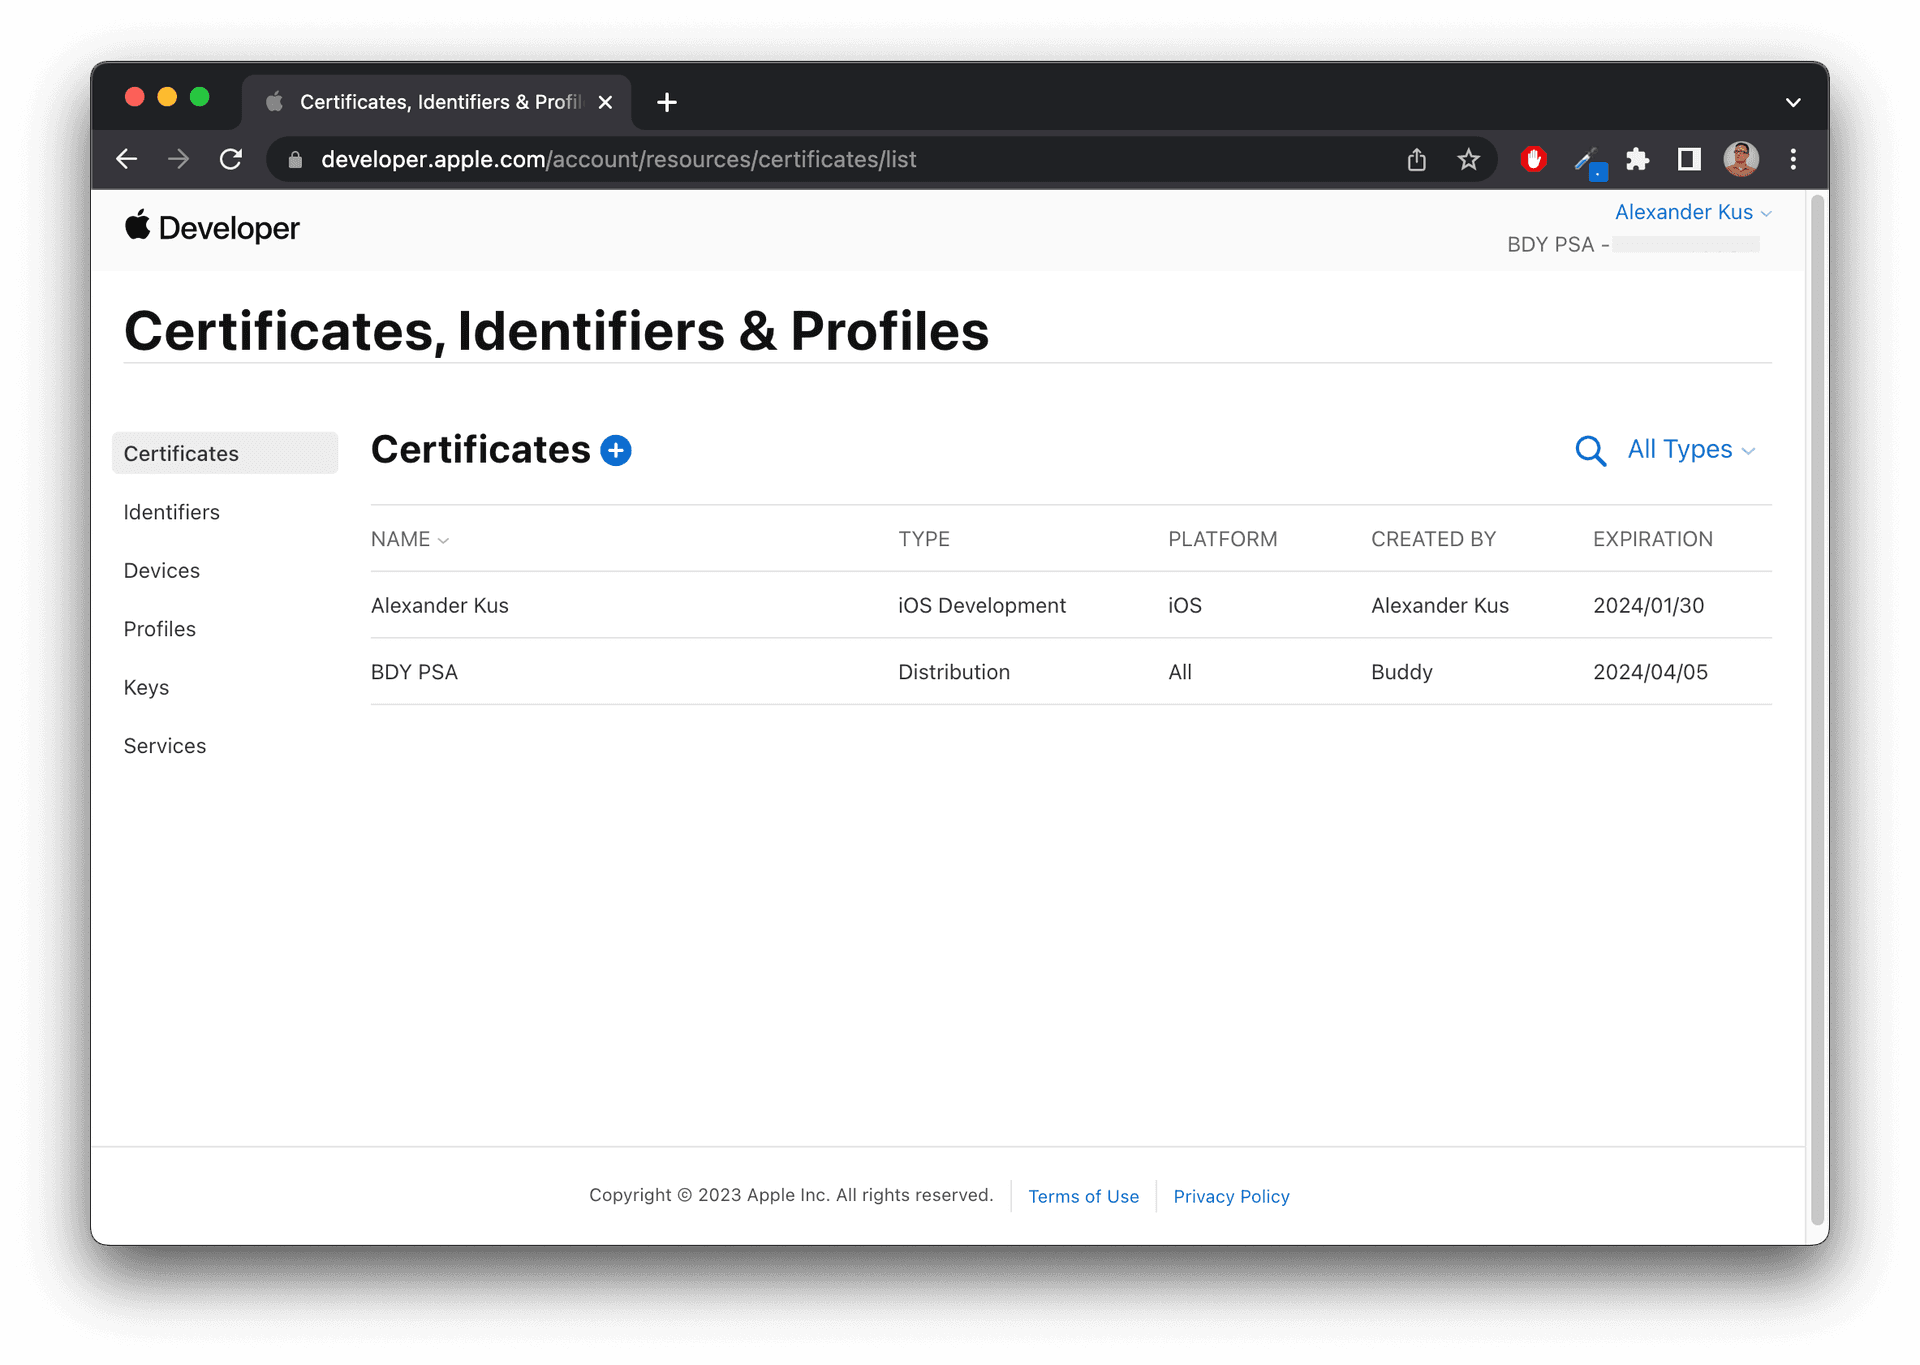
- Select the type of the profile and proceed to the next page.
- Select the App ID that you want to use and click continue:
Image loading...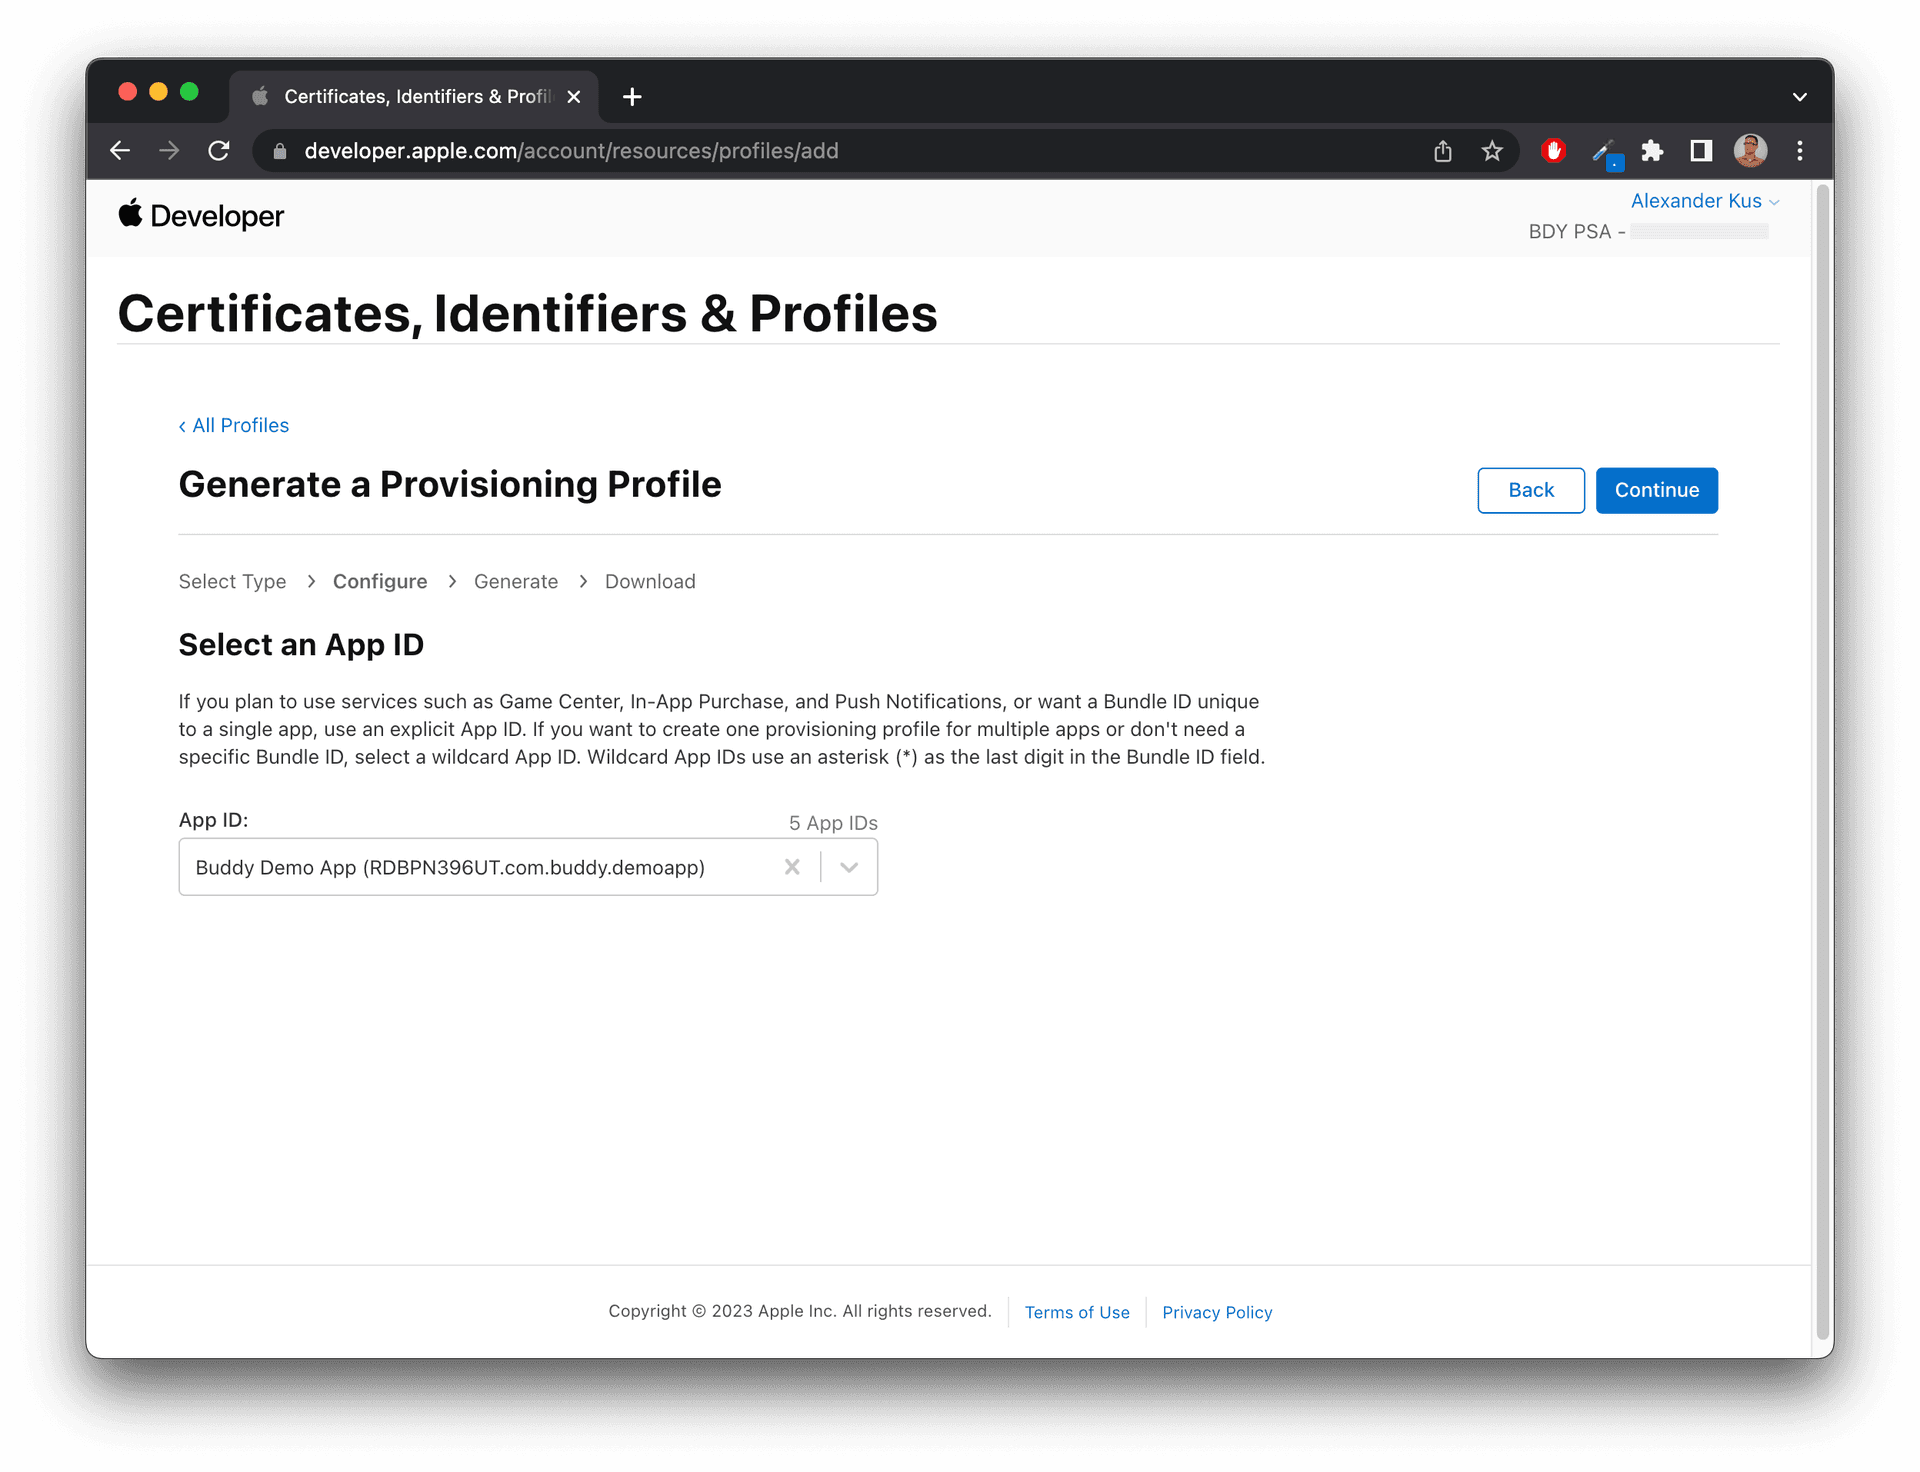
- Select the certificate that you wish to include in the provisioning profile and click continue.
- Select the devices on which you are planning to install your application and click continue.
- Enter the name of the profile and check if everything is in order. When ready, click generate:
Image loading...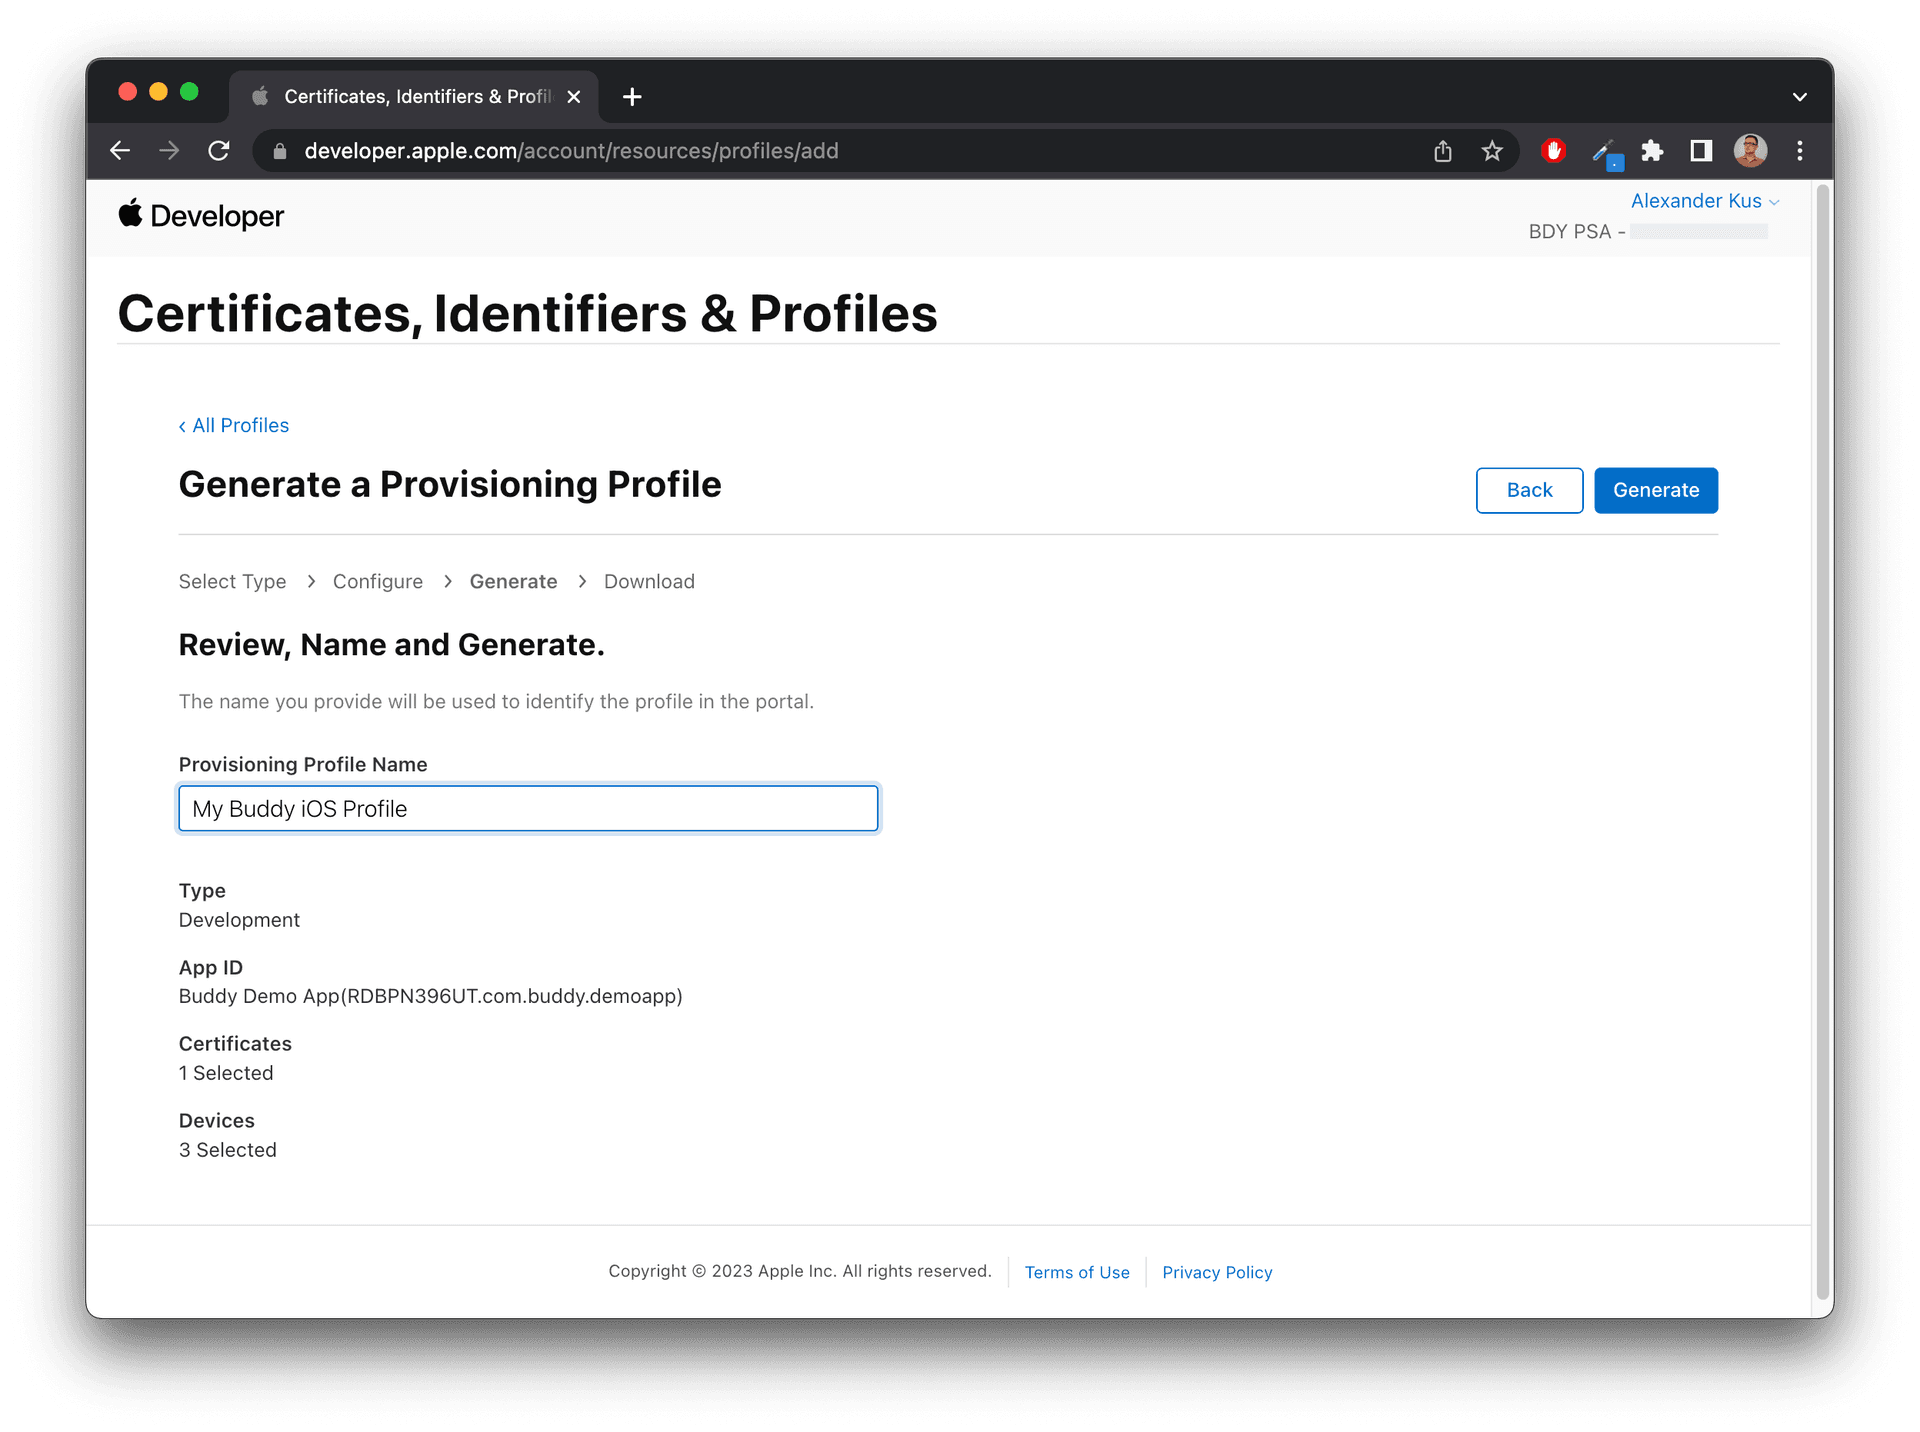
- Click download to save the profile to your disk and double-click the file to install it.
Adding certificate and profile to project
With the certificate and profile generated, you can now add them to Buddy:
- Open your project in Buddy and go to Variables, Keys & Assets
- Click + and select the file with the certificate.
- Enter the certificate password and click Add this variable.
- Repeat the process for the provisioning profile.
Image loading...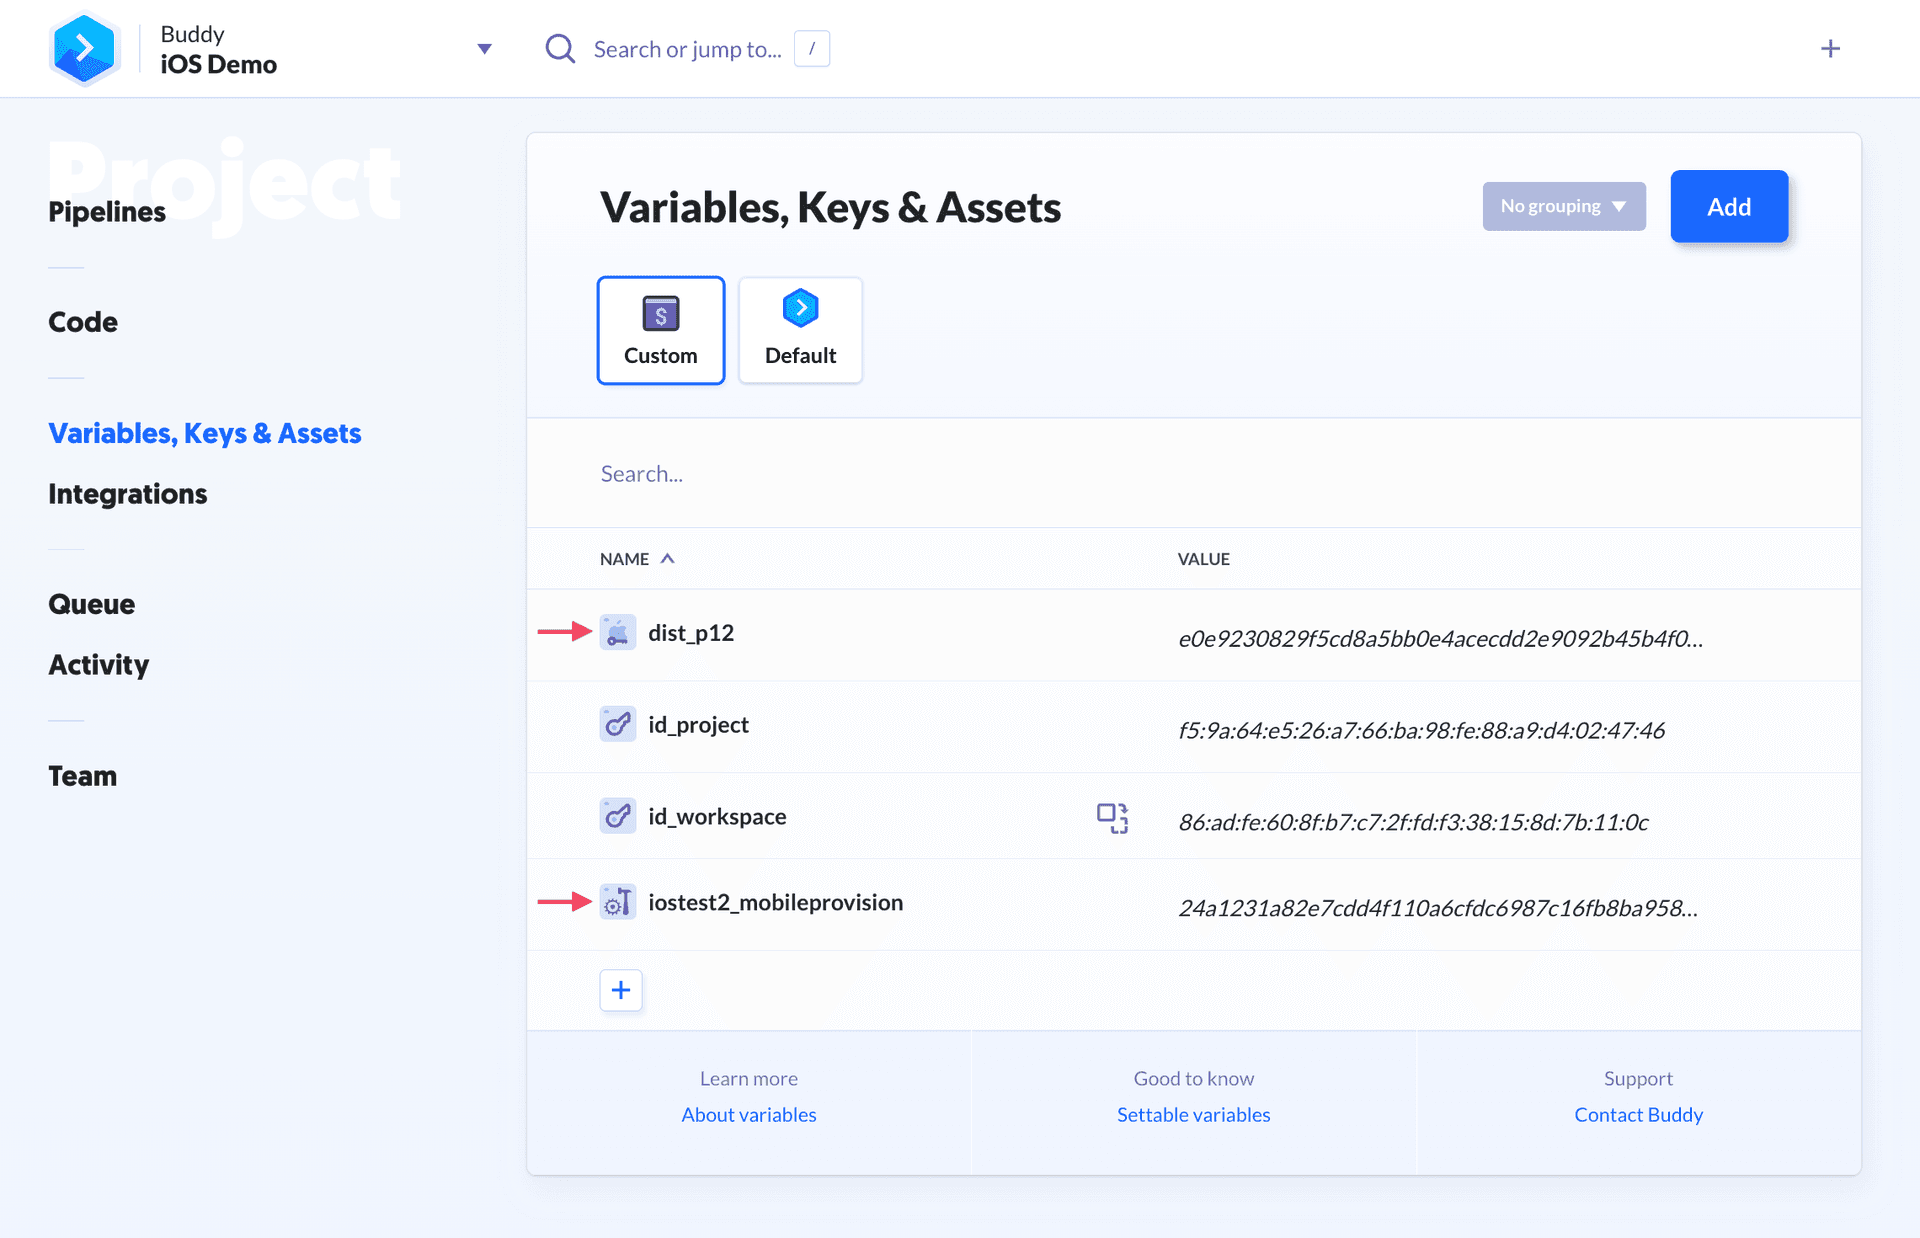
Last modified on Feb 17, 2025