Branches
Branches are independent lines of development allowing devs to work on features, fix bugs and test stuff without the risk of disturbing the main line (master branch). With Buddy, you can create, merge and manage branches in a just a few clicks.
Creating a new branch
- Go to the Branches section in the left sidebar.
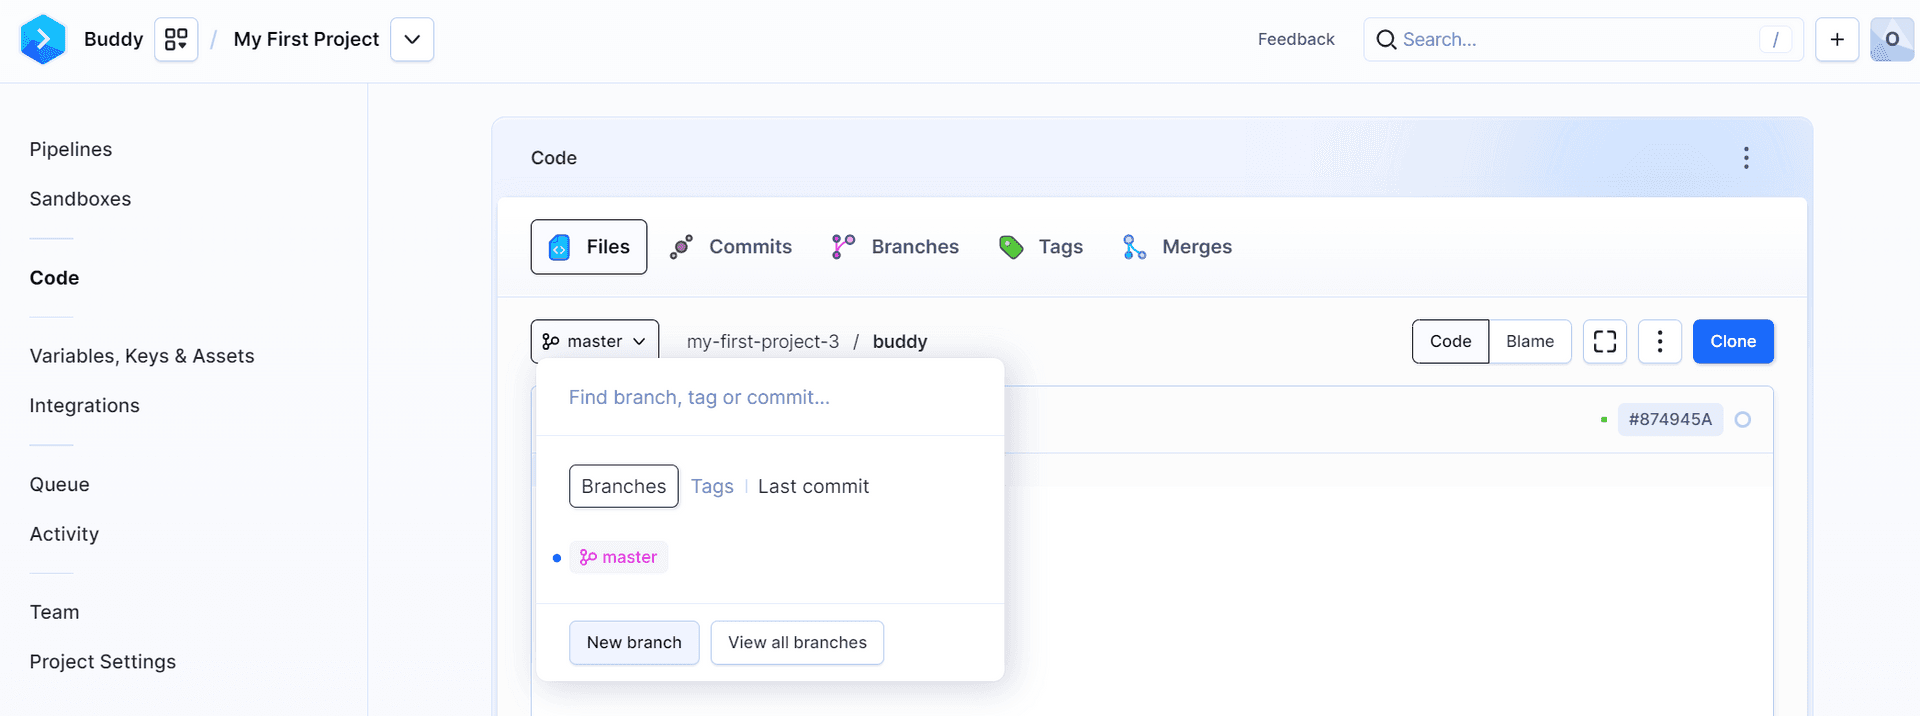
- Click the New branch button in the top-right corner.
Image loading...
- Provide the branch name, optional description, and choose the start point from a commit, existing branch, or tag.
Image loading...
- Click Create a new branch to confirm.
Image loading...
Start point selection
Buddy allows to choose any start point for a new branch:
- Commits – specific commits by their name or ID
- Branches – specific branches (e.g.,
master,dev) - Tags – existing tags (e.g.,
v2.0,v1.0.1)
Image loading...
Merging branches
Merging branches is the process of combining changes from one branch to another, usually to integrate new code into the main line of development.
- Navigate to Branches page.
- Click New merge
Image loading...
- In the new window, select target and source branches and merging method:
- Merge now – merges the branches immediately.
- Create merge request – creates a merge request that needs approval.
- If there are no conflicts, click Merge now or Open merge request

- You can merge two branches only if there are no conflicts between them
- The comparison status shows you the number of commits ahead (green) and behind (red) the selected branch
- If you do not have permissions to push to the selected branch, you can reate a Merge Request instead
Changing the default branch in the repository
You can change the default branch for the repository in the Branches tab by clicking the three-dot menu next to the branch name and selecting Set as default branch. This branch will be default when you clone the repository, or when you browse the source in Buddy.
Image loading...
Branch permissions
Push permissions allow you to restrict write permissions in a specific branch in the repository. Here’s how:
- Go to Branches and click the branch that you want to restrict.
- Enter Permissions tab and select who’s allowed to make pushes.
Image loading...
Repository backup
You can back up a branch in your repository by adding an SSH command that will trigger the upload of the newest version to a server after every push to that branch. Here’s how:
Execute the following on the server where you want to keep the data:
bashmkdir backup cd backup git clone --mirror repo_url_ssh$$$- Open the project that you want to backup and go to Pipelines
- Add a new pipeline in the automatic mode and add the SSH action
- Provide the details of your server and set “backup/repo” as the working directory
In the command field type the following:
bashgit remote update$
Once you save, the backup will be performed automatically on every push to the branch.
Last modified on May 20, 2025