PowerShell
With Buddy, you can create a pipeline that builds, tests, and deploys Windows applications on a push to Git. Use PowerShell scripts to automate deployment tasks like restarting IIS, running migrations, and managing Windows services. The configuration is super simple and takes 10 to 15 minutes.
Image loading...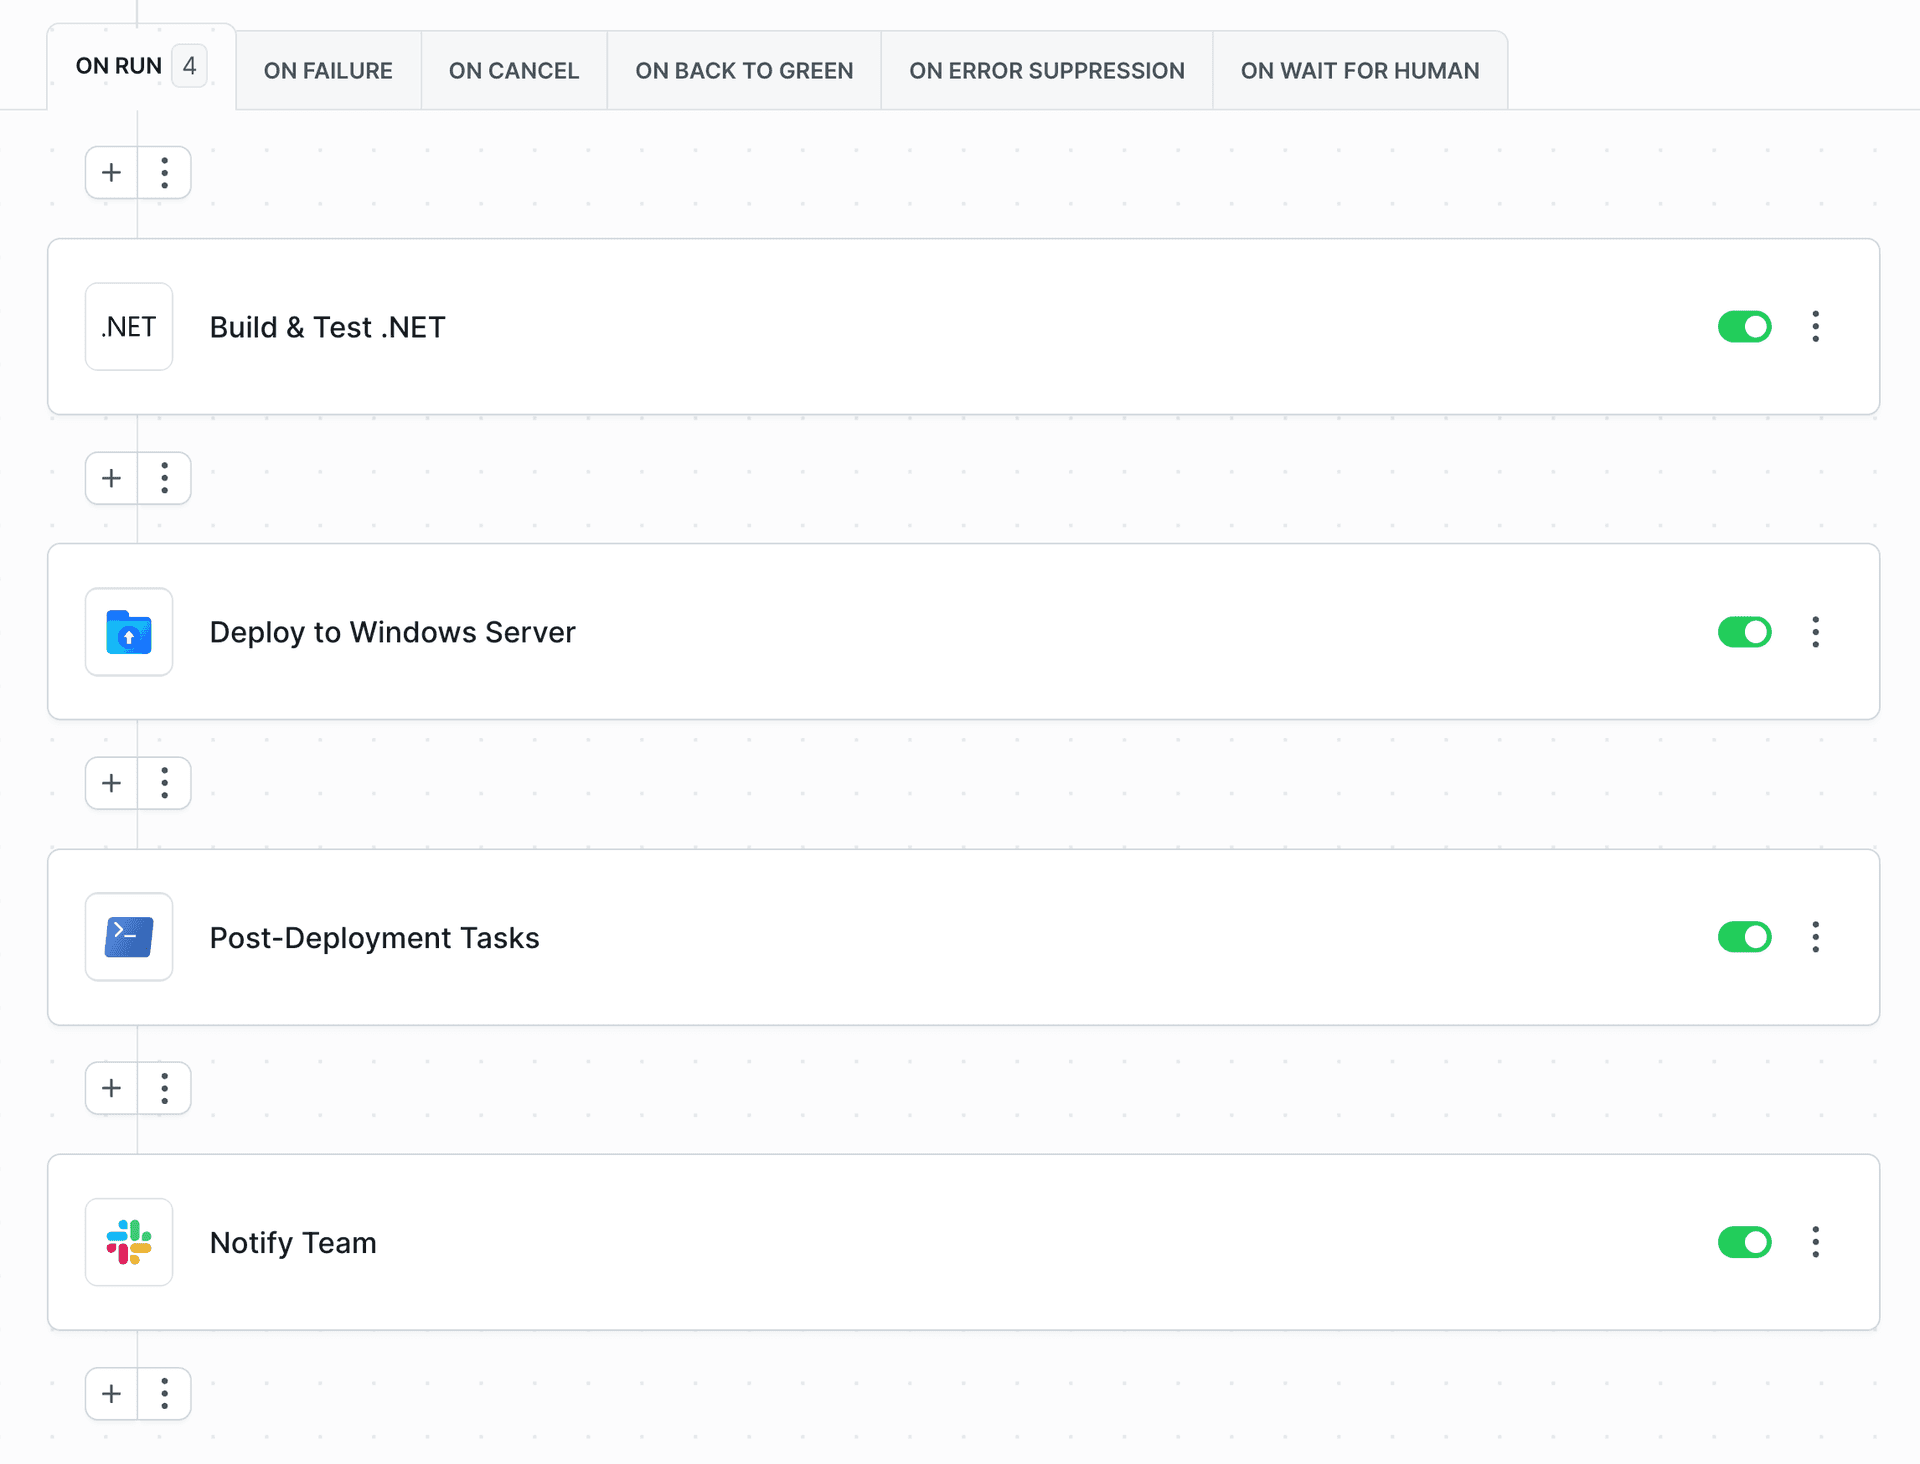
Prerequisites
Before setting up your pipeline, you need to ensure that your Windows server has OpenSSH Server installed and configured. The OpenSSH Server must be set up on Windows to allow remote PowerShell execution.
Install OpenSSH Server on Windows
Follow the official Microsoft documentation to install and configure OpenSSH Server:
Get started with OpenSSH Server for Windows
Configure PowerShell as Default Shell
For PowerShell actions to work correctly in OpenSSH, you need to set the default shell to PowerShell. Run the following commands on your Windows server:
powershell# For PowerShell 7
New-ItemProperty -Path "HKLM\SOFTWARE\OpenSSH" -Name DefaultShell -Value "C:\Program Files\PowerShell\7\pwsh.exe" -PropertyType String -Force

# For PowerShell 5
New-ItemProperty -Path "HKLM\SOFTWARE\OpenSSH" -Name DefaultShell -Value "C:\Windows\System32\WindowsPowerShell\v1.0\powershell.exe" -PropertyType String -Force

# Restart SSH service
Restart-Service sshd
Using Buddy Agents
You can use Buddy Agents instead of OpenSSH Server. This eliminates the need for SSH installation on your Windows server, which is helpful when security restrictions prevent OpenSSH installation. Agents also let you work behind a firewall and connect through outbound tunnels without opening inbound firewall ports.
You can use an agent in two ways:
As a target: Install the agent on your Windows server and expose it as a target. The agent will appear in the list of available SSH targets. See Server Agents documentation.
As a proxy: Use an agent as a proxy for your SFTP/SSH targets to connect to resources behind a firewall or in private networks. See Proxy Agents documentation for details.
1. Create a new project
Go to Projects and click Create new project. Select your Git hosting provider (Buddy, GitHub, Bitbucket, GitLab, or Private Server) and enter your project name.
Image loading...
2. Add a new pipeline
Navigate to Pipelines and click New pipeline. In the form, configure the following:
- Name - Enter a descriptive name for your pipeline (e.g., "Deploy to production")
- ID - Optional identifier for the pipeline
- CPU - Select architecture: x64 or ARM64
- Resources per pipeline run - Choose resource allocation (default: Workspace default)
- Definition Location - Optionally check "Store configuration in a Git repository" to use YAML files
Click Add pipeline to create it.
Image loading...
3. Configure workflow: contexts and triggers
After creating the pipeline, go to the Workflow tab to configure:
Image loading...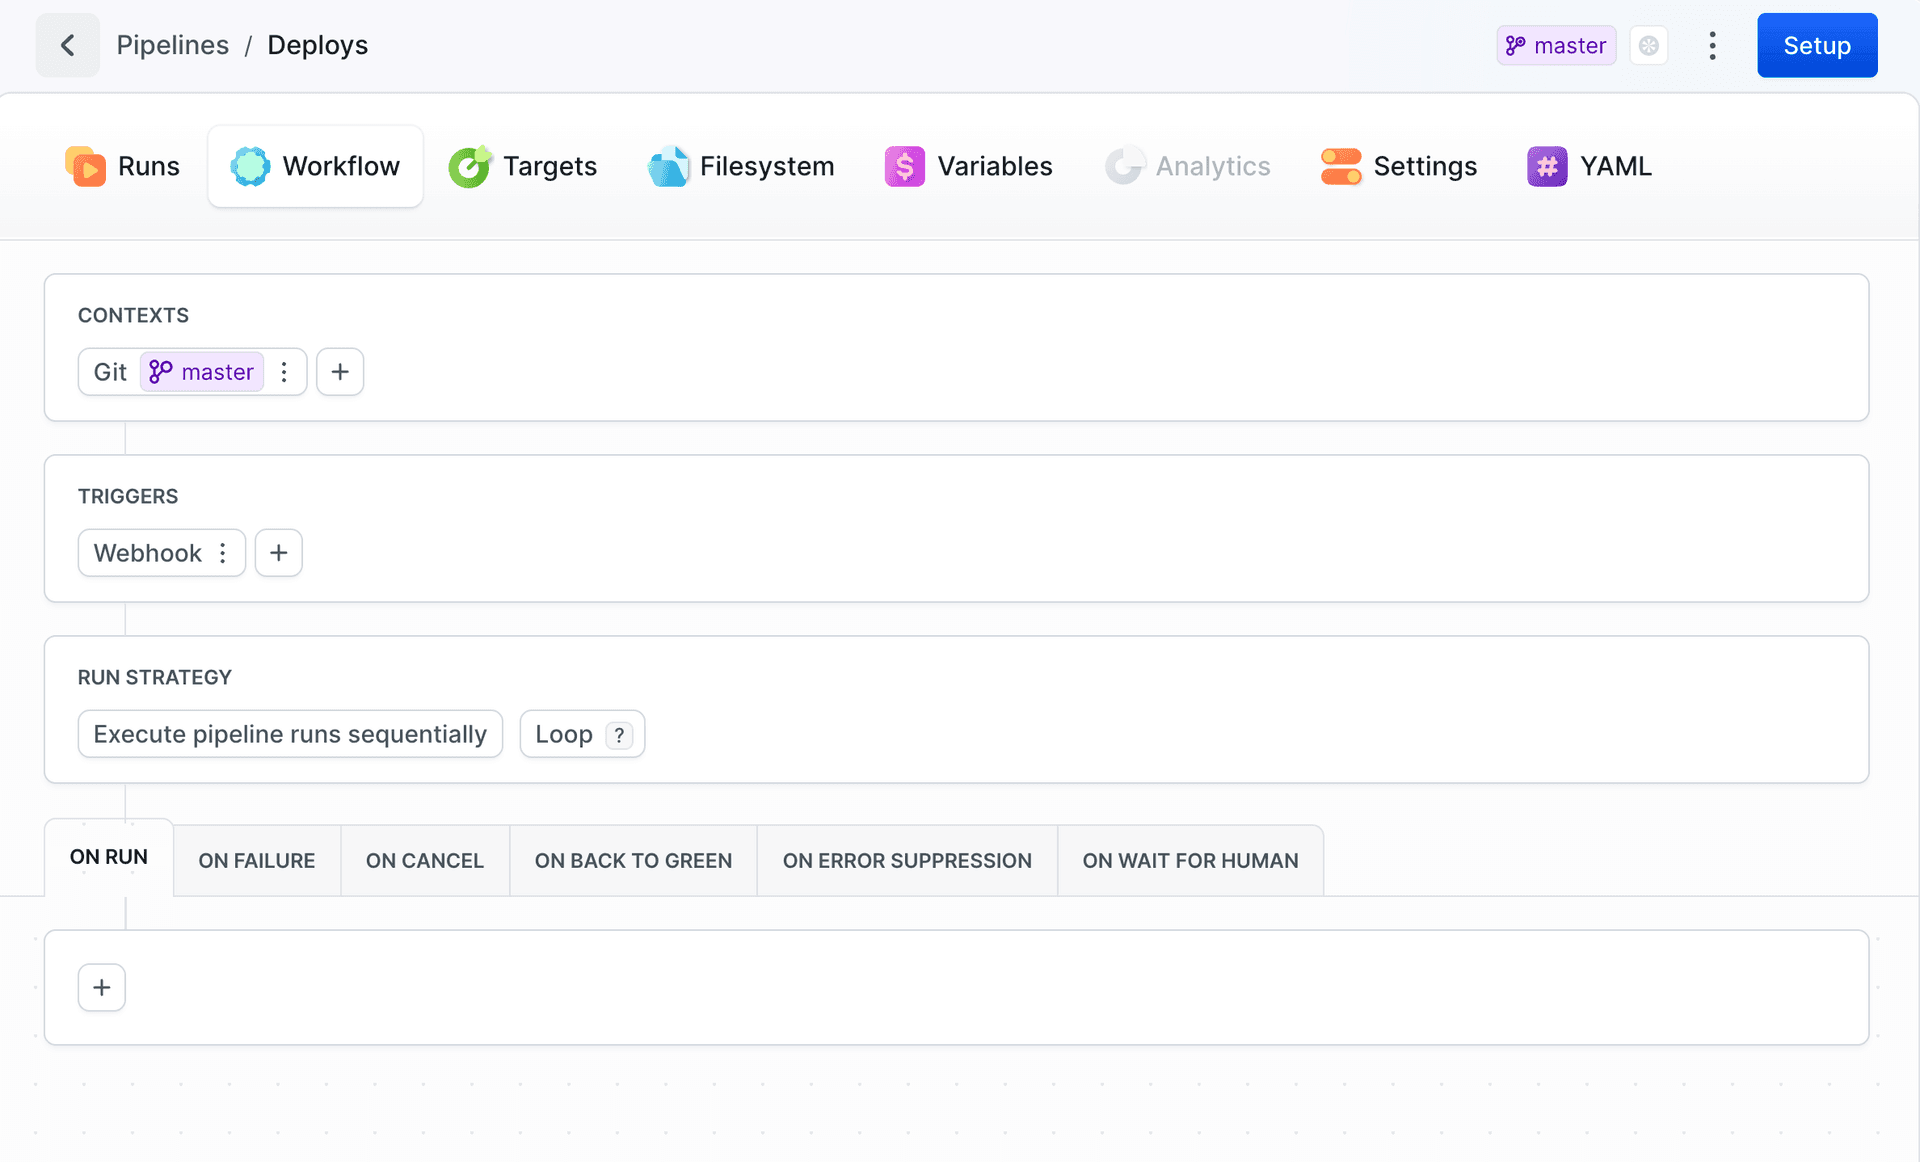
Contexts - Click
+to add Git branch/tag context or Environment. See Contexts.Triggers - Click
+to add Git events, Schedule, or Webhook. See Workflow Configuration.
4. Add actions
Buddy lets you choose from dozens of predefined actions. In this example, we'll add 4 actions that will perform the following tasks:
- Build your .NET application
- Upload application files to Windows server
- Execute PowerShell deployment scripts to restart services
- Send notification to Slack
4.1 Build your .NET application
Build actions in Buddy are run in isolated containers run from official Docker images. When the pipeline is run, Buddy pulls the container, runs build commands, and uploads the results to the pipeline filesystem.
Look up and click .NET on the action list to add it to the pipeline.
Image loading...
The Run tab lets you determine the commands to execute. The default commands are:
bashdotnet restore dotnet build dotnet test$$$
Image loading...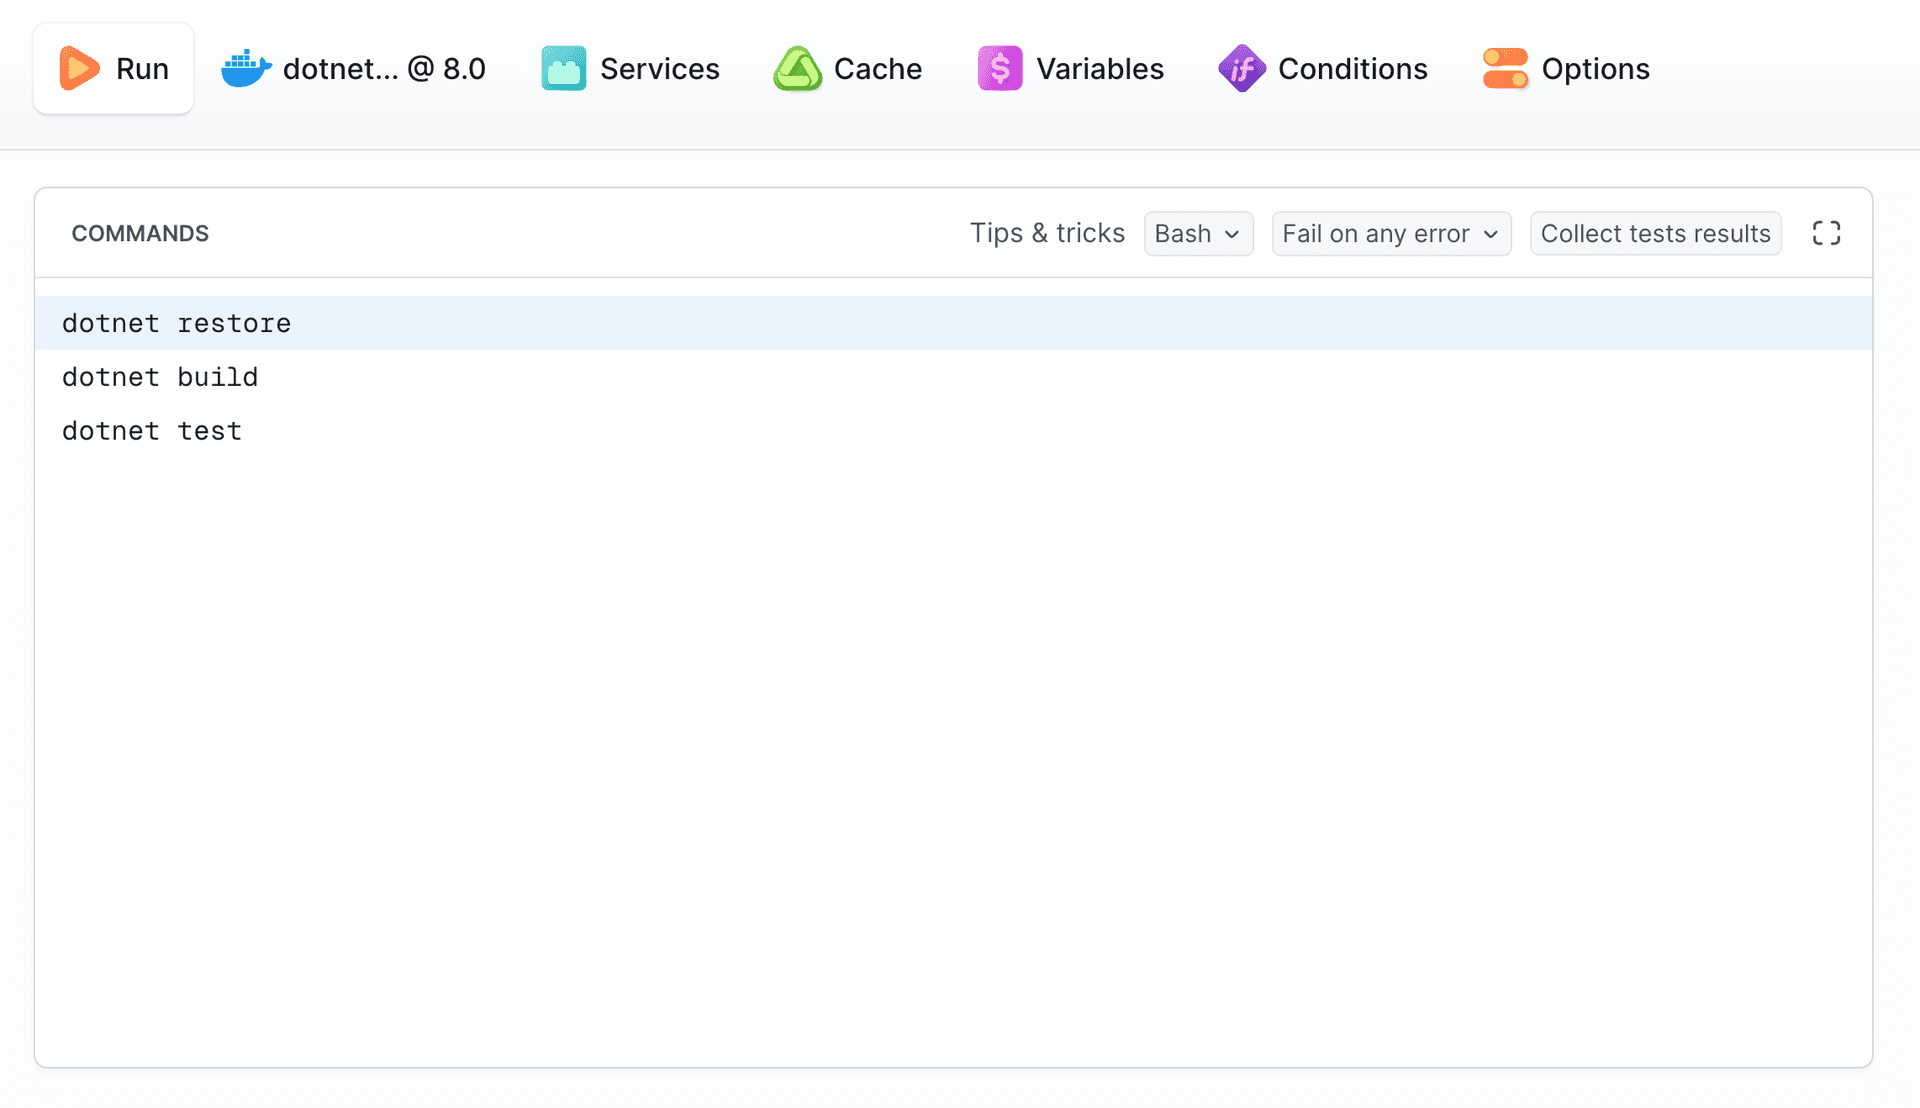
4.1.2 .NET version
You can change the version of .NET and install missing packages & tools in the runtime environment tab:
Image loading...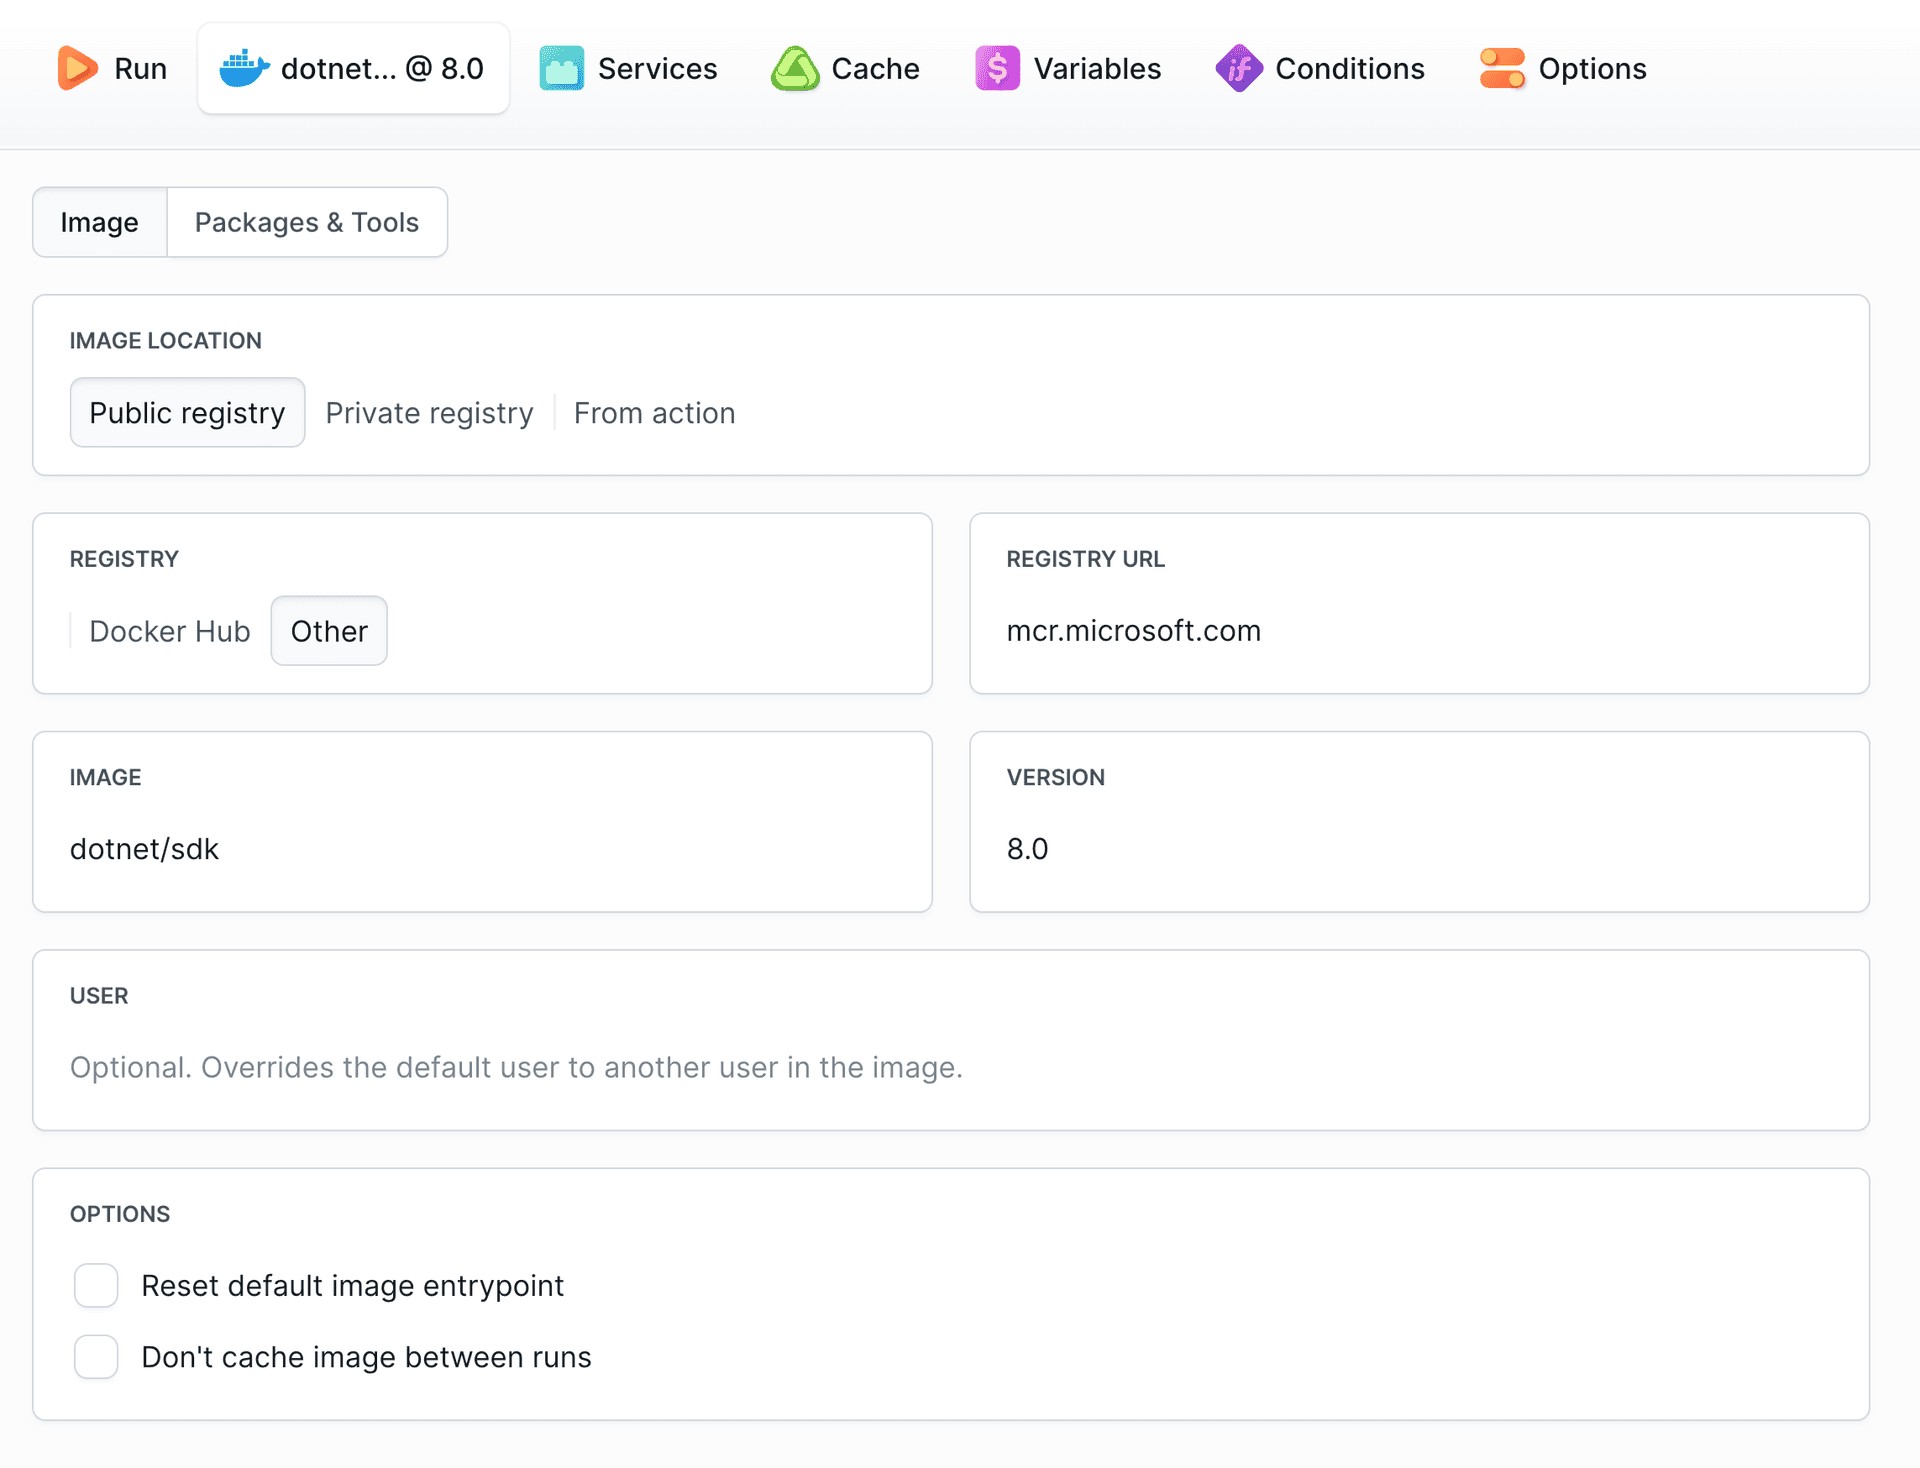
4.2 Deploy application to Windows server
The compiled .NET application needs to be uploaded to the Windows server. Head to the Deploy tab and select Transfer action. In the action configuration, select your Target (FTPS, FTP, SSH, SFTP, or other protocol) configured for your Windows server:
Image loading...
When adding the action, you can choose what and where should be uploaded:
Image loading...
Targets allow to save pre-configured transfer server settings to be used across multiple actions.
4.3 Execute deployment scripts with PowerShell
After uploading the application, use the PowerShell action to execute deployment scripts directly on your Windows server via SSH connection. This is perfect for tasks like restarting IIS application pools, clearing cache, and managing Windows services.
Enter the commands to execute in Run CMDs and configure authentication details in the Target tab:
powershell# Restart IIS application pool
Restart-WebAppPool -Name 'MyAppPool'

# Clear application cache
Remove-Item -Path 'C:\inetpub\wwwroot\MyApp\cache\*' -Recurse -Force
Image loading...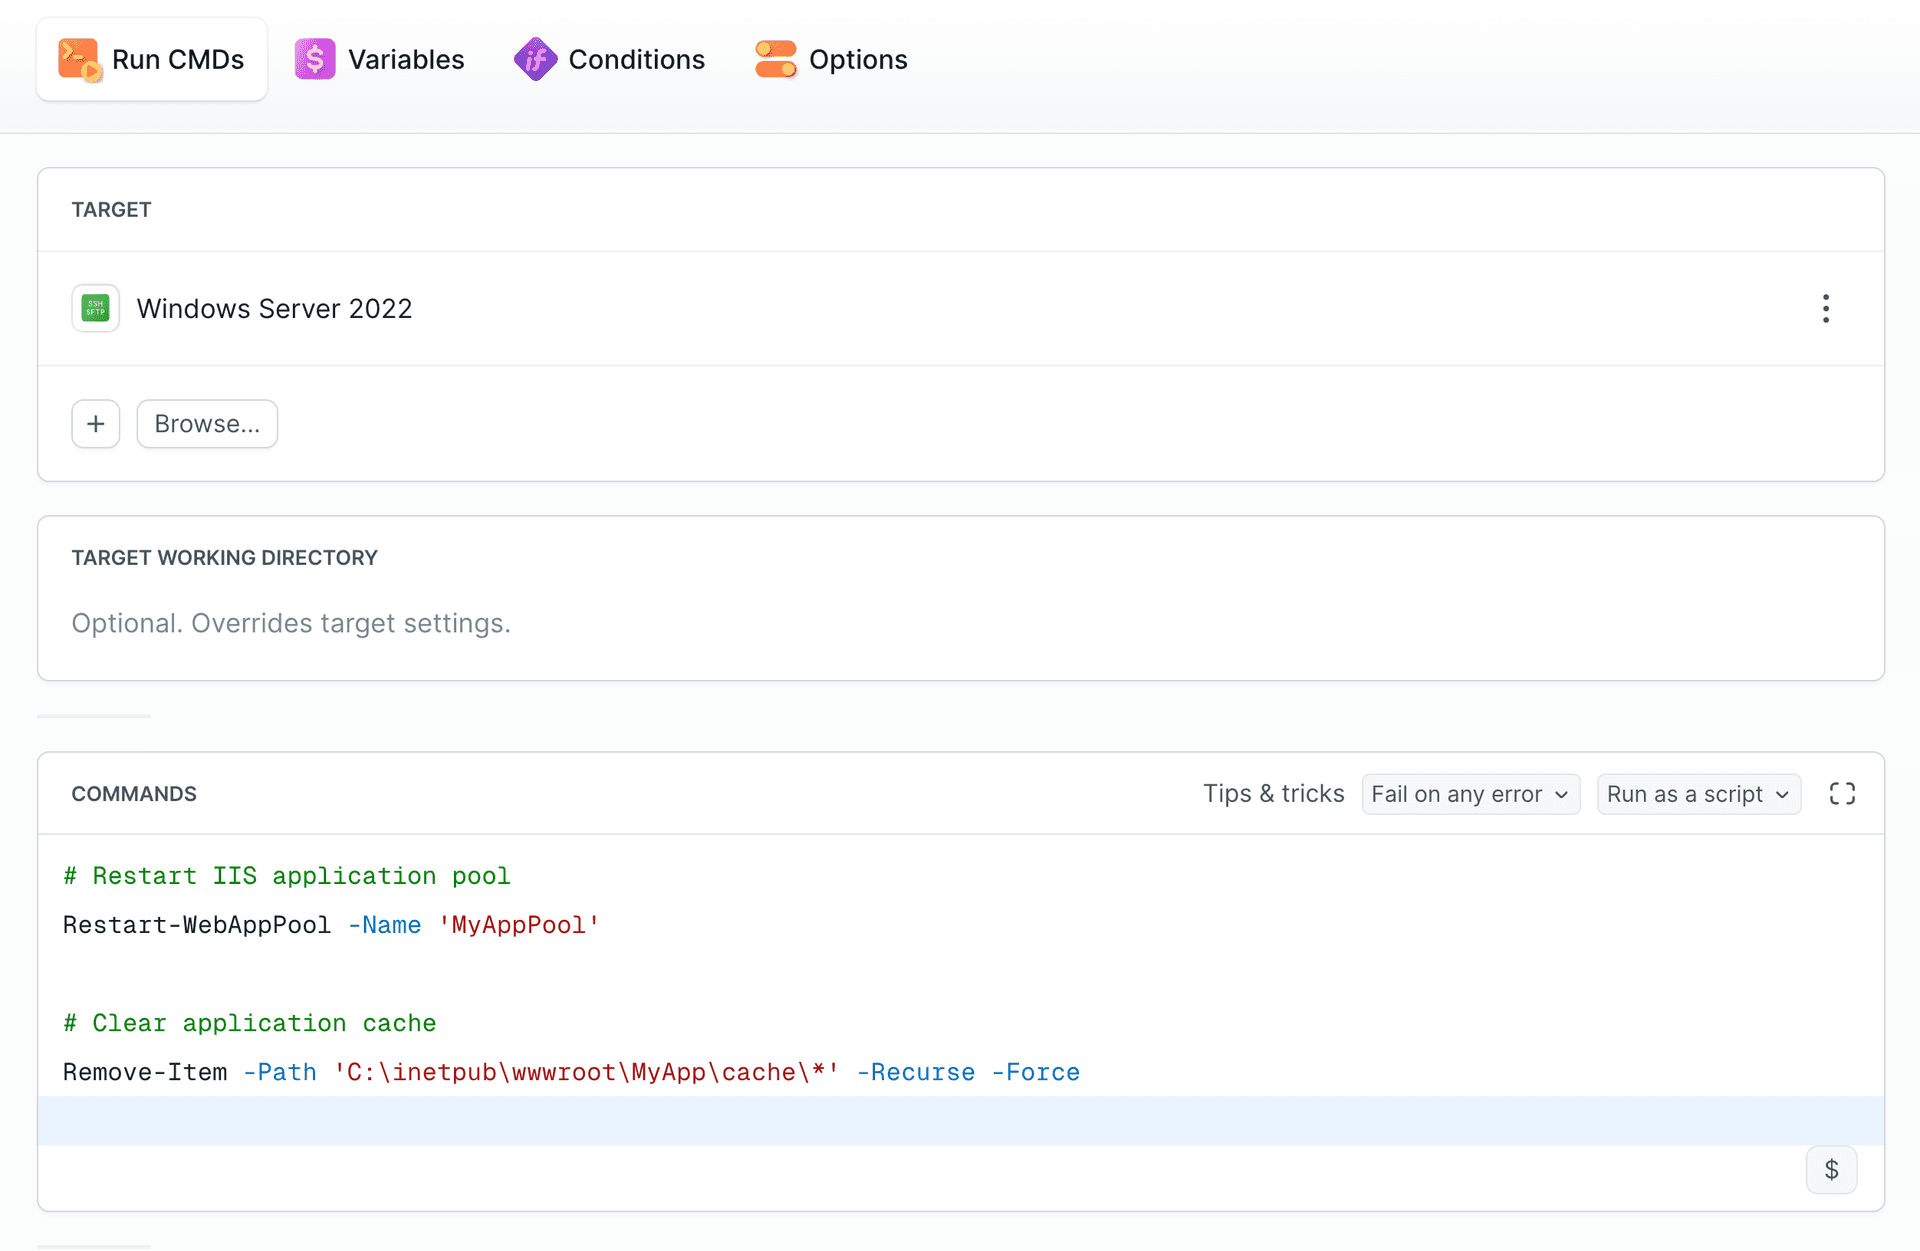
4.4 Send notification to Slack
You can configure Buddy to send your team a message after the deployment. In this example we'll use Slack:
Image loading...
If you add this action in the On Failure tab, Buddy will only send the message if something goes wrong with your build or deployment.
Image loading...
5. Summary
Congratulations! You have just automated your entire delivery process. Make a push to the selected branch and watch Buddy fetch, build, test, and deploy your .NET application. With Continuous Delivery applied, you can now focus on what's really important: developing awesome apps! 🔥
Last modified on Nov 20, 2025