Sandbox Management
Sandbox management in Buddy provides a full suite of tools for controlling a running Sandbox: the Terminal, Logs, Filesystem, Variables, Activity, Permissions, YAML, Settings, and Snapshots tabs, plus Sandbox folders and dedicated Sandbox actions. Each tool is described below.
How do I access the Sandbox terminal?
The Terminal tab provides direct access to the Sandbox command line, so you can run commands inside the running Sandbox straight from the browser.
Image loading...
How do I view Sandbox logs?
The Logs tab provides real-time access to Sandbox system logs: app output, service startup, and First Boot CMDs - the commands run on the Sandbox's first boot for package installation, system updates, and service configuration.
Use the dropdown to switch between logs for each app (e.g., npm start) and First Boot execution logs. Search logs and Refresh help you find entries and update the output.
Image loading...
How do I browse Sandbox files?
The Filesystem tab provides access to the files inside a Sandbox, letting you browse and inspect its directory tree without opening the terminal.
Image loading...
How do I manage Sandbox variables?
The Variables tab lists environment variables, keys, and assets for the Sandbox. You can add new entries with New, filter by Group, and manage values. Each variable shows its name and value (or type indicator for files/keys).
Image loading...
Which built-in variables and shortcuts manage the current Sandbox?
Sandbox workflows can use built-in variables and runtime shortcuts to manage the current sandbox from scripts and actions:
BUDDY_SANDBOX- current sandbox identifierBUDDY_PROJECT- current project contextBUDDY_WORKSPACE- current workspace context
The sandbox shell also supports the this shortcut, so you can target the current sandbox without typing its identifier manually.
See Default variables for the full list and value formats.
How do I view Sandbox activity?
The Activity tab displays the history of pipeline runs in the Sandbox, including information about their status, date, and branch. To automate runs on sandbox lifecycle events, configure On sandbox event triggers.
Image loading...
How do I manage Sandbox permissions?
The Permissions tab allows you to manage user/group access to specific Sandboxes. It enables you to define what actions users assigned to a particular Sandbox are allowed to perform.
Image loading...
How do Sandbox permissions work?
Sandbox permissions override project-defined roles. For example, it is possible to grant access to a user with a Viewer role permission to use a Sandbox, or restrict access for a user with a Developer role by setting their permission to None (Deny).
What Sandbox access levels are available?
The following access levels are available for Sandbox permissions:
Manage - Users with the Manage role have full control over the Sandbox. They can:
- Edit all Sandbox settings.
- Delete Sandboxes.
- Manage user permissions.
View-only - Users can only view the Sandbox Activity tab but cannot use or modify it.
Project role (default) - Permissions will be inherited based on the user's role in the project.
None (Deny) - No access to the Sandbox.
How do I add groups and users to a Sandbox?
You can add both individual users and entire groups to Sandbox permissions. Each user or group can be assigned a different access level, allowing for fine-grained control over who can do what with the sandbox.
Where do I find the Sandbox YAML configuration?
The YAML tab displays the current Sandbox configuration in YAML format, giving you a versionable, copy-ready definition of the environment.
Image loading...
How do I prepare a Sandbox with YAML?
The YAML configuration allows for easy management and versioning of environments. Example:
yaml- sandbox: my-app-sandbox
  name: My Application Environment
  os: ubuntu:24.04
  first_boot_commands: |-
    apt-get update
    apt-get install -y nodejs
  apps:
  - node server.js
  endpoints:
  - name: www
    endpoint: 80
For detailed information about YAML parameters, see the Sandbox YAML documentation.
How do I edit Sandbox settings?
Settings is where you edit a Sandbox's full configuration - name and resources, first boot commands and apps, endpoints, timeout, snapshots, and tags.
Snapshots for this Sandbox are listed under SNAPSHOT NAME. Use the three dots next to a snapshot to open the menu:
- Run this snapshot in a new sandbox
- Revert to this snapshot
- Delete.
Sandbox timeout stops the Sandbox automatically after a set period of inactivity. While the Sandbox is in use, Buddy keeps it alive automatically and resets the inactivity countdown. Activity that keeps a Sandbox awake includes traffic on its endpoints as well as open terminal and SSH sessions, so a Sandbox you are actively working in will not stopped while you're using it.
Auto-wake on traffic - when a stopped Sandbox receives traffic on one of its endpoints, Buddy automatically wakes it to serve the request, then puts it back to sleep once the timeout elapses with no further activity.
Image loading...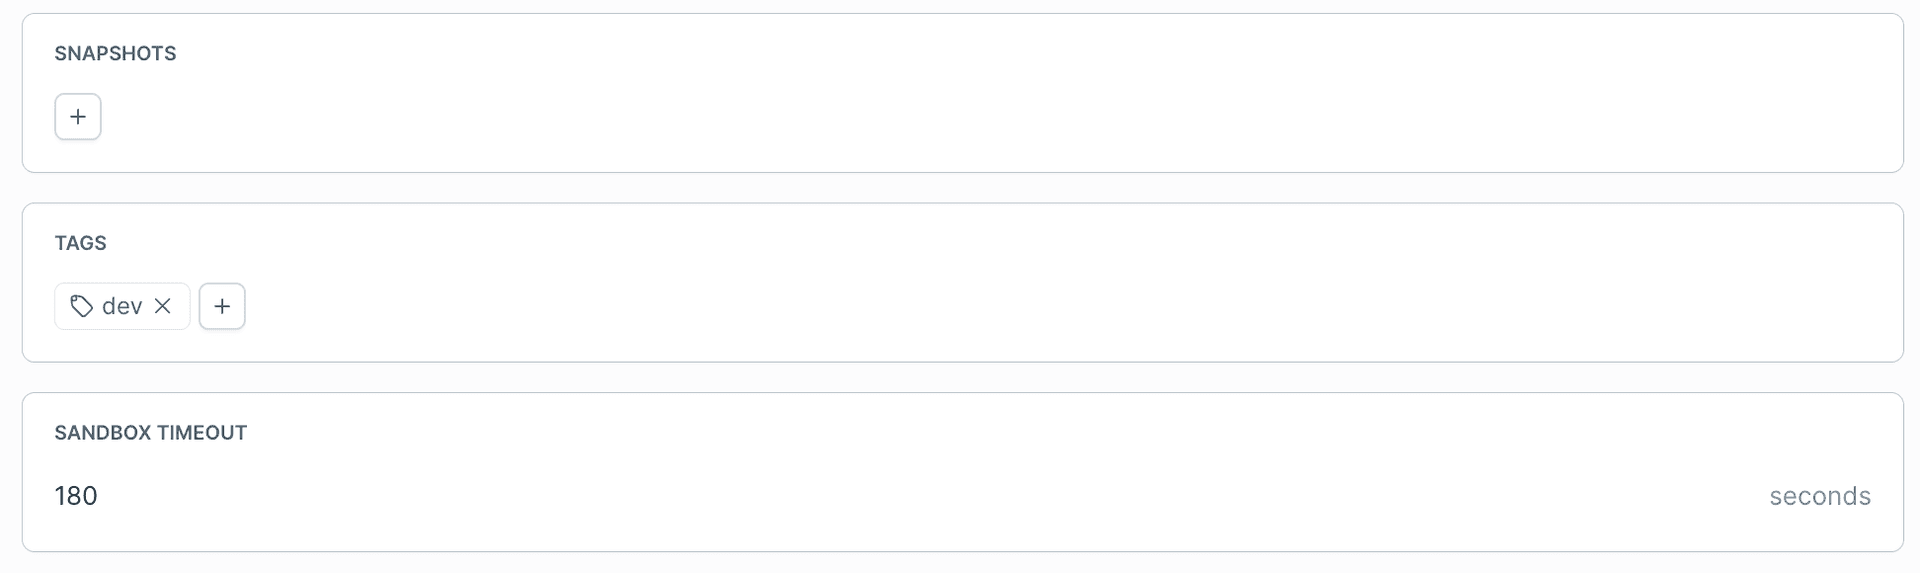
What are Sandbox snapshots and how do I create one?
Snapshots are saved states of the Sandbox at a specific point in time. Create one from the context menu (three dots) on a Sandbox card or from inside the Sandbox. Create snapshot opens a dialog where you set the name and confirm. To run a snapshot in a new sandbox, revert to it, or delete it, open its three-dot menu under SNAPSHOT NAME in the Sandbox Settings.
How do I list all snapshots?
On the Sandboxes view, open the menu (three dots) next to New sandbox and choose Snapshots to see all snapshots in one place.
Image loading...
How do I organize Sandboxes into folders?
Sandbox folders work exactly the same as for projects and pipelines, allowing you to store Sandbox servers according to a selected pattern. To add or manage a folder, click the three dots at the top when on the Sandboxes view:
Image loading...
How do I manage Sandboxes with actions?
Sandboxes can be managed inside pipelines using dedicated actions:
Last modified on Jun 26, 2026