How I Built CI/CD For Data Pipelines in Apache Airflow on AWS
Apache Airflow is a commonly used platform for building data engineering workloads. There are so many ways to deploy Airflow that it’s hard to provide one simple answer on how to build a continuous deployment process. In this article, we’ll focus on S3 as “DAG storage” and demonstrate a simple method to implement a robust CI/CD pipeline.
Demo: Creating Apache Airflow environment on AWS
Since December 2020, AWS provides a fully managed service for Apache Airflow called MWAA. In this demo, we will build an MWAA environment and a continuous delivery process to deploy data pipelines. If you want to learn more about Managed Apache Airflow on AWS, have a look at the following article:
Managed Apache Airflow on AWS — New AWS Service For Data Pipelines
We start by creating an Airflow environment in the AWS management console. The entire process is automated to the extent that you only need to click a single button to deploy a CloudFormation stack that will create a VPC and all related components, and then filling some details about the actual environment you want to build (ex. environment class, the maximal number of worker nodes).
Image loading...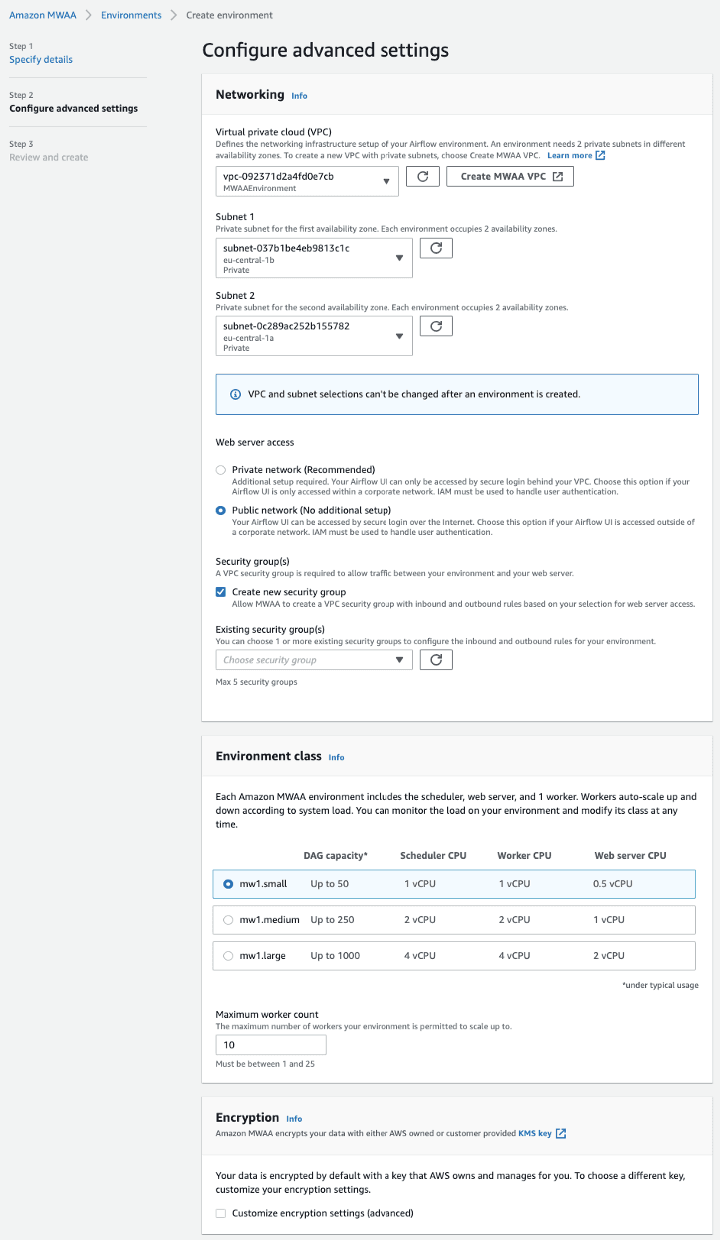
Once the environment is created, we can start deploying our data pipelines by building a continuous delivery process that will automatically push DAGs to the proper S3 location.
Git repository
For this demo, we will use a simple setup that will include only the development and master branch. This way, on push to dev branch, we can automatically deploy to our AWS development environment.
Image loading...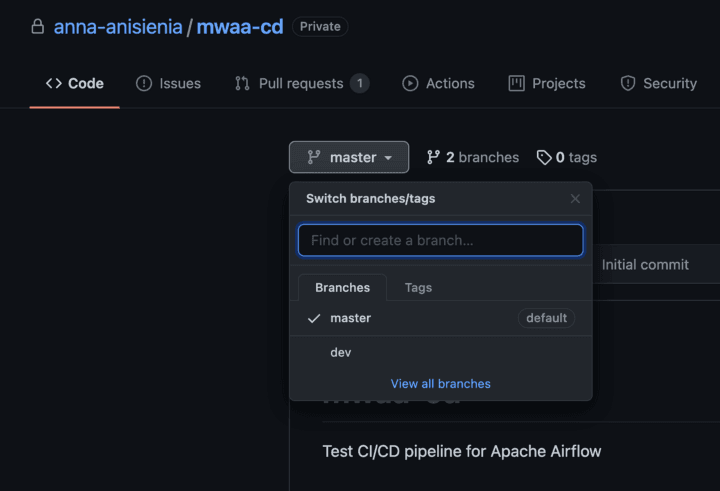
Building a simple CI/CD for data pipelines
To build a CD process in just five minutes, we will use Buddy. If you want to try it, the free layer allows up to five projects.
- Create a new project and choose your Git hosting provider. For us, it’s Github:
Image loading...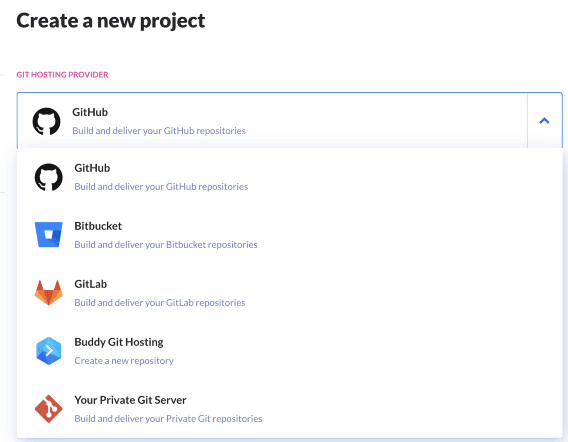
- Add a new pipeline. This shows that you can have several pipelines within the same project. For instance, you could have one pipeline for deployment to development (dev), one for user-acceptance-test (uat), and one for the production (prod) environment.
Image loading...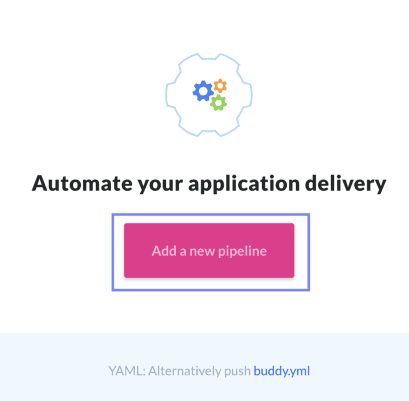
- Configure when the pipeline should be triggered. For this demo, we want the code to be deployed to S3 on each push to the
devbranch.
Image loading...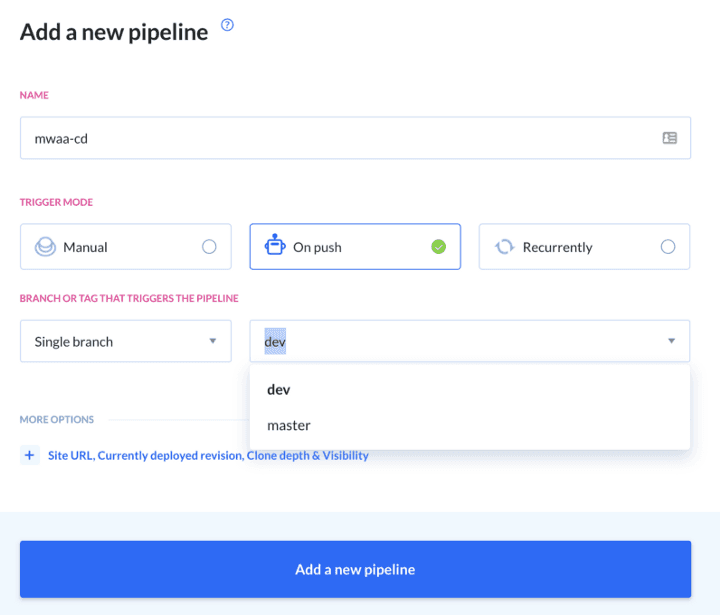
- Add a new action. Here we can add all build stages for our deployment process. For this demo, we only need a process to upload code to the S3 bucket, but you could choose from a variety of actions to include the additional unit and integration tests and many more. For now, we choose the action “Transfer files to Amazon S3 bucket”, and configure that any changes to Python files from the Git folder
dagsshould trigger a deployment to the S3 bucket of our choice.
Image loading...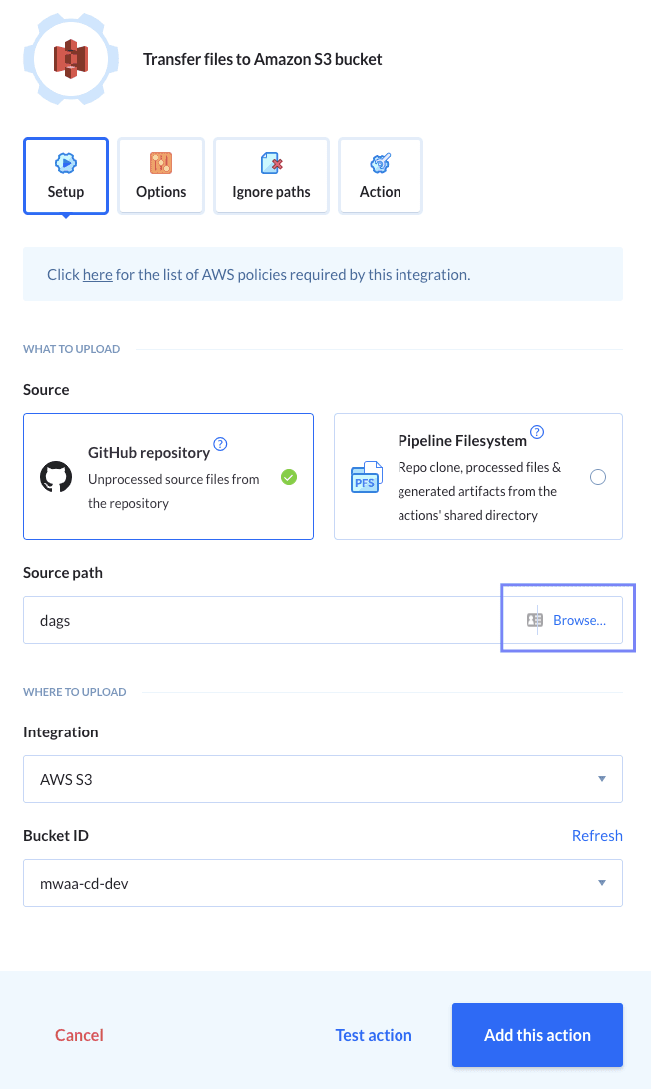
- Configure additional “Options” to ensure that the correct file types will be uploaded to the correct S3 subfolder. For this demo, we want that our DAG files will be deployed to the folder
dagsas shown below:
Image loading...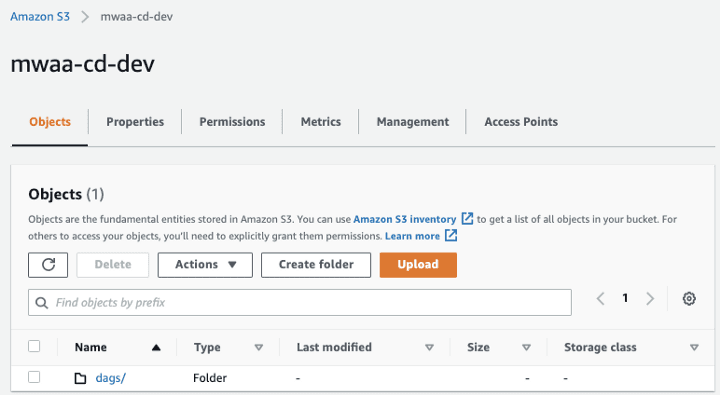
By using the same action, go to the right to the “Options” tab to configure the remote path on S3:
Image loading...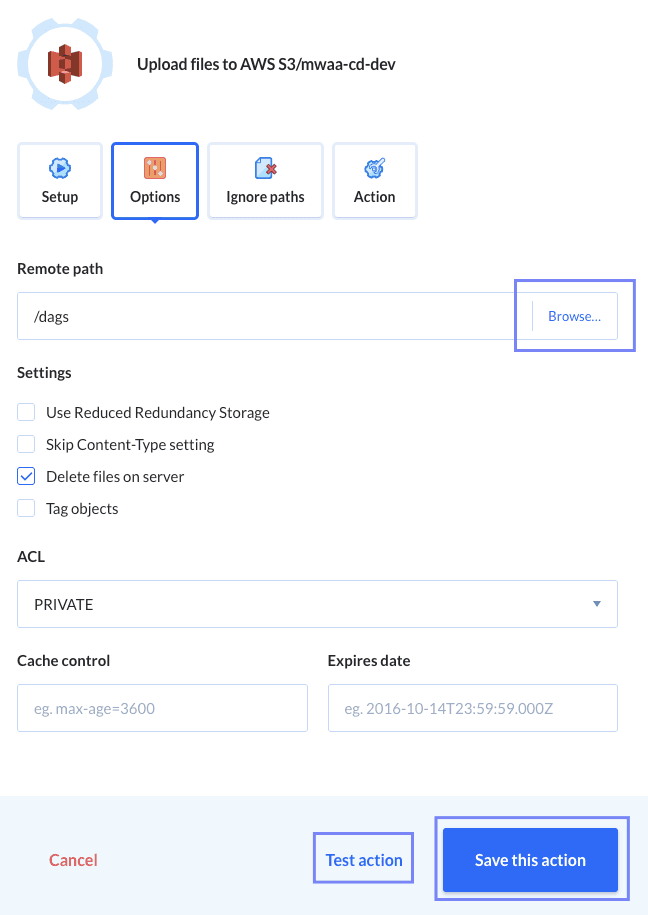
After selecting the proper S3 path, we can test and save the action.
Optionally, we can specify to ignore specific file types. For instance, we may want to exclude unit test (test*) and documentation markdown files (*.md):
Image loading...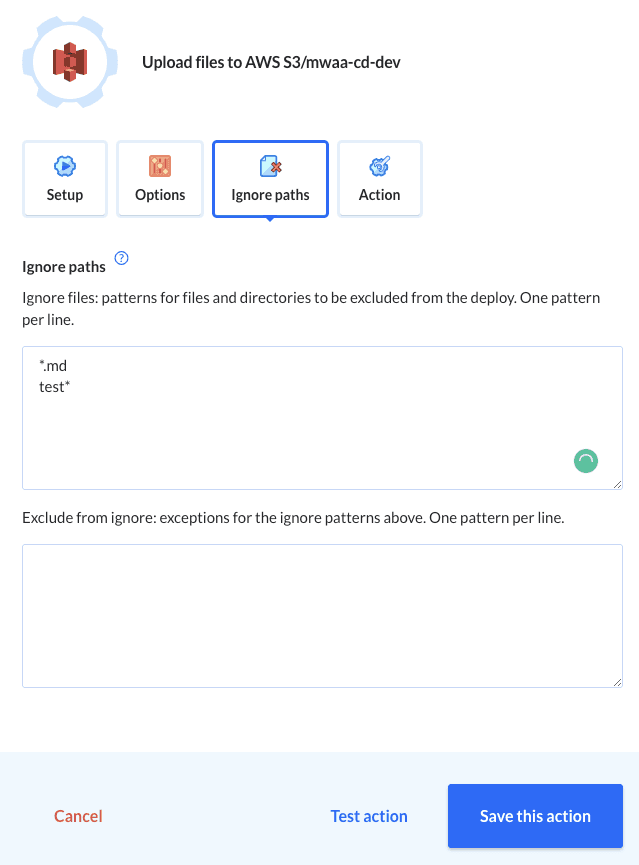
- This step is optional, but it’s useful to be notified if something goes wrong in the deployment process. We can configure several actions that would be triggered if something goes wrong in the CI/CD pipeline.
Image loading...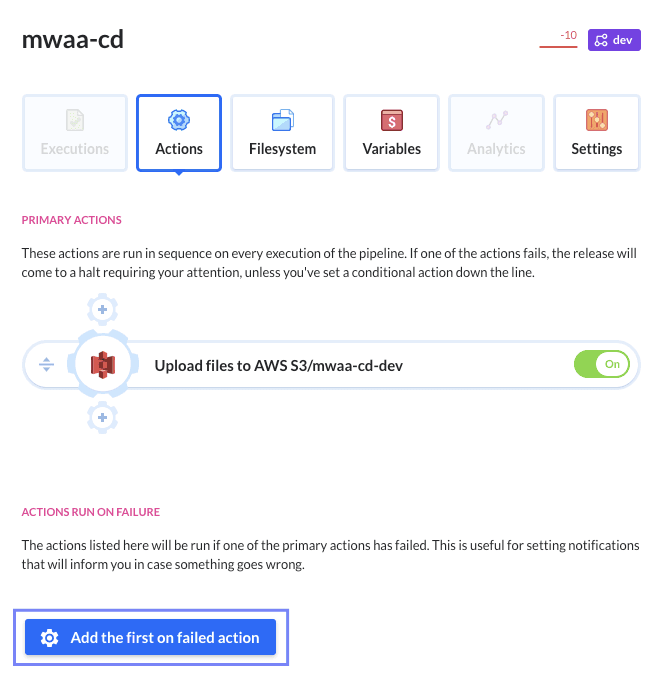
We choose to get notified via email on failed action:
Image loading...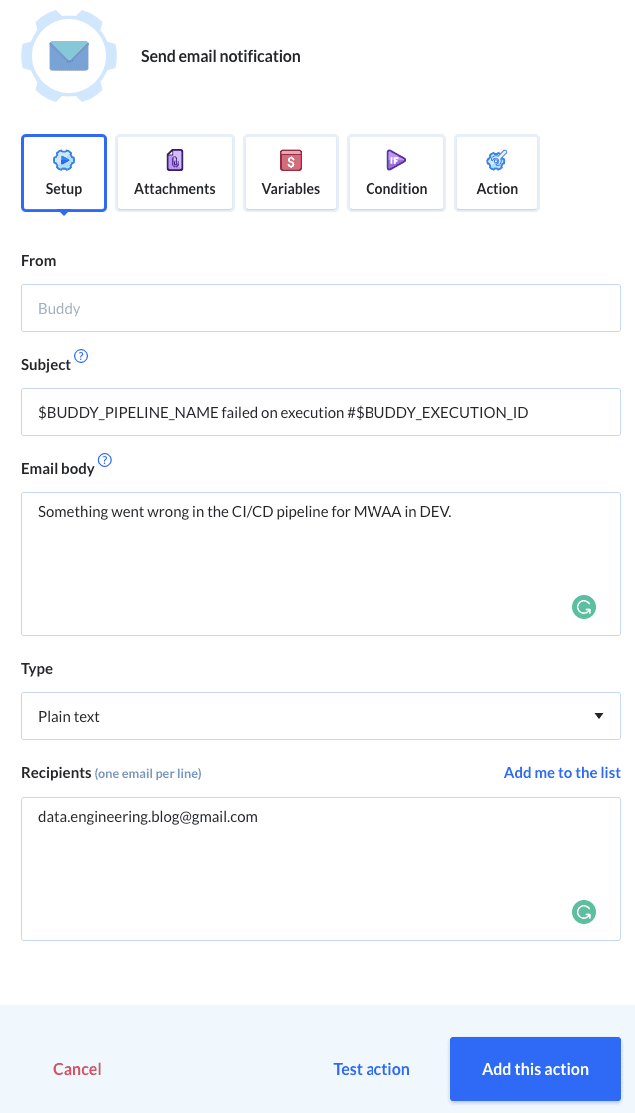
Testing a CI/CD process for data pipelines in Airflow
We are now ready to push an example data pipeline to our environment. We can see that initially, we have no DAGs.
Image loading...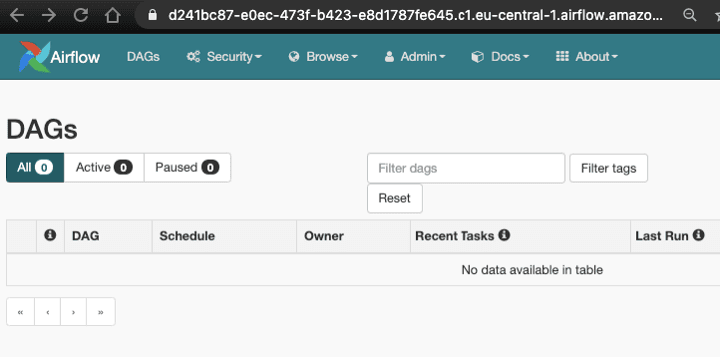
We now push two new files to the dev branch — one of them is a DAG file, and one is a markdown file that should be excluded.
Image loading...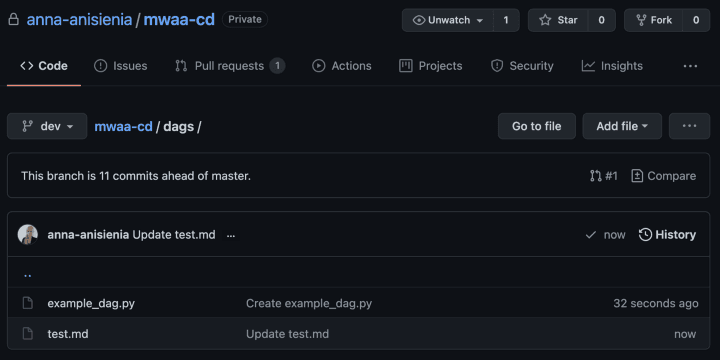
Since we committed and pushed both separately, we can see that the pipeline was triggered once for each Git push:
Image loading...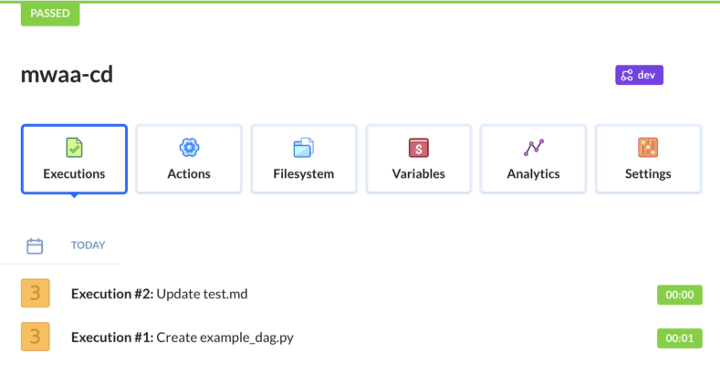
Image loading...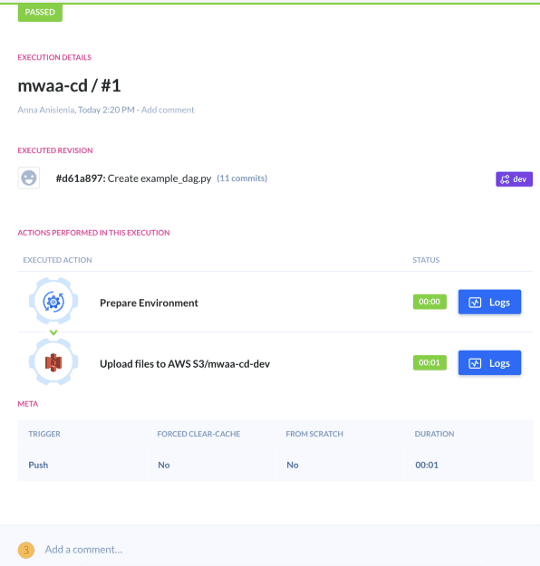
Image loading...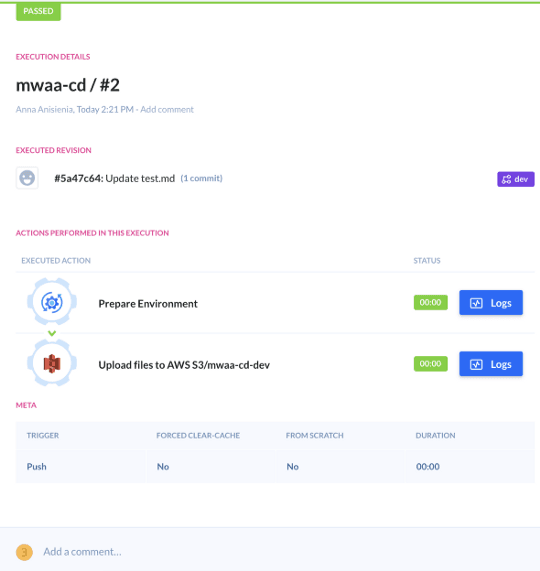
We can confirm that only the Python file got pushed to S3:
Image loading...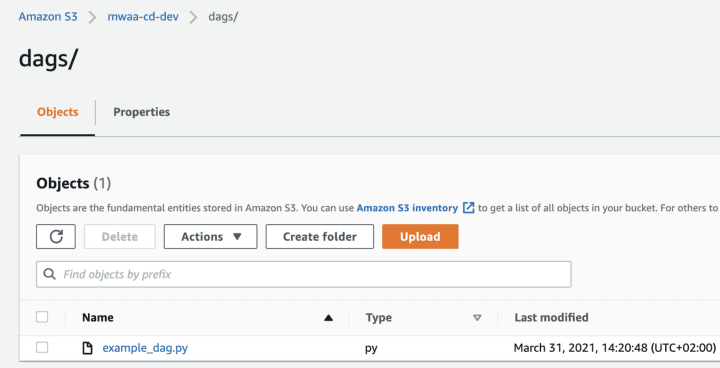
And the MWAA Airflow environment on AWS automatically picked up the DAG from S3:
Image loading...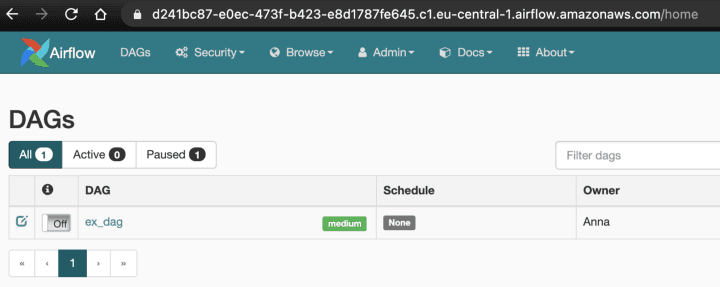
This concludes our demo.
How can we make the CI/CD pipeline more robust for production?
If you want to include an additional approval step to your pipeline, you can add a corresponding “Wait for approval” action in Buddy before the code gets pushed to S3. To make it more convenient, we can also add an action to send an email about the build process to a senior developer responsible for the production environment. Then, the code gets deployed only after prior approval.
Image loading...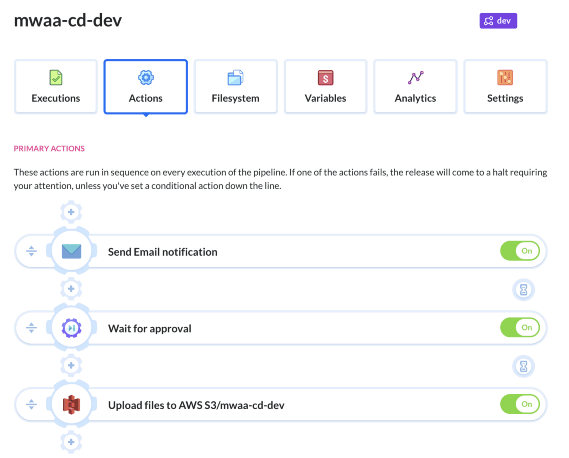
How does Buddy handle changes to the code?
You may ask: how does Buddy handle the code changes? Would it re-upload all your DAGs every time we make any change to the repository? The answer is no. The initial CI/CD pipeline’s execution will upload all files from the specified repository path. However, each subsequent execution makes use of the “git diff” to create the changeset. Based on the diff, only files that have been added, modified, or deleted will be changed in S3.
Deletion is a special case, and Buddy allows us to configure whether deletion of a file in Git should also delete the code on a remote server (S3). For this demo, we chose to delete files to ensure that everything (including deletion of DAGs) goes through Git. But you have the freedom to configure it as you wish.
Image loading...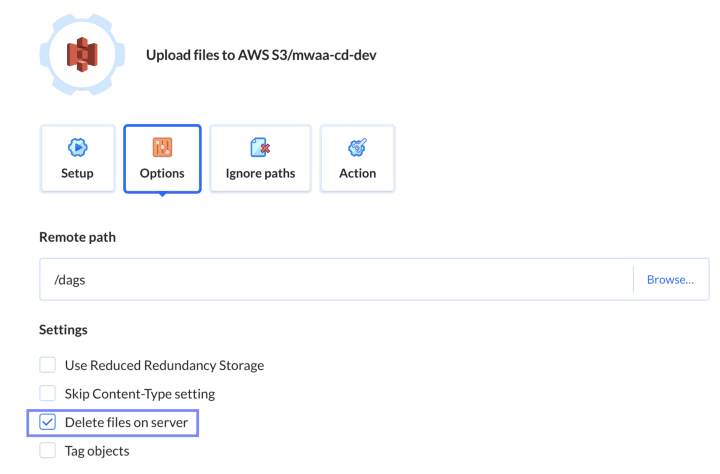
Benefits of the automated deployment process for your data pipelines
Since Apache Airflow doesn’t offer DAG versioning at the time of writing, this CI/CD pipeline method allows you to track any changes made to your DAGs via Git commit history. Additionally, you gain a standardized, repeatable process that eliminates human errors in manual deployments and ensures that nothing gets deployed unless it’s versioned-controlled in your Git repository.
What if you use a different workflow orchestration solution than Apache Airflow?
If you prefer using open-source workflow orchestration tools other than Airflow, you can also manage the build process for those data pipelines with Buddy. For instance, Prefect or Dagster both leverage GraphQL and support containerized environments, which makes it straightforward to automate the deployment of your data engineering workloads.
Conclusion
This article investigated how to build a CI/CD process for data pipelines in Apache Airflow. Modern data engineering requires automated deployment processes. It’s a good practice to always use a version control system for managing your code and automate the build process based on your Git workflow.
Thank you for reading! If this article was useful, follow me to see my next posts.