Host a Website in Buddy in 5 Minutes: Git, Artifacts & bdy CLI
Buddy is best known for CI/CD, but it's also two things you might not expect: a full Git host and a static site host. That means you can keep your code and serve your website entirely inside Buddy, with no GitHub, no S3 bucket, and no external hosting dashboard.
In this tutorial you'll go end-to-end in about five minutes:
- Host your code in a Buddy-hosted Git repository.
- Publish your site as a versioned artifact with the
bdyCLI. - Claim a subdomain and route it at the artifact, so it's live on a real URL.
Three Buddy building blocks (Git hosting, Artifacts, and Routing), tied together with the bdy command-line tool.
Step 1: Create your site and install the bdy CLI
First, something to host. Create a folder with a single index.html, with no build step and no dependencies:
bashmkdir my-site && cd my-site$
html<!doctype html>
<html lang="en">
  <head>
    <meta charset="utf-8" />
    <meta name="viewport" content="width=device-width, initial-scale=1" />
    <title>Hosted on Buddy</title>
    <style>
      body { font-family: system-ui, sans-serif; display: grid; place-items: center; min-height: 100vh; margin: 0; background: #0b0d12; color: #fff; }
      h1 { font-size: 2.5rem; }
      p { color: #8b95a5; }
    </style>
  </head>
  <body>
    <main>
      <h1>It's live 🎉</h1>
      <p>Hosted on Buddy - code and all.</p>
    </main>
  </body>
</html>
Open it in your browser and you'll see the page render:
Image loading...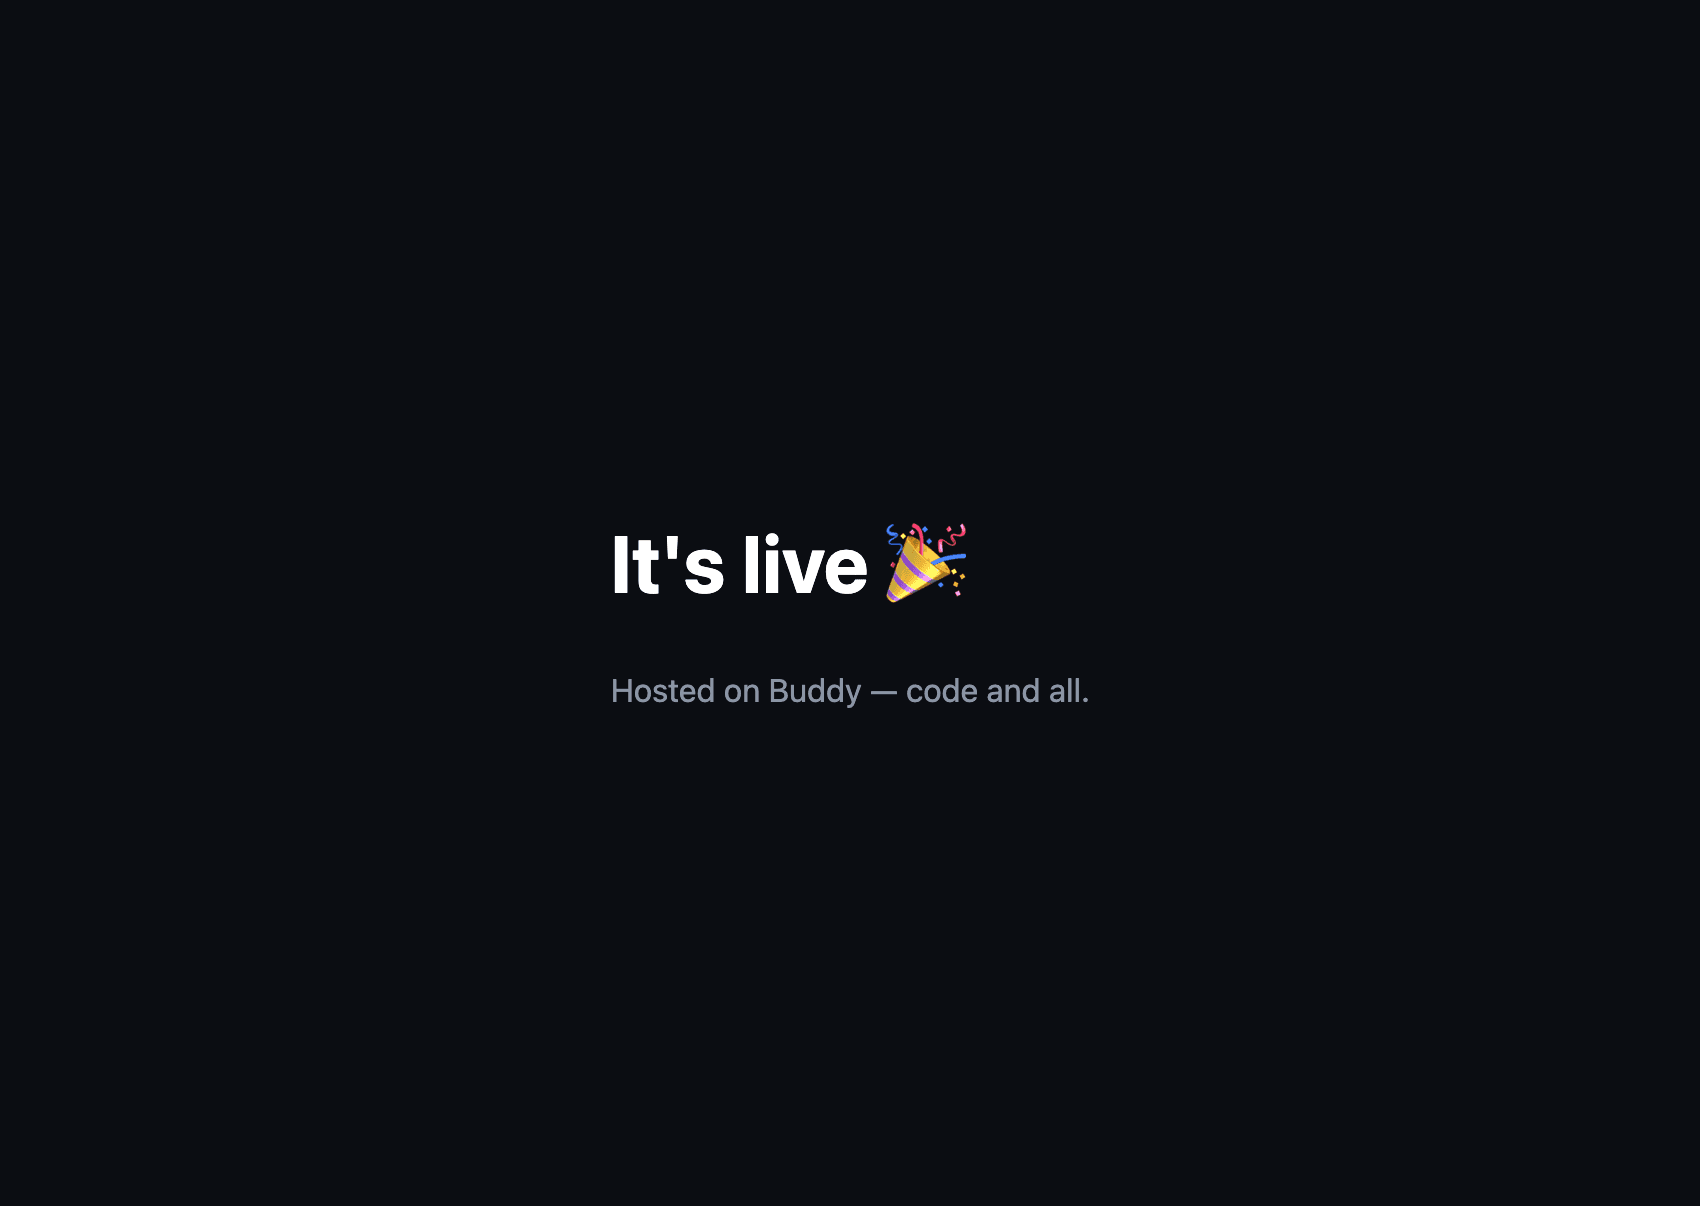
Then install the bdy CLI and log in. It's the tool we'll use to publish and route the site:
bashsudo npm i -g bdy # Windows: drop the sudo bdy login$$
More install options (Homebrew, APT, Chocolatey) are in the CLI getting-started guide.
Step 2: Host your website code in Buddy Git
Create a new project in Buddy and, when asked where the code lives, choose Buddy as the Git provider (instead of connecting GitHub, GitLab, or Bitbucket). That gives you an empty repository hosted natively in Buddy, with a Code tab as its home.
To push over HTTPS, Git needs to authenticate. The cleanest way is a personal access token (PAT): no password, scoped permissions, and it works even with 2FA on.
- Click your avatar (top-right), then open Security.
- Scroll to Personal Access Tokens and click the + icon.
- Name the token, pick an expiration, and tick the Repositories scopes: Read repositories (clone/pull) and Write to repositories (push). Then click Add a new API token.
Image loading...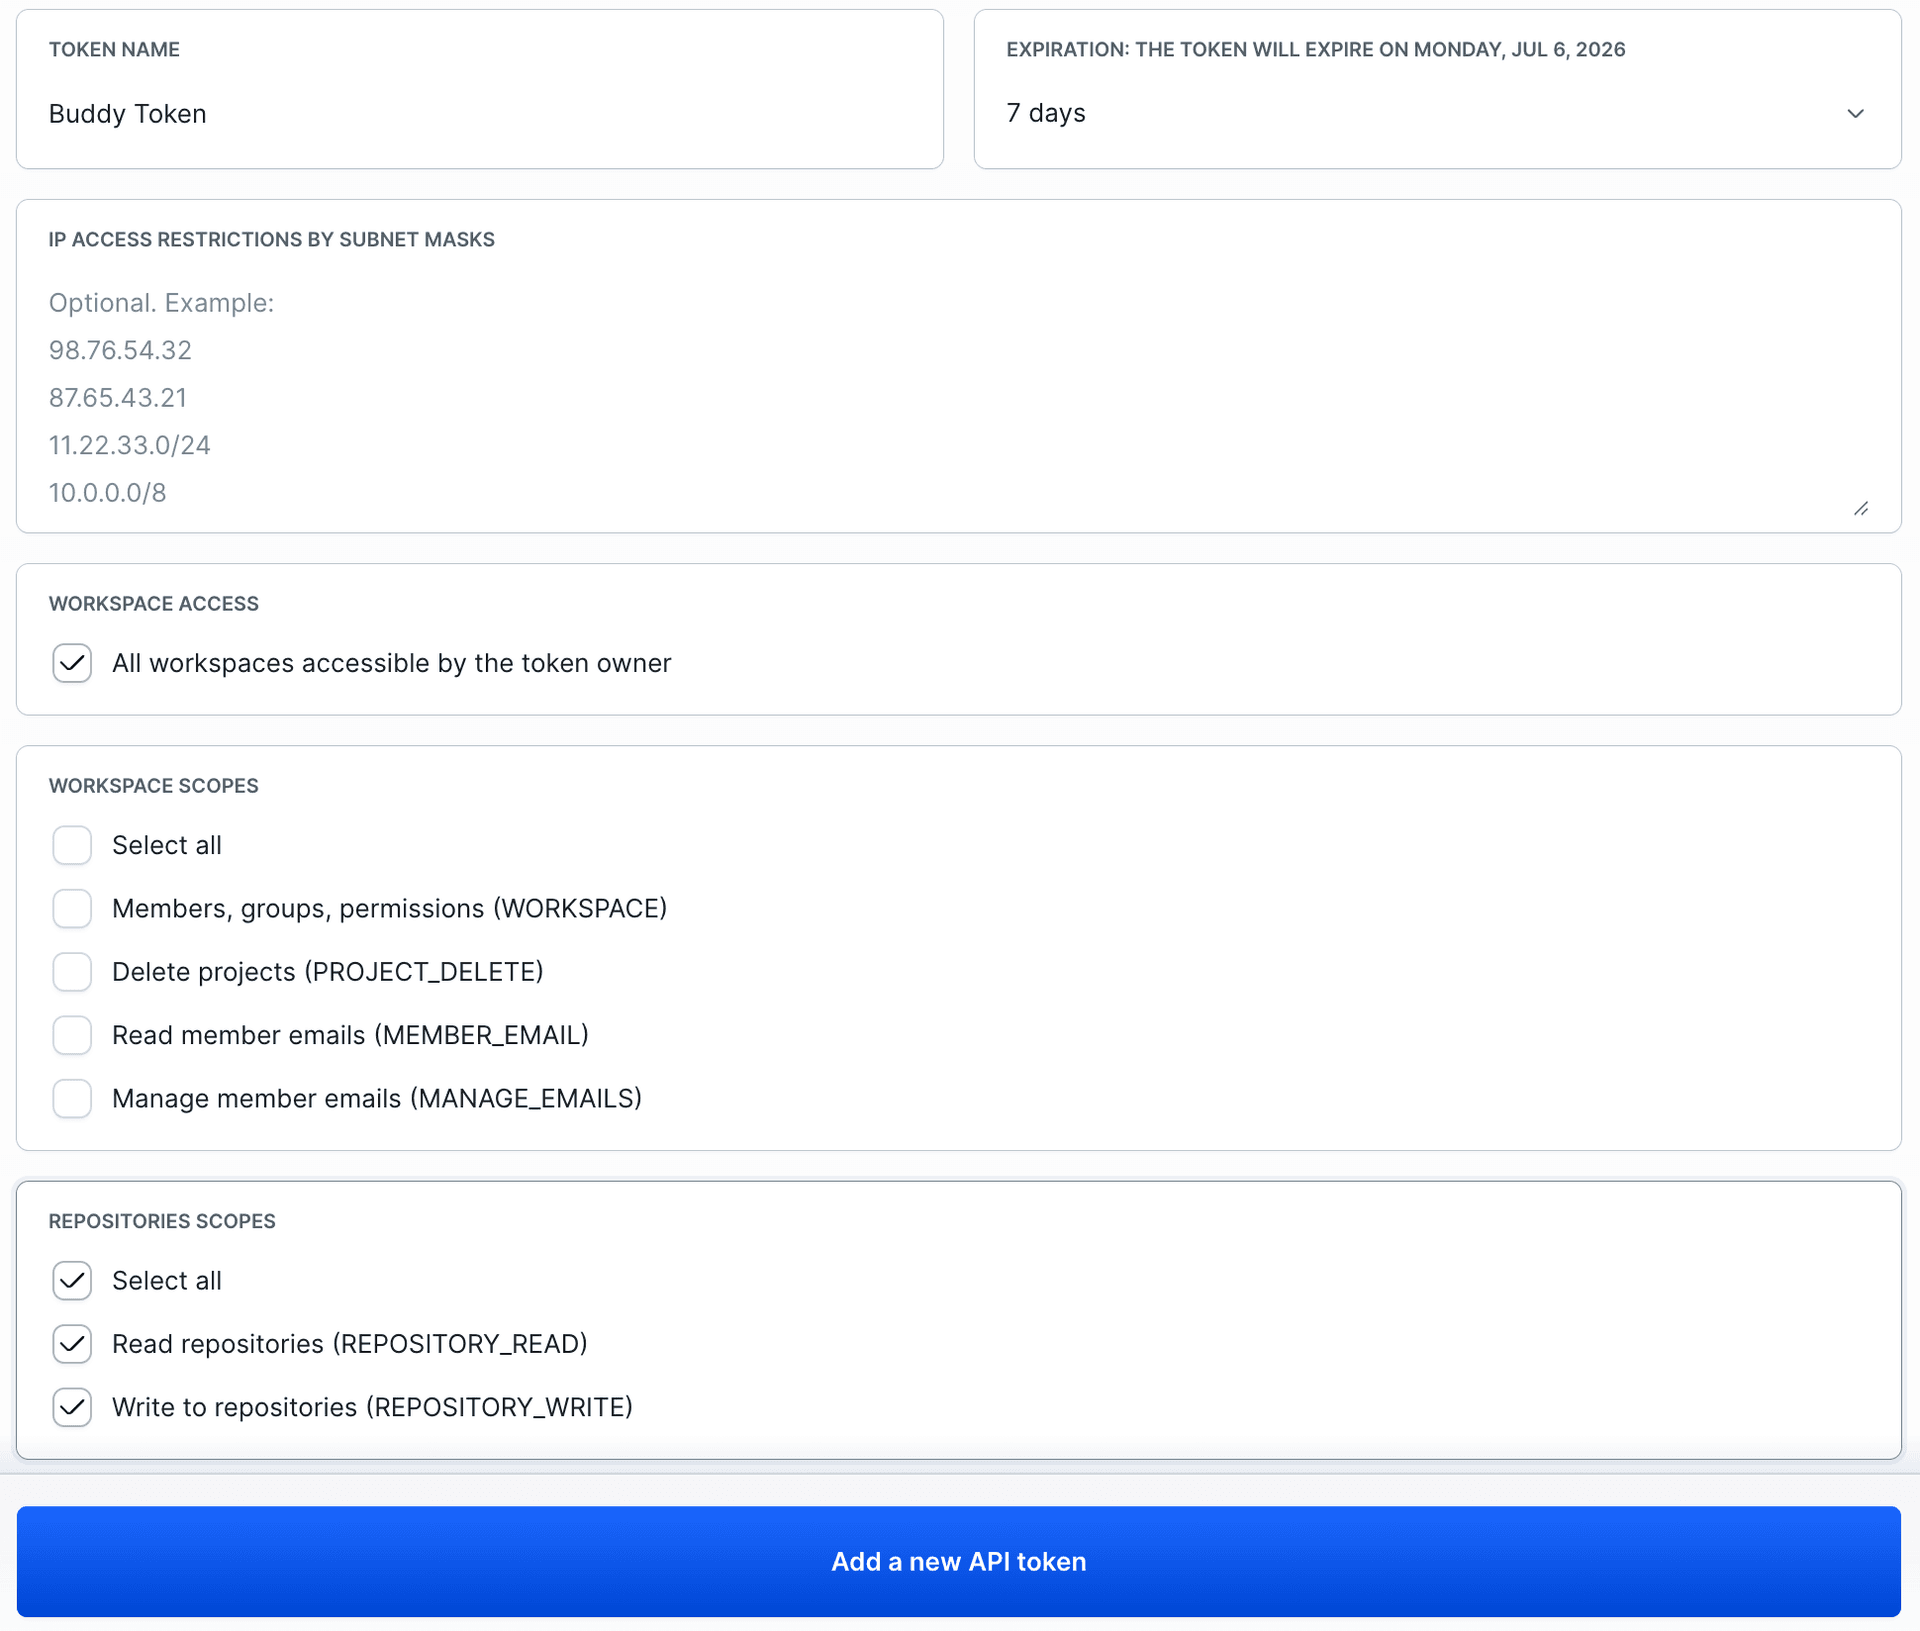
Copy the token from the dialog (you'll only see it once), then push your site. With a PAT you pass the token as the username in the URL. Replace {TOKEN} with your generated PAT, acme with your workspace name, and my-site with your project slug:
bashgit init git add . git commit -m "Initial commit" git branch -M master # Point origin at your Buddy repo. Swap in your token, workspace, and project git remote add origin https://{TOKEN}@app.buddy.works/acme/my-site git push -u origin master$$$$$$$$
Refresh the Code tab and your files are there, with the latest commit, a branch selector, and per-file history.
Image loading...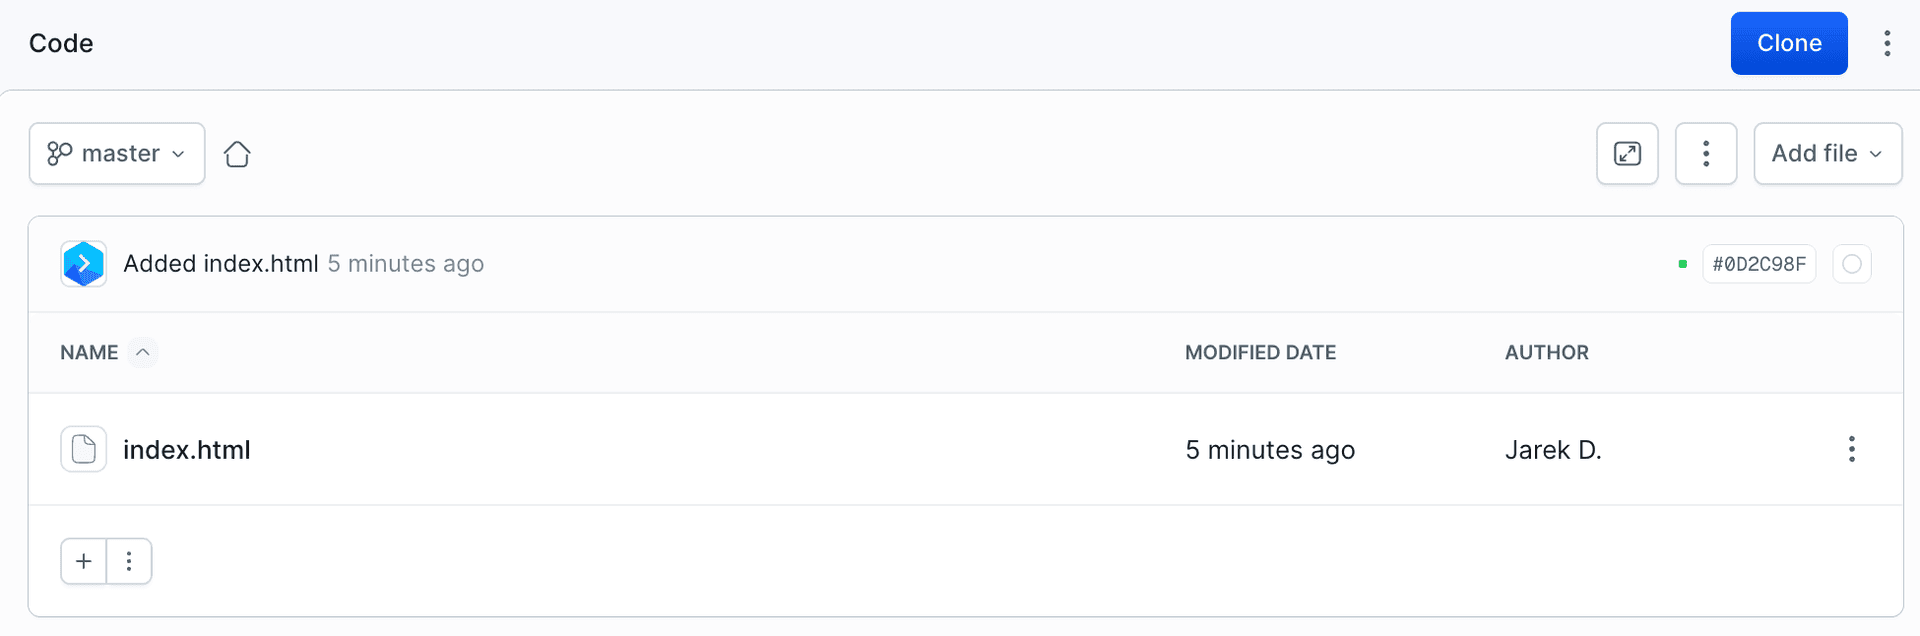
.git/config. For a cleaner setup, clone without the token and paste it as the username when Git prompts (leave the password blank), paired with a credential helper. Prefer keys? Buddy supports SSH too. Full options: Cloning guide and Personal Access Token docs.
Your code now lives in Buddy, and because it's native you also get branches & merge requests and a cloud code editor for quick edits straight from the browser.
Step 3: Publish your static site as an artifact
Hosting the code is one half; serving it is the other. Buddy serves static files from an artifact: versioned storage exposed over HTTP.
In the dashboard, open Artifacts, then New artifact. Name it my-site, leave the scope as Workspace, and set Access control to Public so it can be served over HTTP. Click Add this artifact.
Image loading...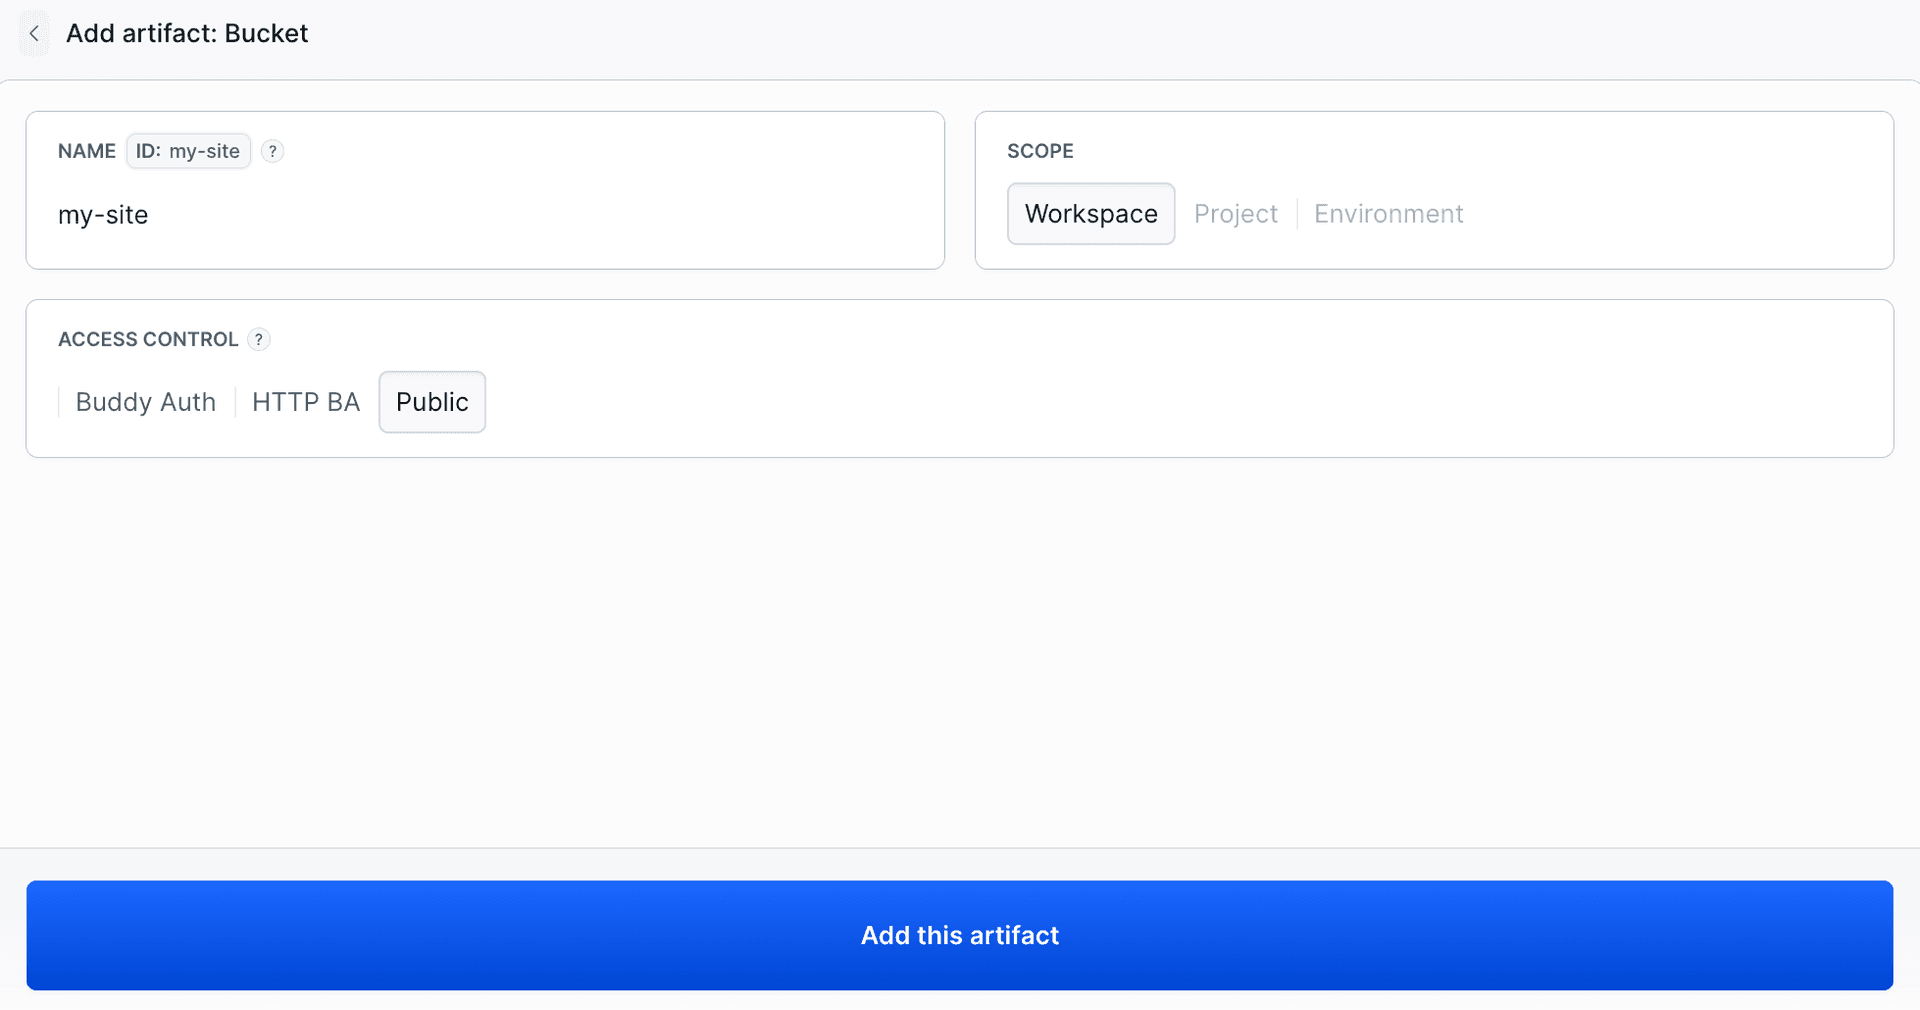
Now push your files into it with one bdy command from your my-site folder:
bashbdy artifact publish my-site .$
This uploads the folder as a new version of the artifact. Refresh it in the dashboard and you'll see the version listed (here, v1) with its size.
Image loading...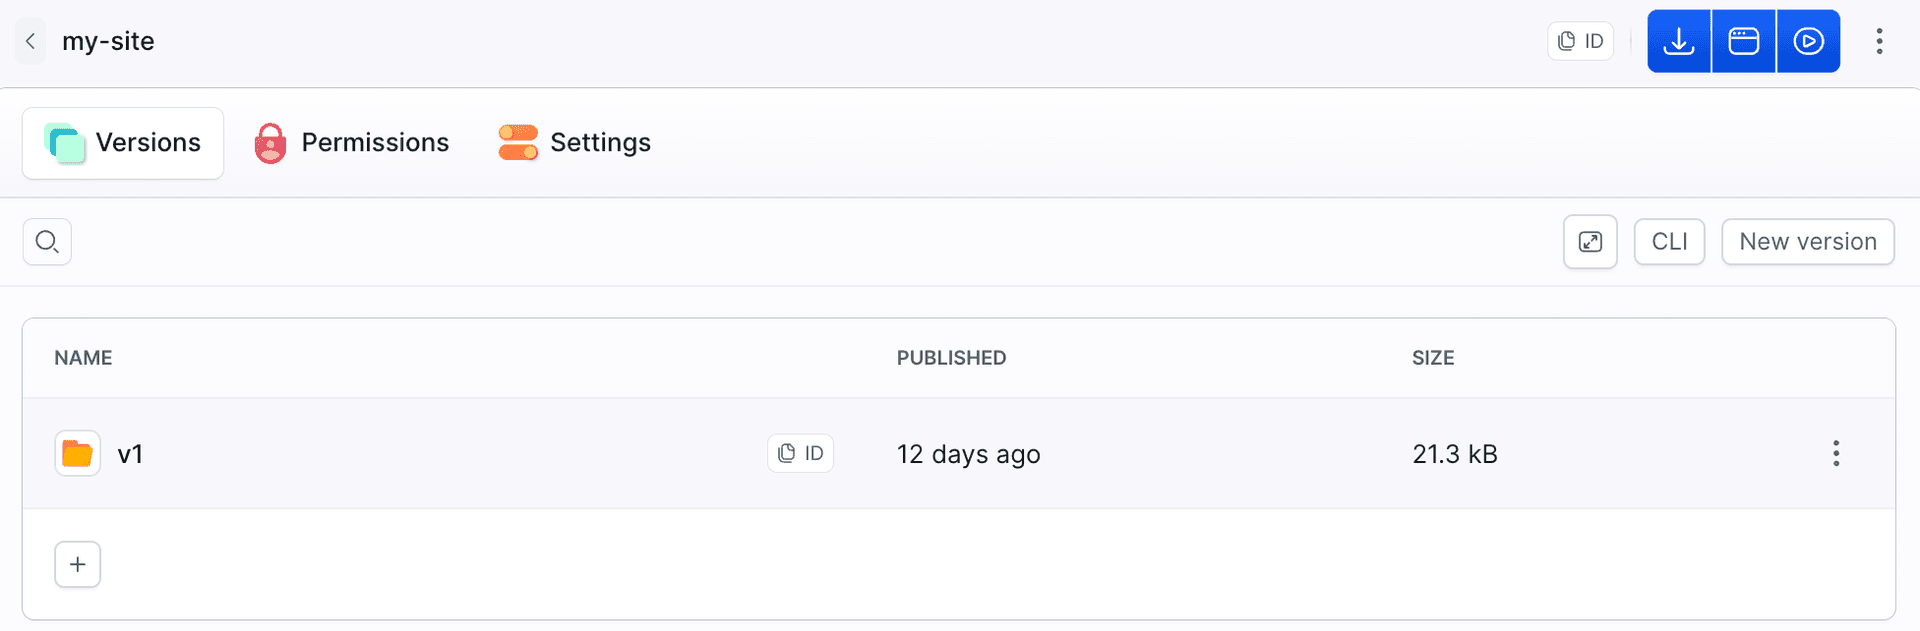
bdy artifact publish versions every upload, so each deploy is tracked and you can roll back. Reference: bdy artifact docs.
Step 4: Claim a subdomain
To serve the site on a real URL, claim a free subdomain. Open Domains, then Claim subdomain, type a name under Find your subdomain (we'll use my-site), and pick a zone from the grid like 24h.sh, html.to, or live.page. Picking 24h.sh gives you my-site.24h.sh. Leave the owner as Claim for myself and confirm.
Image loading...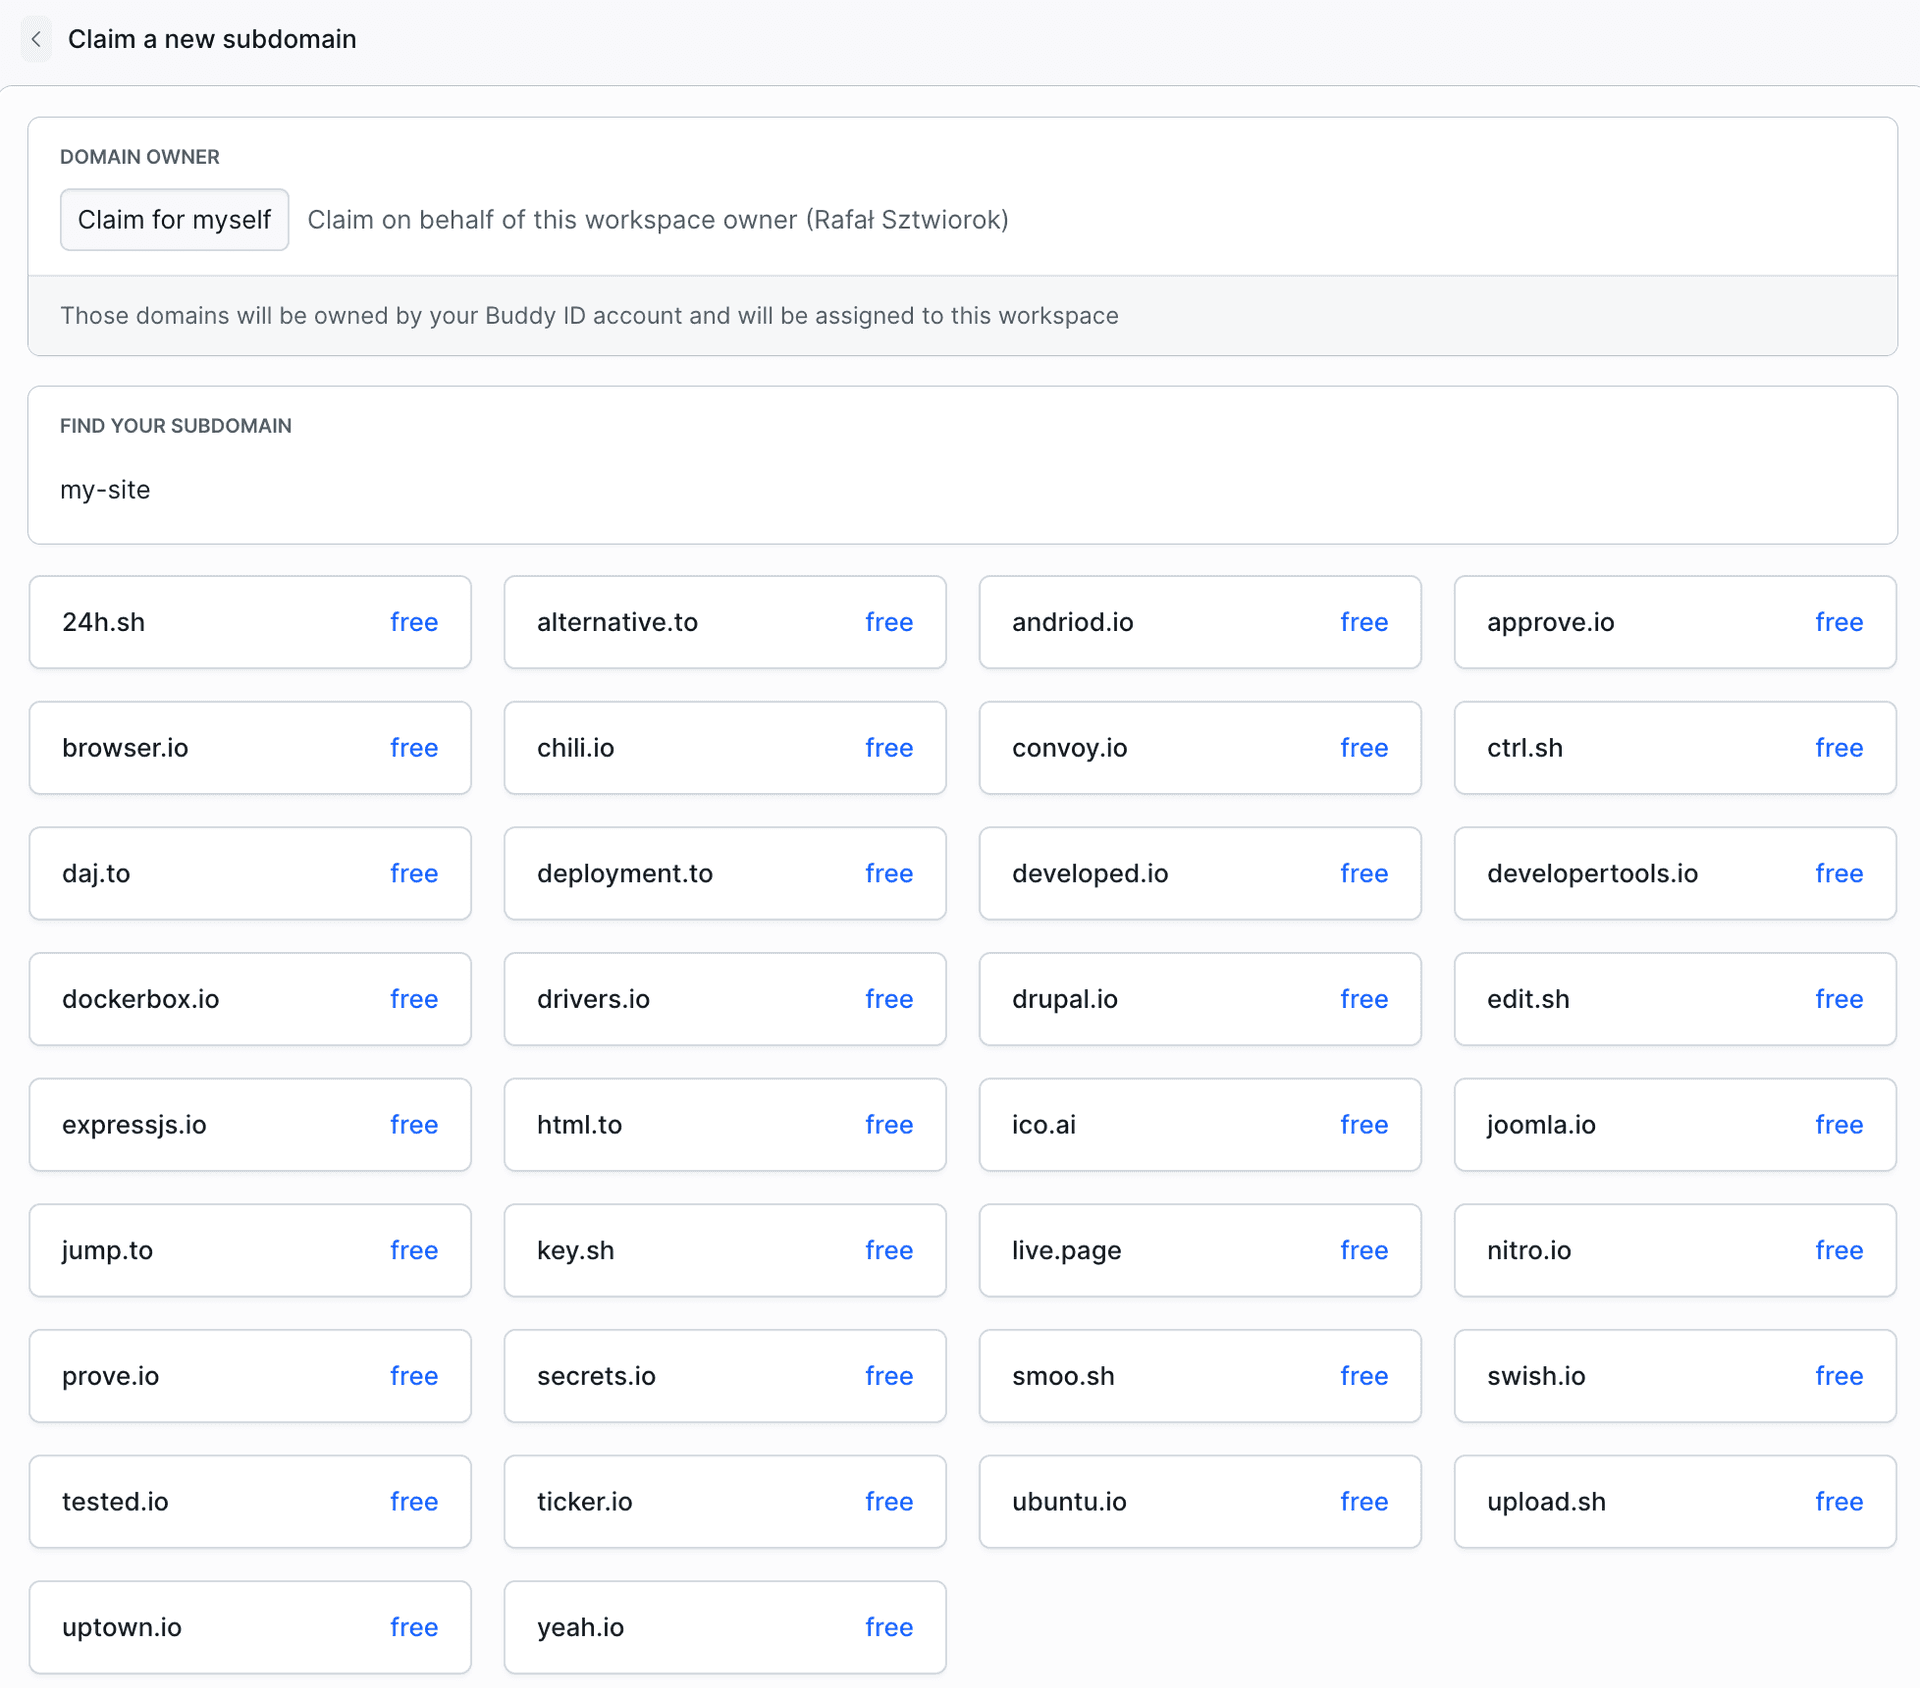
Step 5: Route your domain to the artifact
The last step connects the domain to the artifact. Open Routing and add a new route:
- Distribution: pick your distribution (it groups routes). None yet? Create one with
bdy distro create -n my-site. - Type: Cloaking, so the artifact is served transparently under the domain with no redirect.
- Subdomain & Domain: enter
my-siteand select the.24h.shzone you claimed. - Destination: set the type to Artifact and pick your
my-siteartifact atlatest, so the route always serves your newest published version.
Click Add a new route.
Image loading...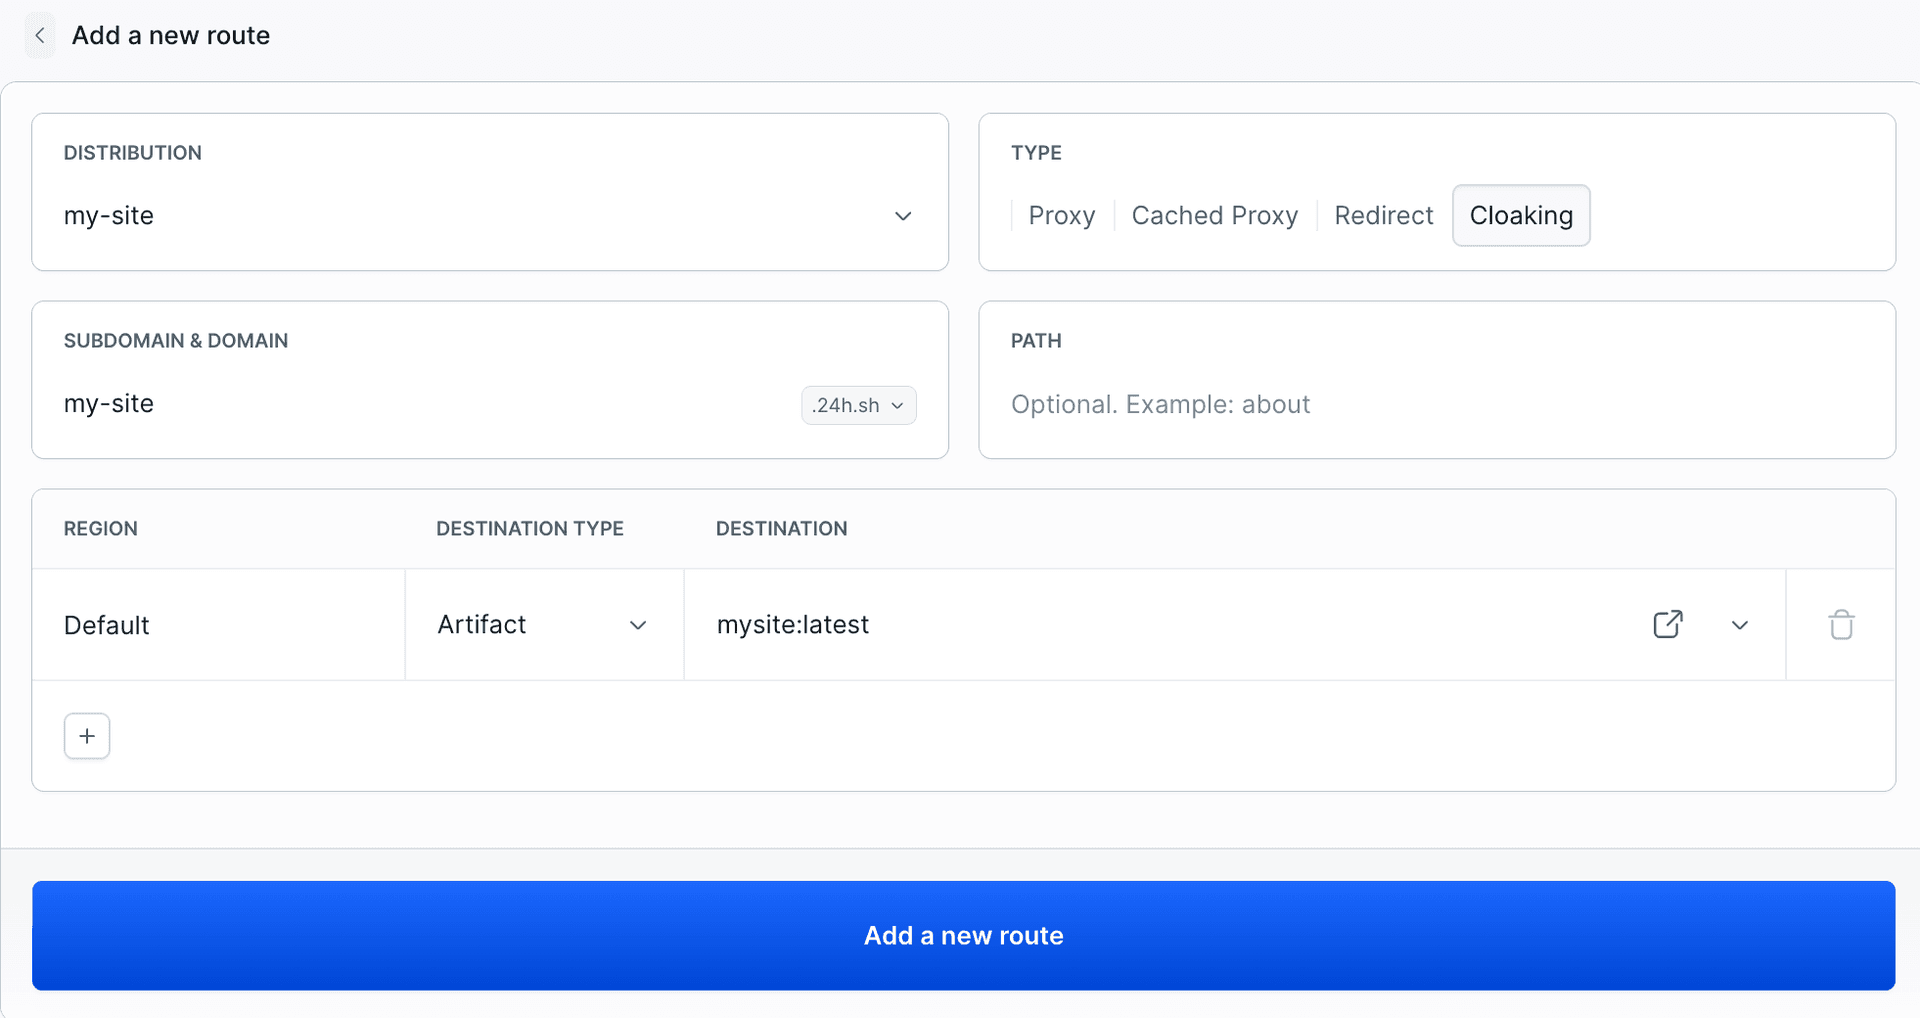
Open my-site.24h.sh in your browser and your site is live 🎉
The fast path: do it all from the terminal
Once you're logged in (bdy login) and your code is pushed, the publish-and-serve half is three bdy commands. The -c flag creates the artifact on the fly, so you can skip the UI:
bash# 1. Publish your folder as a public artifact (created on the fly with -c) bdy artifact publish -c my-site . # 2. Create a distribution to hold your routes bdy distro create -n my-site # 3. Route your claimed subdomain at the artifact, via cloaking bdy distro route create my-site \ --domain="my-site.24h.sh" \ --type="CLOAKING" \ --target "artifact=my-site:latest"$$$$$$$$$$$
Pass the claimed subdomain whole as --domain (my-site.24h.sh); don't split it into --subdomain plus --domain. Run bdy distro route create --help for every flag, or read the bdy distro docs.
bdy artifact publish on every push to master, so editing a file and pushing it deploys the site automatically. Want it fully hands-off, with Claude Code generating the site and bdy shipping it? See Deploy a live static site with Claude Code and Buddy.
Wrap up
In a few minutes, with no GitHub and no external host, you've:
- Hosted your code in a native Buddy Git repository (pushed over HTTPS with a scoped token),
- Published your site as a versioned, public artifact via the
bdyCLI, - Claimed a subdomain and routed it at the artifact with cloaking,
- and shipped a live website on a real URL.
Code hosting, artifacts, domains, and routing: one platform, one CLI. To update the site, edit and push, then re-run bdy artifact publish; the route keeps pointing at the latest version.
Built something with it? We'd love to see it. Reach us at support@buddy.works.