Build a Discord Bot in Node.js: Beginner Guide
Hi guys! Welcome to the tutorial on building your own Discord bot using Node.js and JavaScript. The article is aimed at beginners and provides step-by-step instructions on how to make a Discord bot: setting up a development environment, installing dependencies, and implementing basic functionality using Node.js. As Discord bots are growing in popularity each day, we are happy to share some knowledge that will help you put them to good use.
Part 1: Discord Configuration - How to Set Up a Discord Bot
#1: Create application in Discord
The first step in building a Discord bot, is creating an app in the Discord service. Sign in to your Discord account, go to the Discord's Developer Portal and create (or log in to) a developer account.
Next, click the New Application button:
Image loading...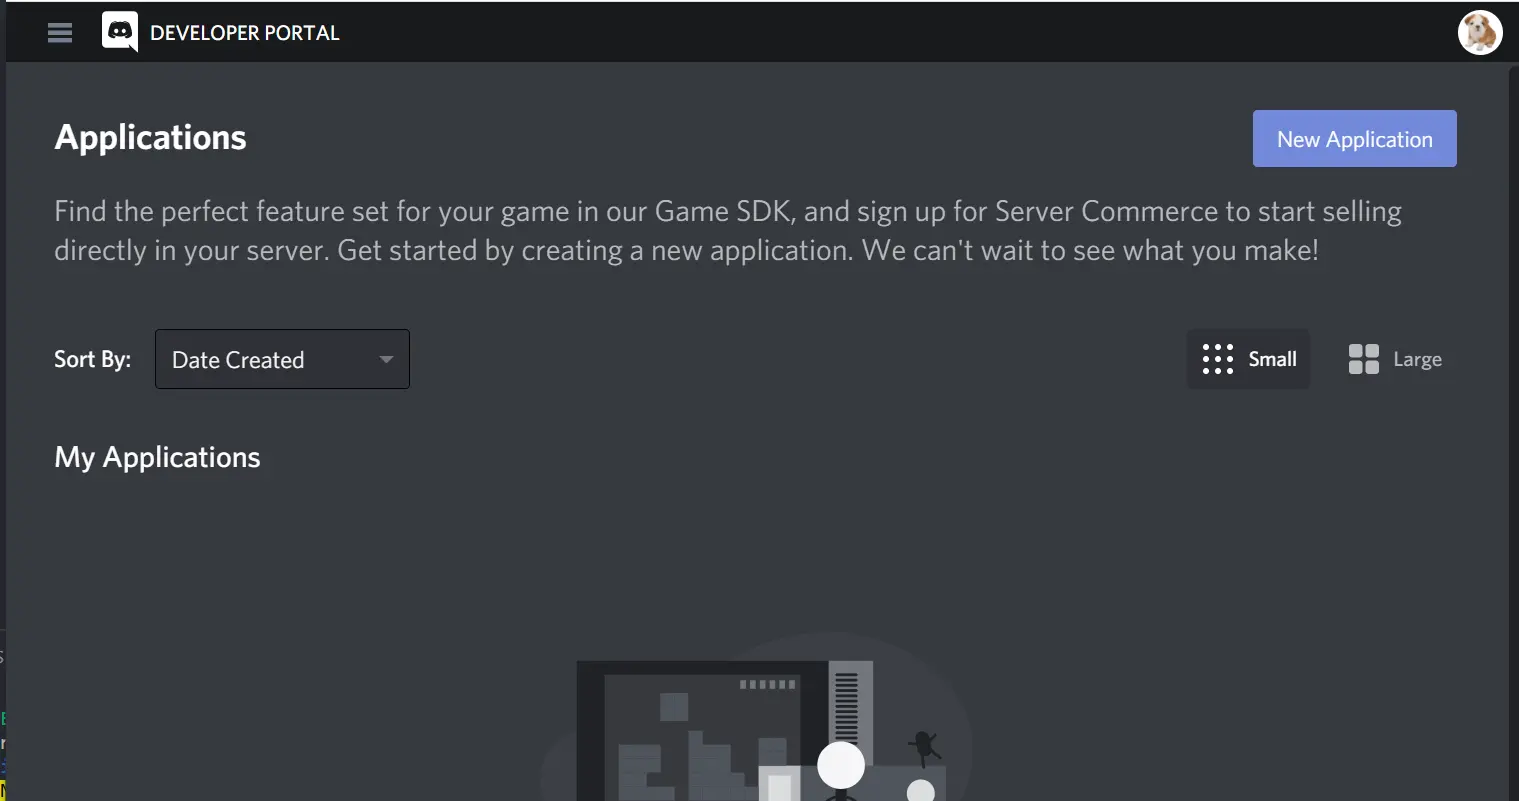
Fill in the details of your app (name etc.) and proceed to the app's dashboard. Look up Bot on the settings list and click Add Bot to switch your app to bot mode.
Image loading...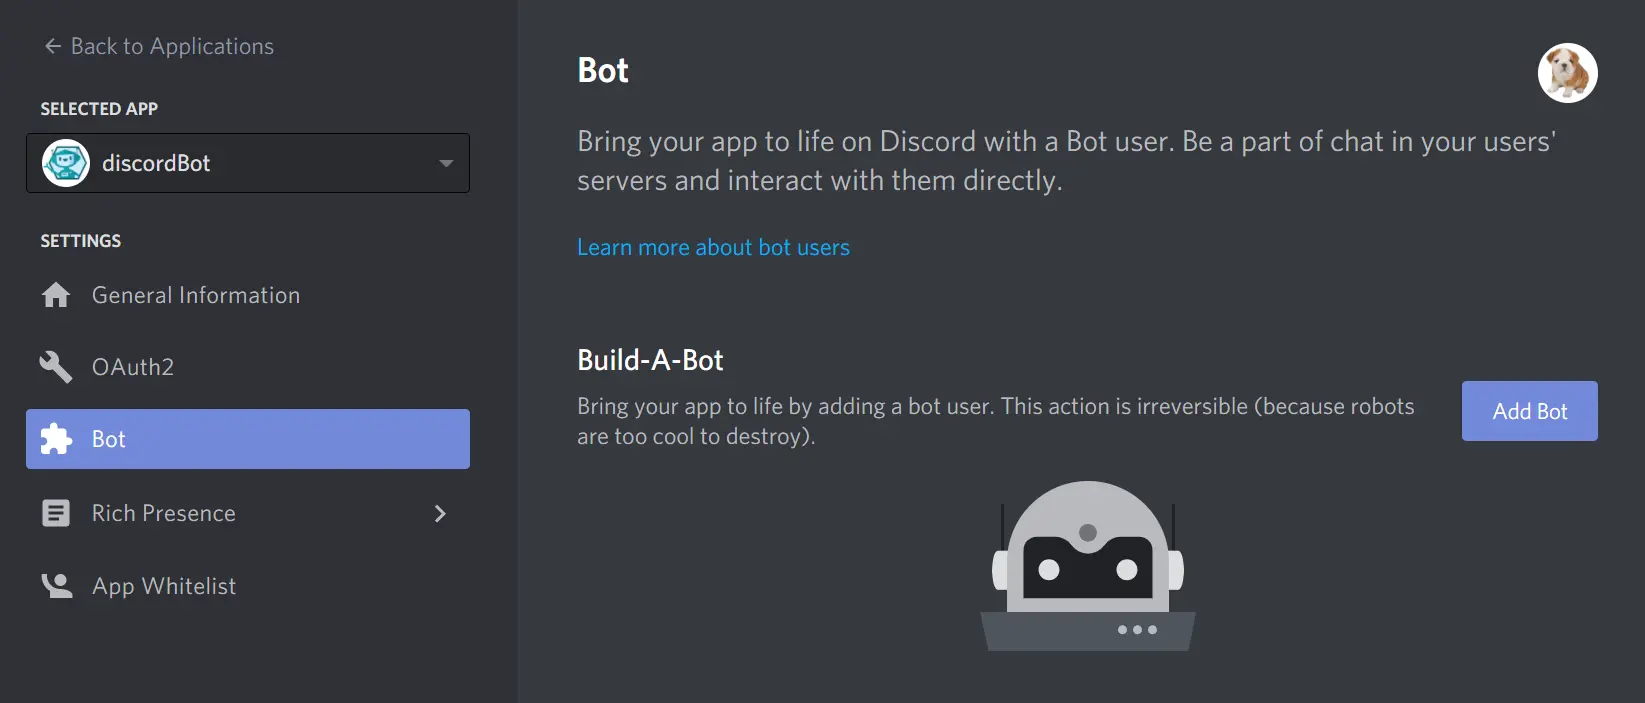
Once you do it, you'll get a confirmation on a nice green padding and a new expanded section at the bottom. Click the Copy button to save the bot token to the clipboard – we shall need it a couple of steps later
Image loading...
#2: Install bot to Discord server
Switch the tab to OAuth2 and set the app's scope to bot:
Image loading...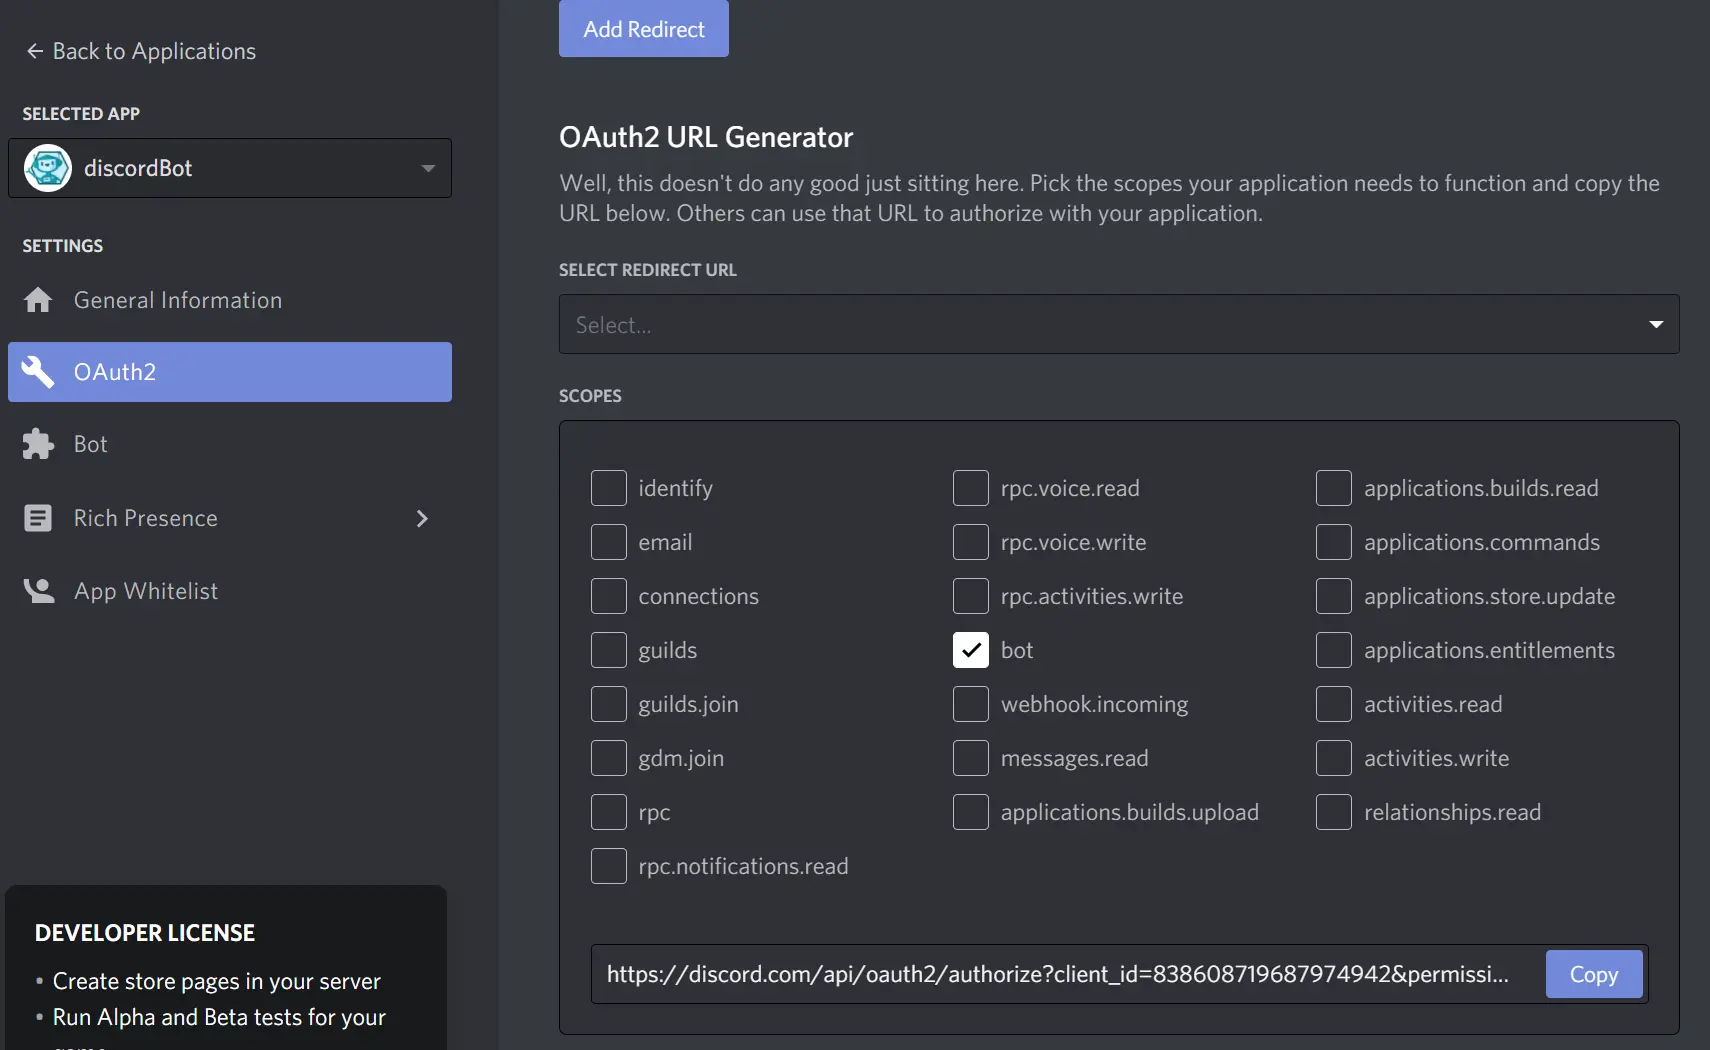
Discord will generate a URL at the bottom. Copy the URL and paste it in your browser – you will be redirected to a web page where you can add the bot to the selected server:
Image loading...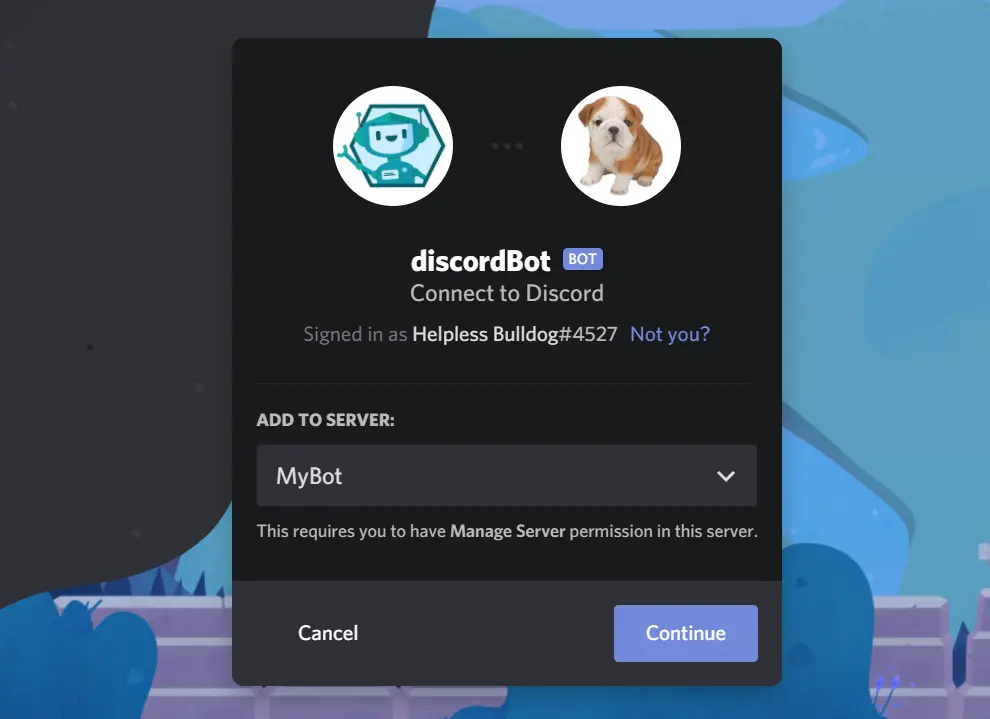
The bot should appear in your server right away. In my example, I added the bot to a server called 'MyBot':
Image loading...
Quick recap: How to set up a Discord bot
You’ve just completed the setup. In short: create an application in the Discord Developer Portal, add a bot to it and copy the token, then use OAuth2 with scope bot to generate a URL and add the bot to your server. Next, we’ll write the code in Node.js and JavaScript.
Part 2: Developing Your Discord Bot with Node.js and JavaScript
Does Discord use Node.js? Setting up your stack
Discord’s API is language-agnostic — you can use Python, Node.js, or other runtimes. In this tutorial we use Node.js and the discord.js library, one of the most popular and well-documented choices for building a Discord bot in JavaScript.
#1: Create project folder
Time to breathe some life into our bot creature. Let's start with creating a folder and initializing Node:
bashmkdir discordBot cd discordBot npm init$$$
Discord.js guide: Install and configure the client
Our little fella requires a couple of packages to function:
discord.js– the discord.js library for Node.js that lets your bot talk to the Discord APIaxios– allows to easily make HTTP Promises with Node.jsdotenv– allows to load environment variables from aprocess.envfile in Node apps
Run the following command to install the packages:
bashnpm install discord.js axios dotenv$
#3: Configure index.js
Now we need an index.js file to host the functions of our bot.
In the project directory, run:
bashtouch index.js$
At the moment, the bot in your server is offline. To log in, you need a Discord bot client.
Paste the script below to index.js to import the discord.js package and create a new client:
jsrequire('dotenv').config(); //initializes dotenv
const Discord = require('discord.js'); //imports discord.js

const client = new Discord.Client(); //creates new client

client.on('ready', () => {
  console.log(`Logged in as ${client.user.tag}!`);
});

//this line must be at the very end
client.login(process.env.CLIENT_TOKEN); //signs the bot in with token
Surely, you have noticed CLIENT_TOKEN in the script? It means you can finally open your clipboard and paste the token that you copied in step one. Or go to your app details and copy the token again.
Create an .env file and save the token as an environment variable:
CLIENT_TOKEN='your_discord_app_token'
Packages installed, token copied, discord.js fetched, Discord API connected – all set! Time to go online:
bashnode index.js$
Image loading...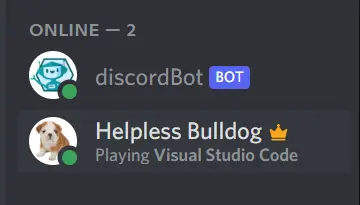
Part 3: Adding bot commands
#1: Writing your first bot command
The bot is now online – and eager to play. Let's start with something simple: a game of ping-pong with your Discord application. In other words: when you say ping, the bot will respond with "Pong!". Not much of an exciting message content, but hey – it's some start!
Add the following code block above the client.login(process.env.CLIENT_TOKEN); line:
jsclient.on('message', msg => {
  if (msg.content === 'ping') {
    msg.reply('Pong!');
  }
});
When done, run node index.js again.
Next, type ping on your server. The bot should now reply with "Pong!":
Image loading...
#2: Fetching images from API
Let's face it: a bot replying 'pong' to a 'ping' is not the peak of usability. And what is useful for a bot user, you ask? Well, memes of course!
Our next step will be configuring the bot to fetch a random meme image from the API whenever you type !meme in the prompt.
For the API, we shall use a simple Python-based MemeAPI by jaychandra. Once a call to the API is made, it returns a data object. Here's how it looks in a text editor:
json{
  memes: [
    {
      author: 'PurpleRaspberri',
      nsfw: false,
      subreddit: 'memes',
      title: 'True story',
      upvotes: 72358,
      url: 'https://i.redd.it/7lygjwhq1qa61.jpg'
    }
  ]
}
What we need from the data is the url property, so it can appear as an image in Discord. For this we need a proper function – let's call it getMeme(). Here's what it looks like in index.js:
js//add this function below client.on... line
async function getMeme(){
  const res = await axios.get('https://memeapi.pythonanywhere.com/');
  return res.data.memes[0].url;
}
You can see the function requires Axios, an HTTP client for Node.js. Add this line at the top of the line to import it:
jsconst axios = require('axios'); //add this line at the top
With everything in place, we can add the new !meme command to our client.on() function.
switch statements instead of if blocks.
jsclient.on('message', async msg => {
  switch (msg.content) {
    case "ping":
      msg.reply("Pong!");
      break;
    //starting meme command
    case "!meme":
      msg.channel.send("Here's your meme!"); //the reply to the user command
      const img = await getMeme(); //fetches the URL from the API
      msg.channel.send(img); //sends the image URL to Discord
      break;
   }
})
As you can see, typing !meme will make the bot to post "Here's your meme!" on the server, then fetch the image URL using the the getMeme() function, and, finally, send the image using msg.channel.send(img) and display it in the message content.
Here's how it works in practice:
Image loading...
Now that's a proper way to employ Discord bots!
#3: Sending messages on time intervals
Okay, the memes are working. But did you know you can make the bot send you messages at time intervals? Let's turn the bot into our personal health assistant by having it send us a message to take a break from the computer every hour.
First, configure an !eye command to let people subscribe to eye-break reminders:
jslet interval;

client.on('message', async msg => {
  switch (msg.content) {
   //other commands above here...
   case "!eye":
      msg.channel.send("You are now subscribed to Eye-Break Reminders.");
       interval = setInterval (function () {
        msg.channel.send("Please take an eye break now!")
        .catch(console.error);
      }, 3600000); //every hour
      break;
  }
})
At the moment, setInterval is set to 3600000 milliseconds, which equals one hour. Let's cut it down to 3 seconds (3000) to see if it actually works:
Image loading...
All good! However, we don't want these reminders to pop up infinitely, right? What if we want it to stop? A !stop command calling clearInterval() should do just fine:
js//add this below the "!eye" case block
   case "!stop":
      msg.channel.send("I have stopped eye reminders.");
      clearInterval(interval);
      break;
One last test if everything works fine. Looks like it does:
Image loading...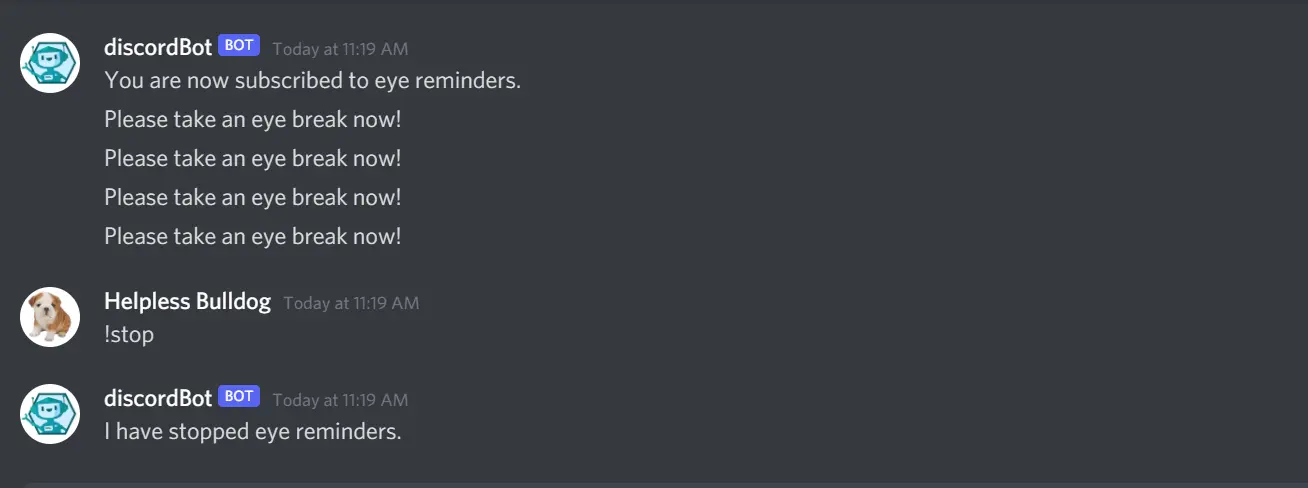
Conclusion
This discord.js guide covered the basics: a bot that responds to prefix commands like ping, !meme, and !eye. Beyond that, Discord supports slash commands, option types (string, number, attachment/image), and more advanced permissions — see the Discord Developer documentation and the discord.js documentation on slash commands to go further.
There are numerous fascinating possibilities when it comes to utilizing Discord bots, including those that employ databases, environment variables, and more advanced interactions with the Discord API. I encourage you to explore the docs above to delve deeper and create your own unique Discord bot according to your imagination.
Thank you for taking the time to read this. I hope this introduction has provided some valuable insights of developer know-how. If you found it helpful, please consider showing your support by liking or sharing this article to help spread the knowledge. 🤗