New feature: Public projects
From actions based on open-source solutions, to free plans for educational and OS projects, Buddy has always been a keen supporter of public domain and open-source development. This week's feature allows developers to share the Buddy's test results with the public with a special badge added to the repository.
Configuring a public project
By default, every project in Buddy is private. To make a project public, go to Project options and switch to the Settings tab:
Image loading...
Now we need to embed the badge to our repository. Go to the pipeline where you test your application and click Badges in the right column. Copy the link and paste it in the README file in your repository. If you host your repo on GitHub, Bitbucket or GitLab, a link to the latest execution (test results) will appear.
Image loading...
Use case: Dockerfile-linter project
If a project is publicly visible, the URL will require no authorization. Users who are not members of the project and don't have proper permissions will be restricted to logs, statistics, and execution history only. In order to manage pipelines, you have to be logged in.
For example, here is our open-source project used to validate Dockerfile syntax: github.com/buddy-works/dockerfile-linter. You can find the badge to the testing pipeline at the top of README:
Image loading...
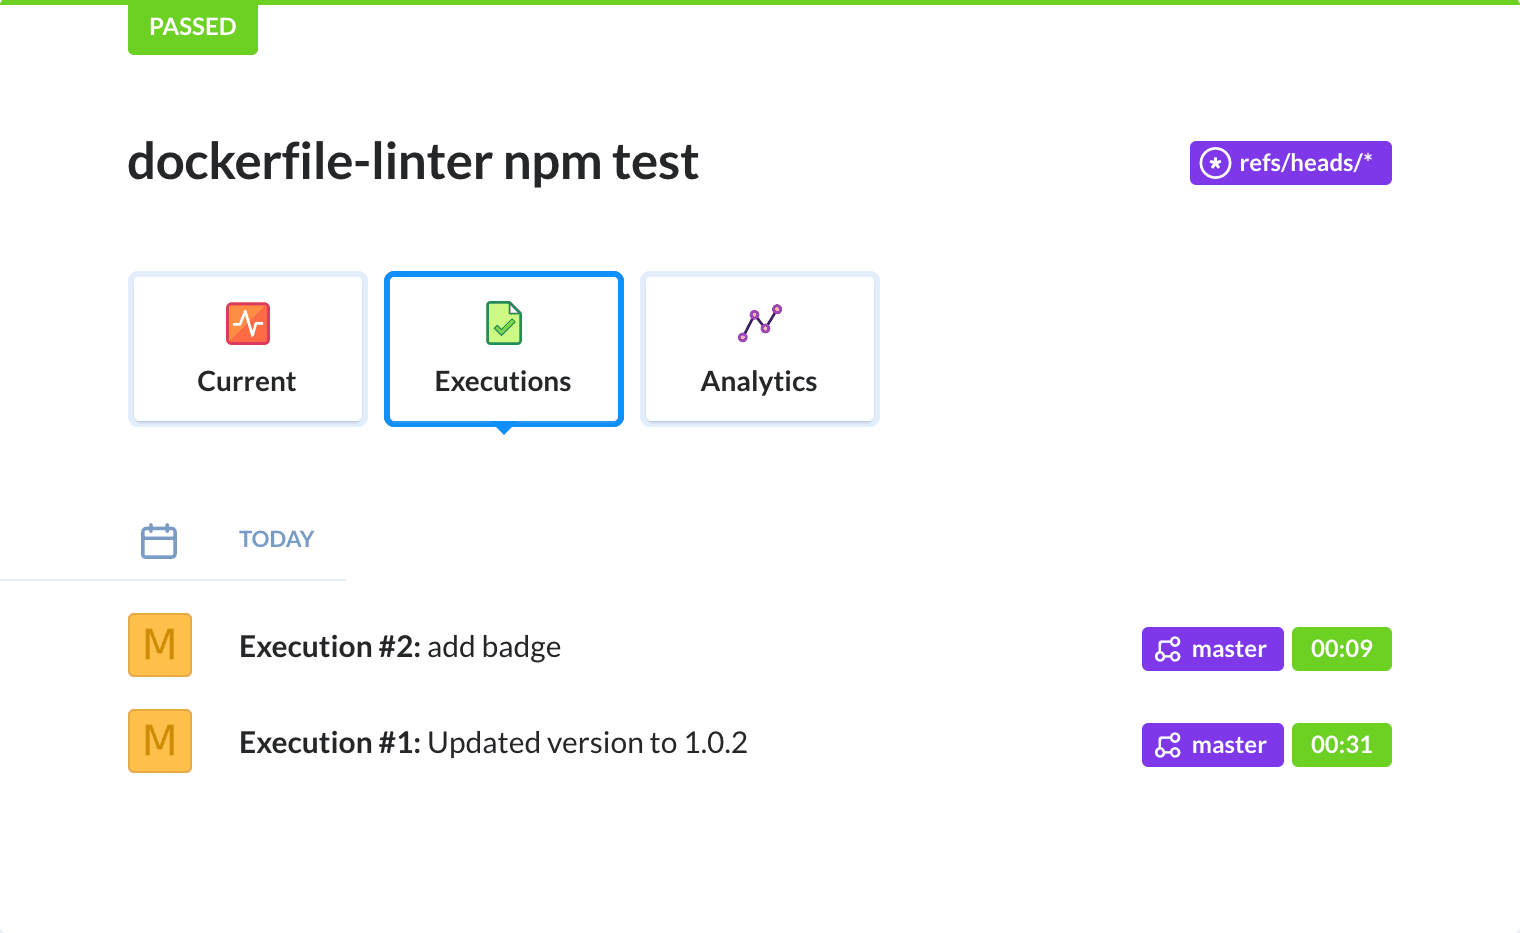
Clicking the badge will land you on the last execution's view:
Image loading...
In the months to come we're planning to introduce more new features facilitating open-source developers. Cheers to all contributors & stay tuned for more!
Jarek Dylewski
Customer Support
A journalist and an SEO specialist trying to find himself in the unforgiving world of coders. Gamer, a non-fiction literature fan and obsessive carnivore. Jarek uses his talents to convert the programming lingo into a cohesive and approachable narration.