AWS SSO SAML
Follow these steps to add AWS as the SAML SSO provider for your workspace:
- Open Buddy SSO settings in one browser tab and switch to SAML → AWS.
- In another tab, open the AWS SSO settings in the region where you enabled it.
AWS allows using SSO in one region at a time.
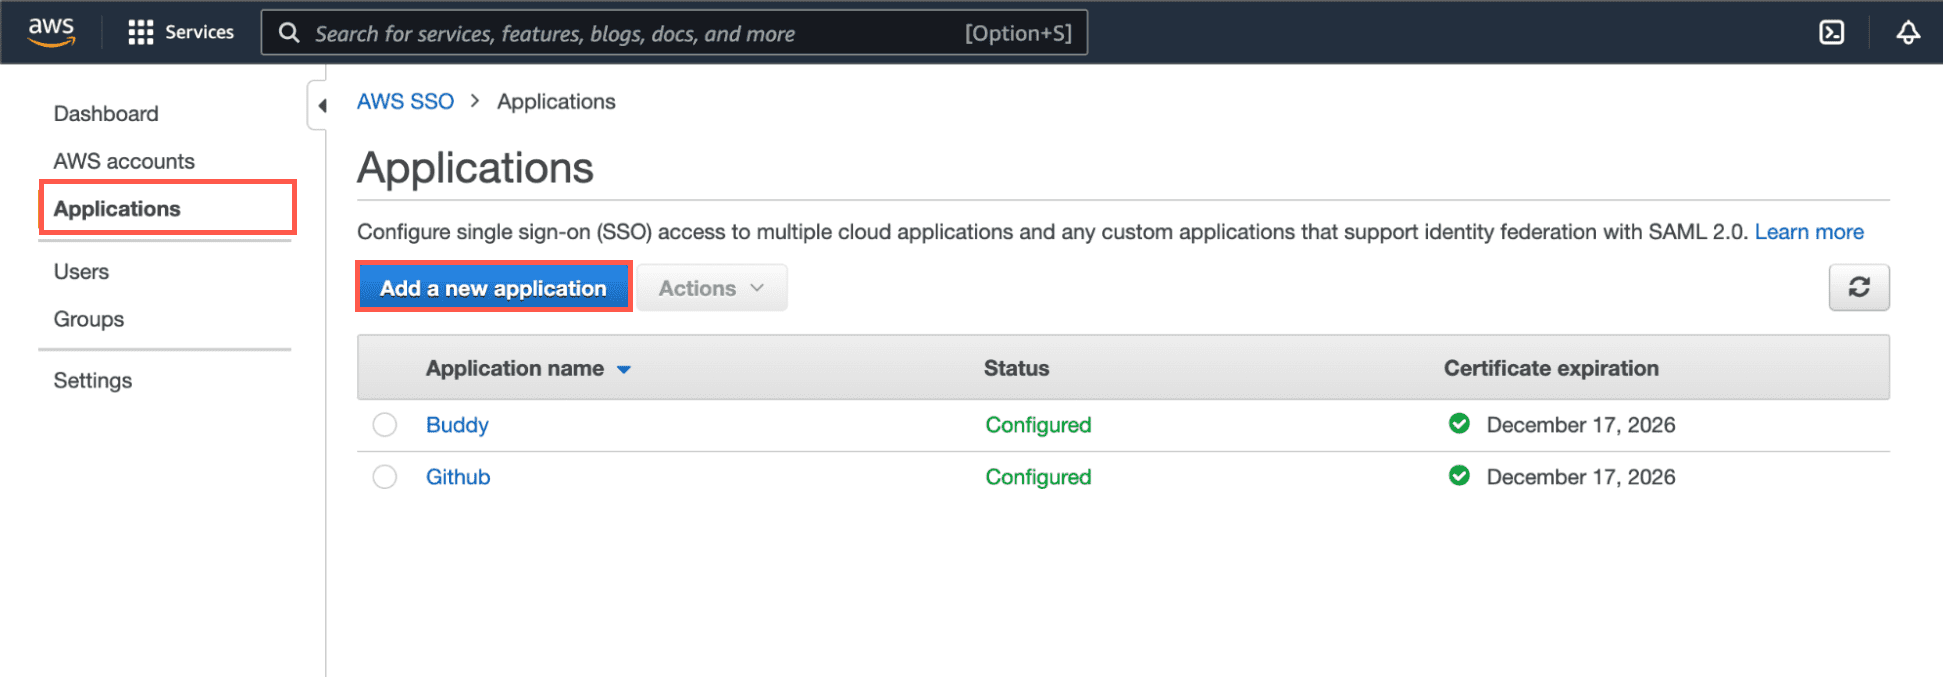
- Select Applications from the left navigation panel.
- Click Add a new application:
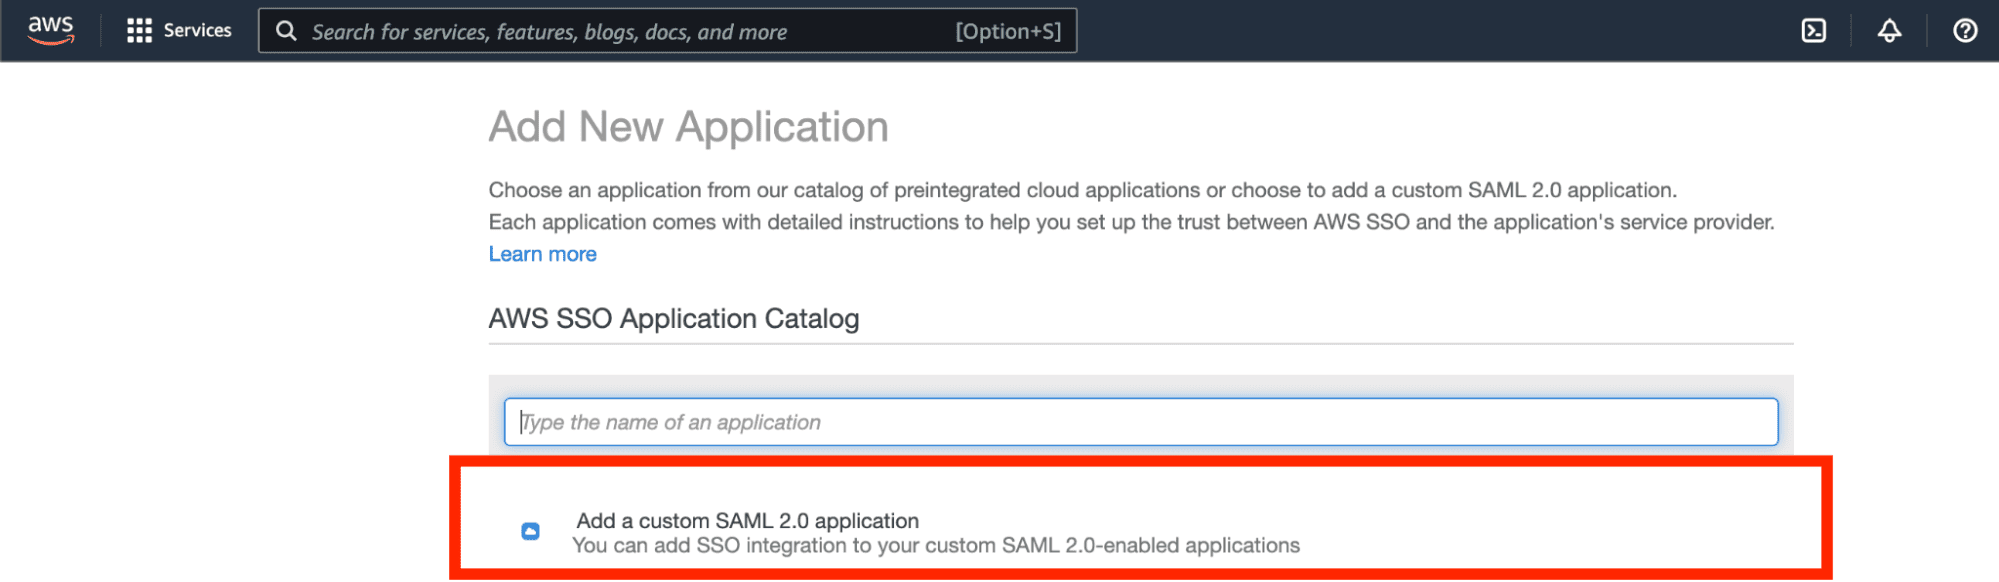
- Tick the Add a custom SAML 2.0 application box:
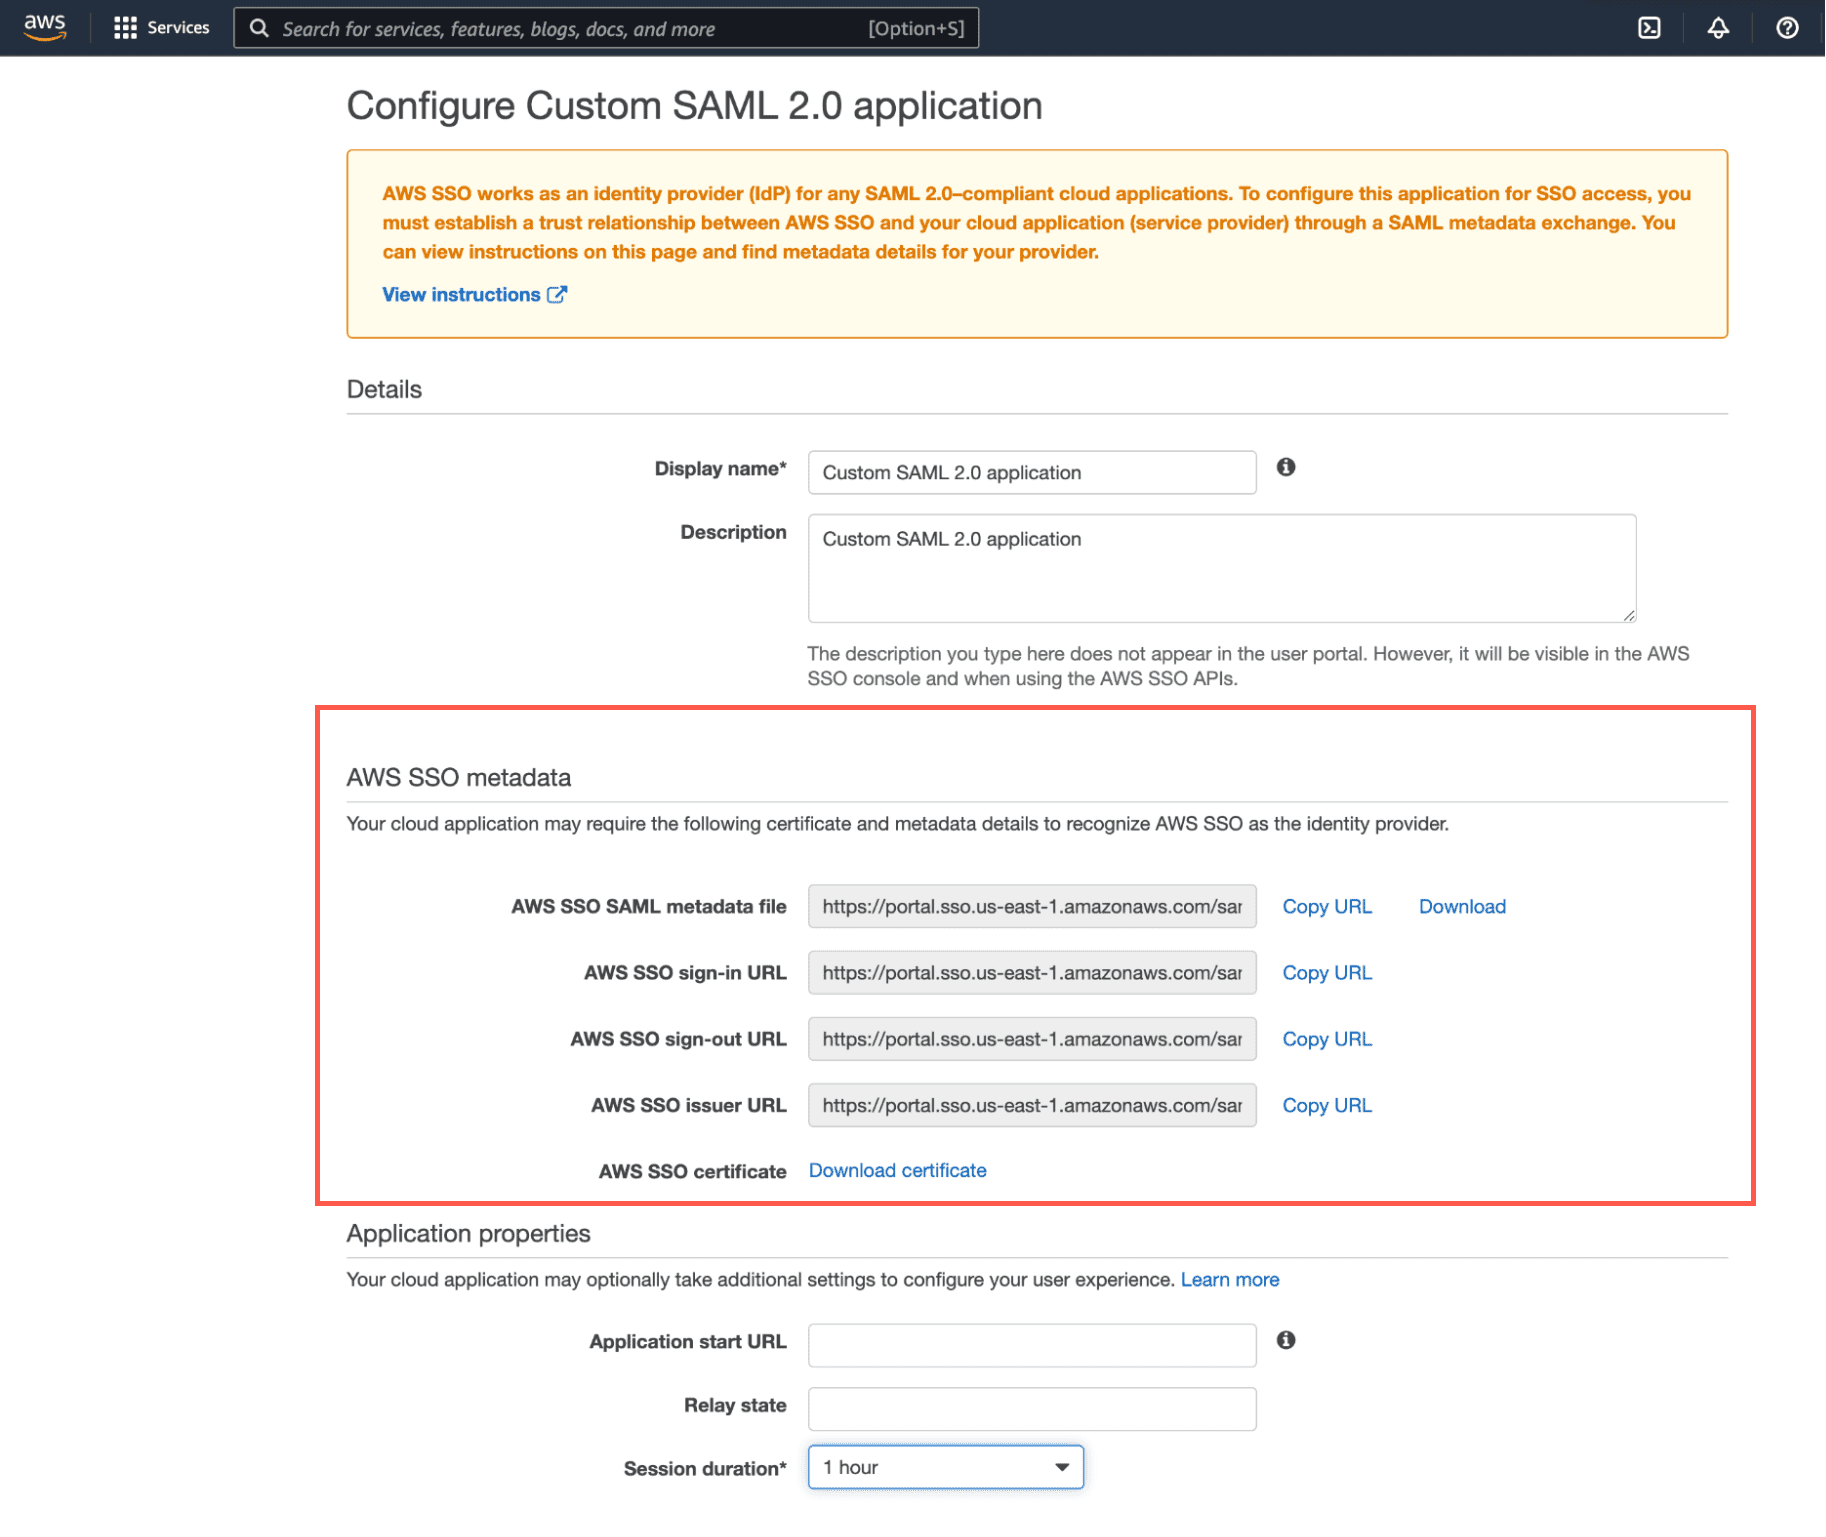
- Save the data required for SSO configuration in Buddy for later use: AWS SSO sign-in URL, AWS SSO issuer URL, and the certificate:
- Set the app's Display Name.
- In the Application metadata section, click the highlighted hyperlink:

Fill in the form with the data copied from Buddy SSO configuration:
- Application SAML audience
- Application ACS URL
- Save the settings.
- Go to the settings page of the newly created SAML app.
- Go to Attribute mappings and set the Subject attribute to
${user:subject}and the format tounspecified. Save the settings. - Go to Assigned users and add AWS SSO users according to your needs:

Return to the Buddy SSO settings tab and provide the information you copied from the AWS SSO settings panel:
- AWS SSO sign-in URL
- AWS SSO issuer
- Certificate → upload the AWS certificate that you downloaded
- Signature / Digest Method → leave at
Most popular
- Click Test configuration and enable SSO on success.
- Sign in to your AWS account to save the SSO configuration.
Learn more about SSO implementation and configuration in Buddy:
Last modified on August 31, 2023